


SWTOR 7.5 Gearing Guide: How to Unlock 340 Mods in 4 Hours
In this step-by-step guide for new and returning players, I explain how to get item rating 340 mods and gear up as fast as possible at Level 80 in SWTOR Legacy of the Sith Patch 7.5.

The video version of this guide is available on my YouTube channel here:
About this Guide
Gearing in SWTOR can be incredibly complicated and time-consuming. But don’t worry, because today, I am bringing you my beginner-friendly, step-by-step guide to the fastest way to gear up that works in Patch 7.5, so you don’t have to waste your time.
This is an improved version of my previous Gearing Guide, which I published a year ago. The old guide still works, but since then the item rating cap has been raised, which means there is now a faster way to farm your initial set of gear.
This new method of gearing only takes about 4 hours to unlock the item rating 340 mods. I have even created a new account to try this out myself to make sure it works even if you are a completely new player without any unlocks available.
But before we jump in I wanted to say thank you to one of my long-time viewers Bonk aka Mystic who mentioned it to me first and helped me to come up with the idea for this guide.
Step 0 - Level to 80
First, you need to be Level 80. While you can farm Tech Fragments and even get a Tactical Item at level 75, I recommend that you don’t worry about gearing until you reach max level. So if you’re still leveling, just enjoy the story, learn your class, and level up first.
Step 1 - Legendary Implant Quest
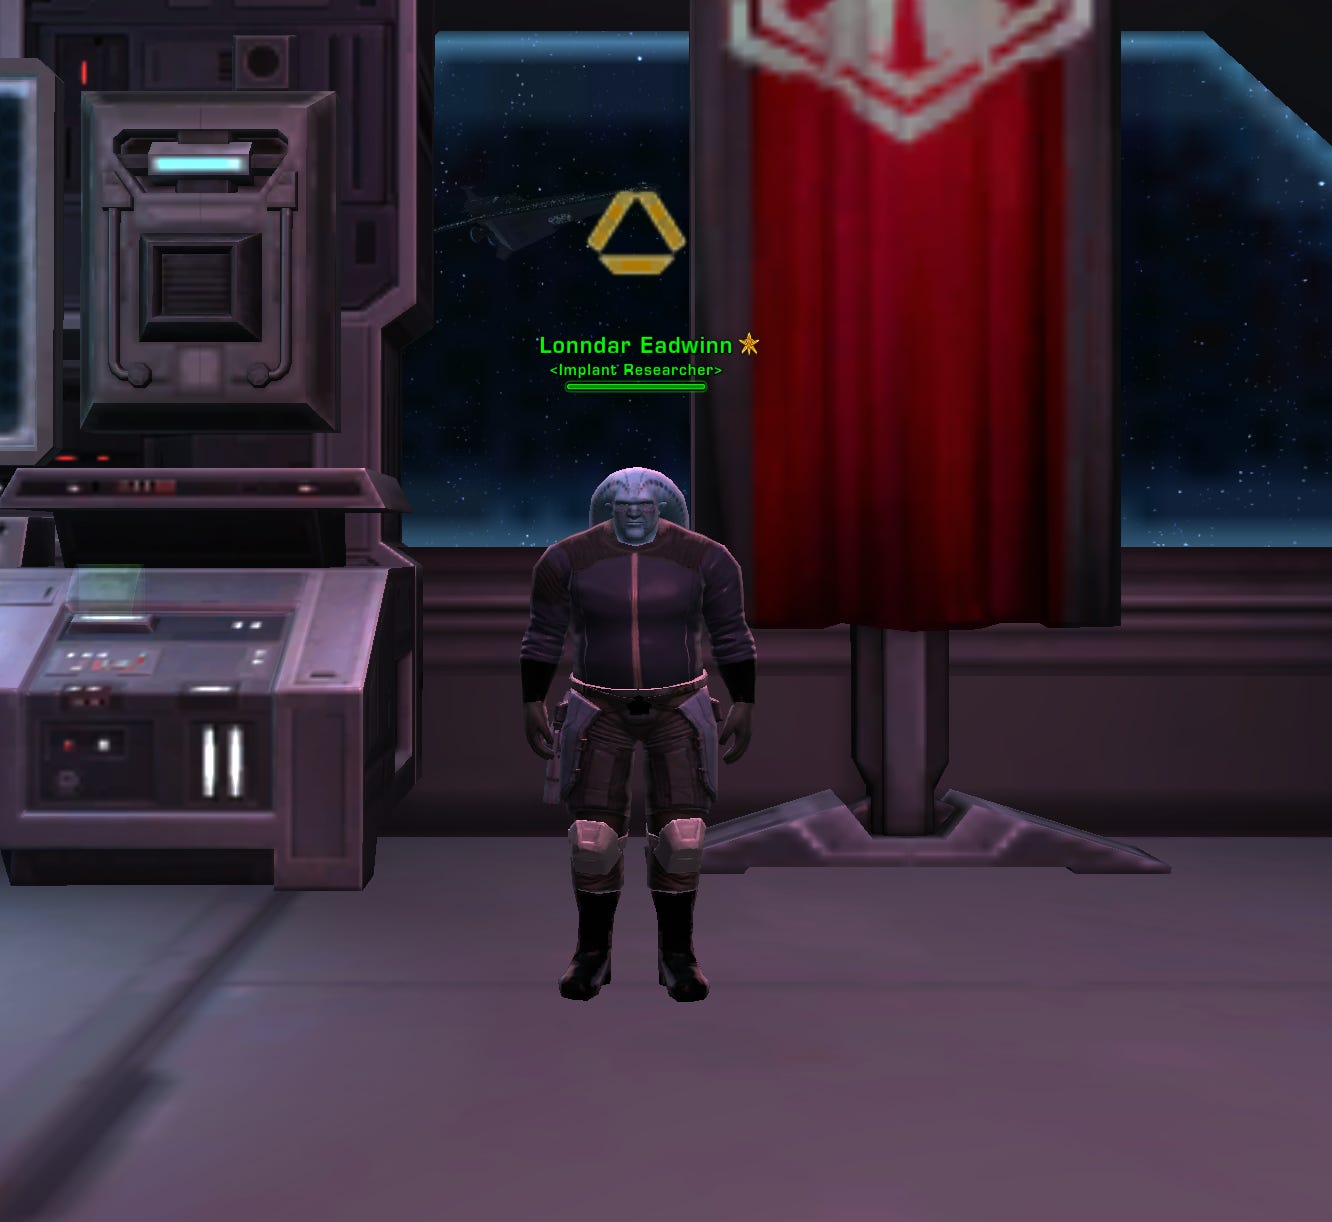
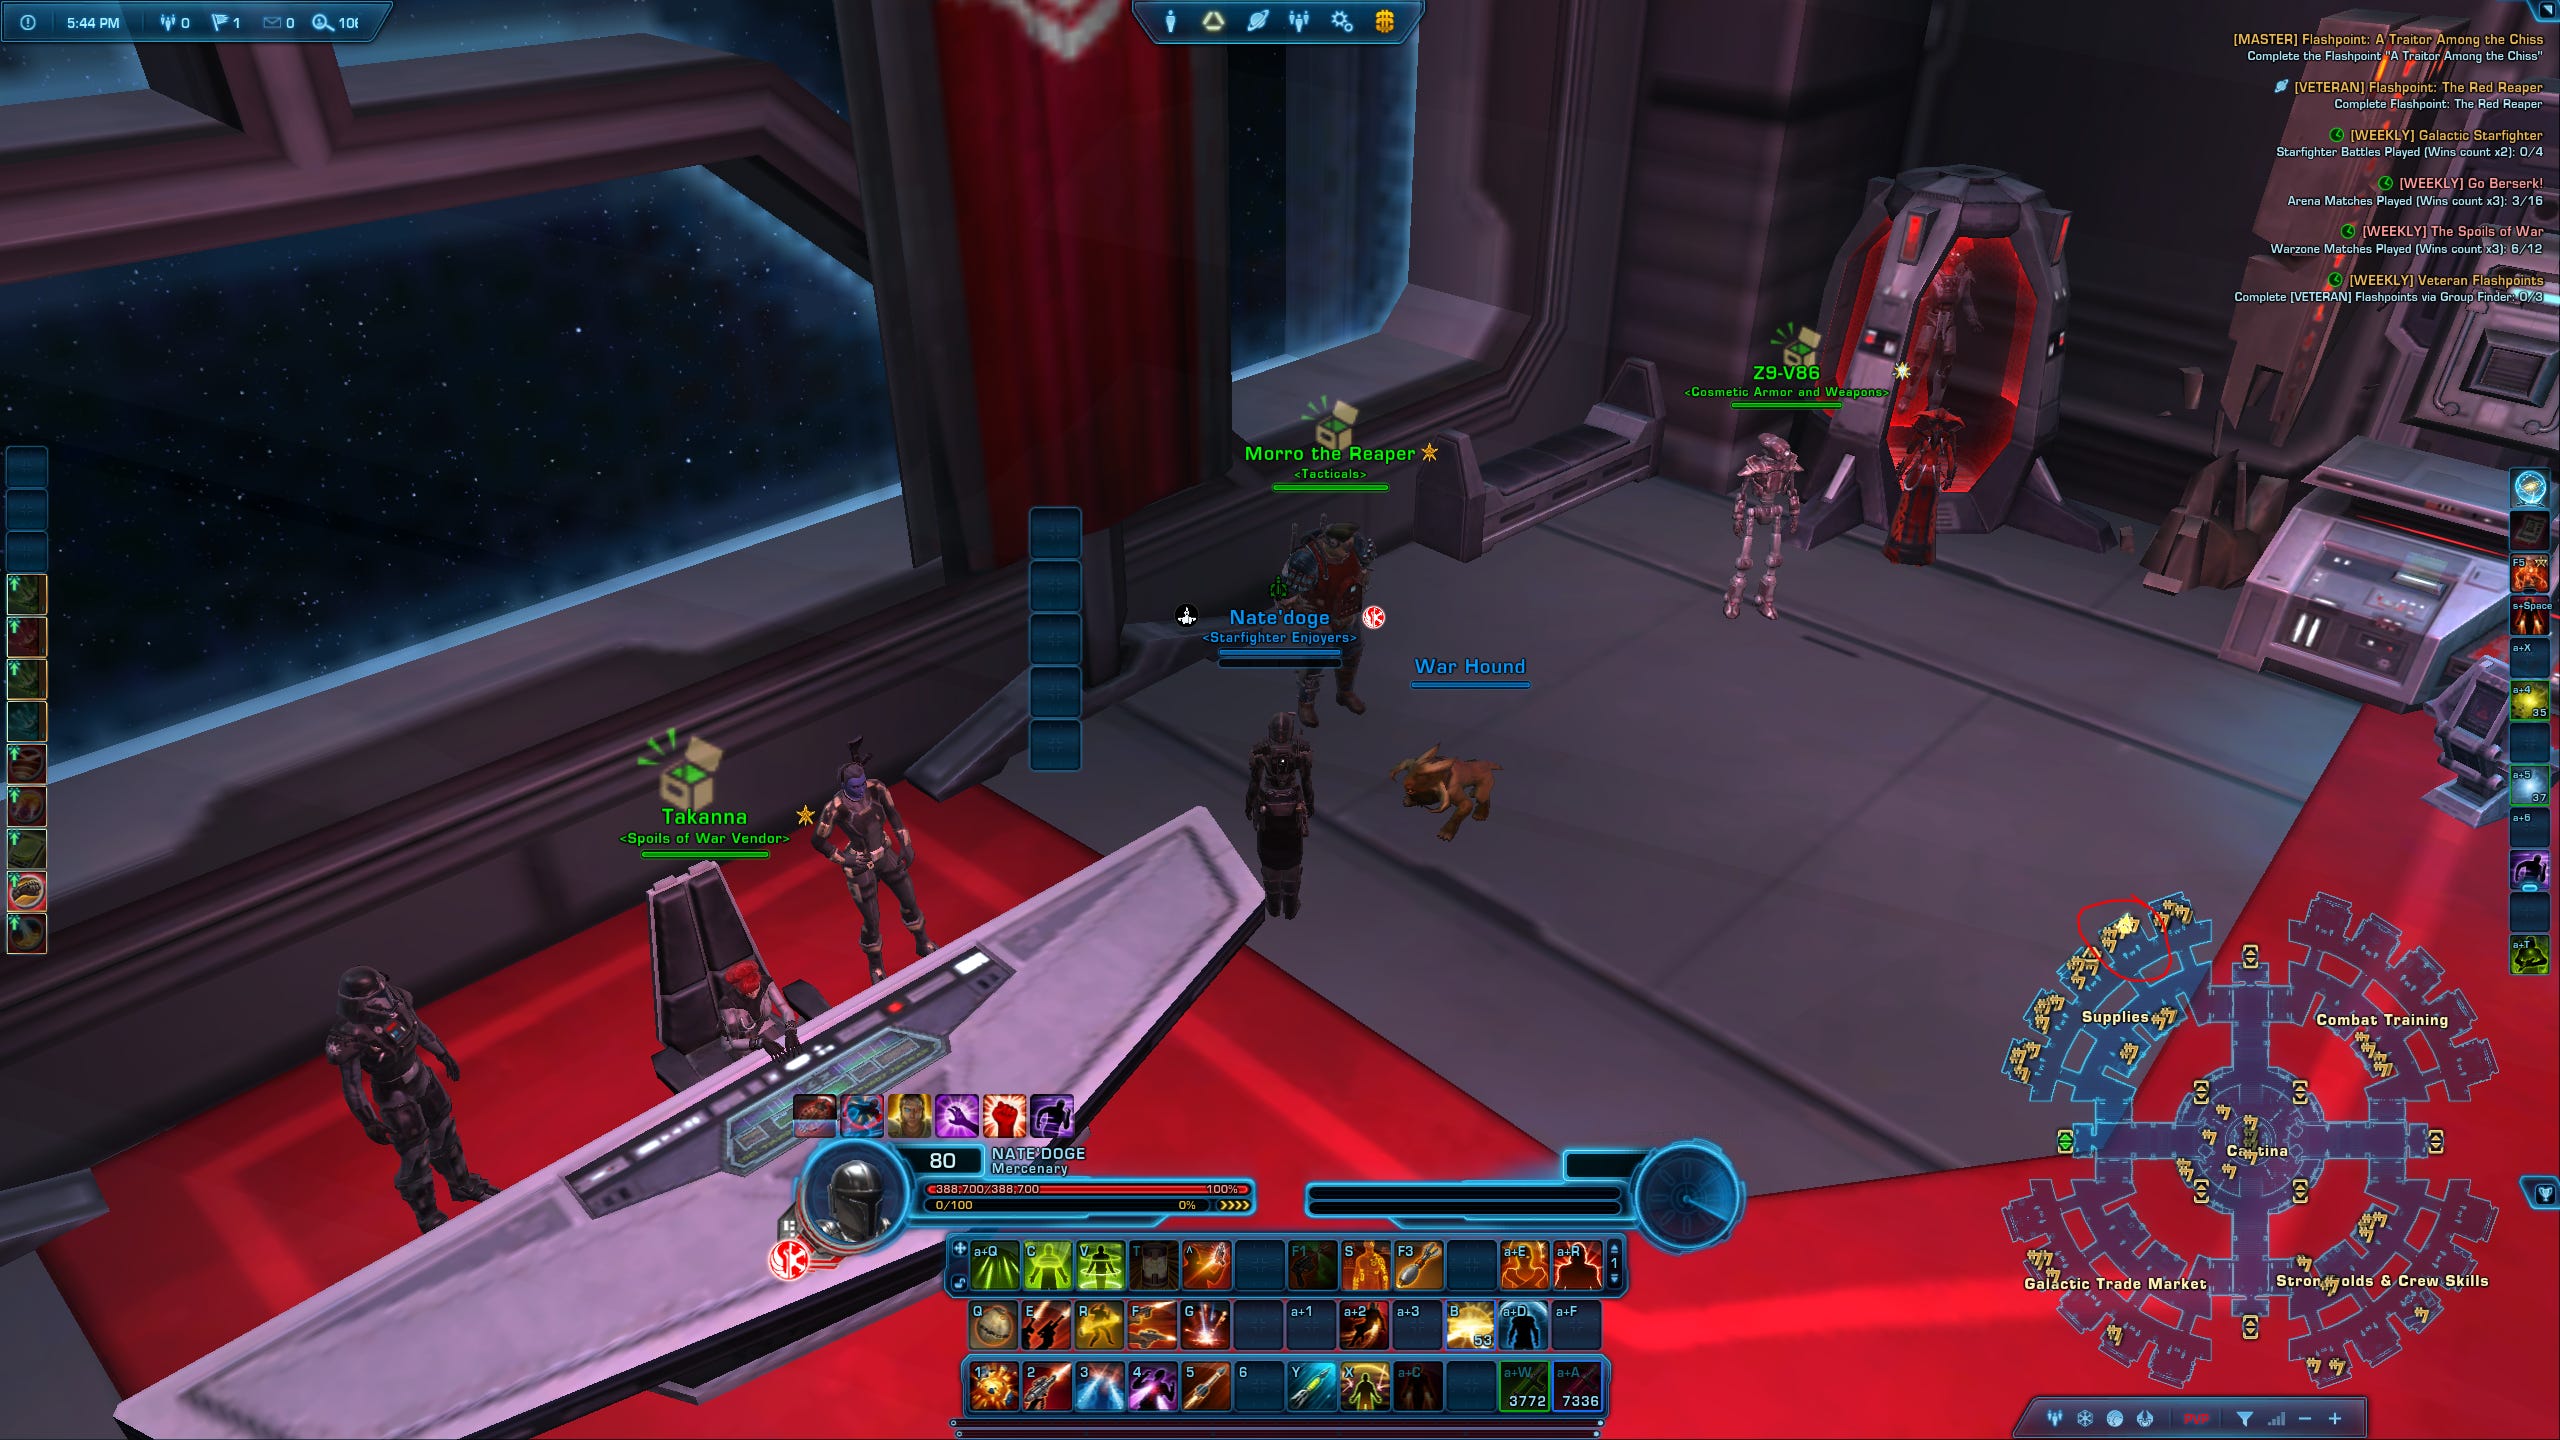
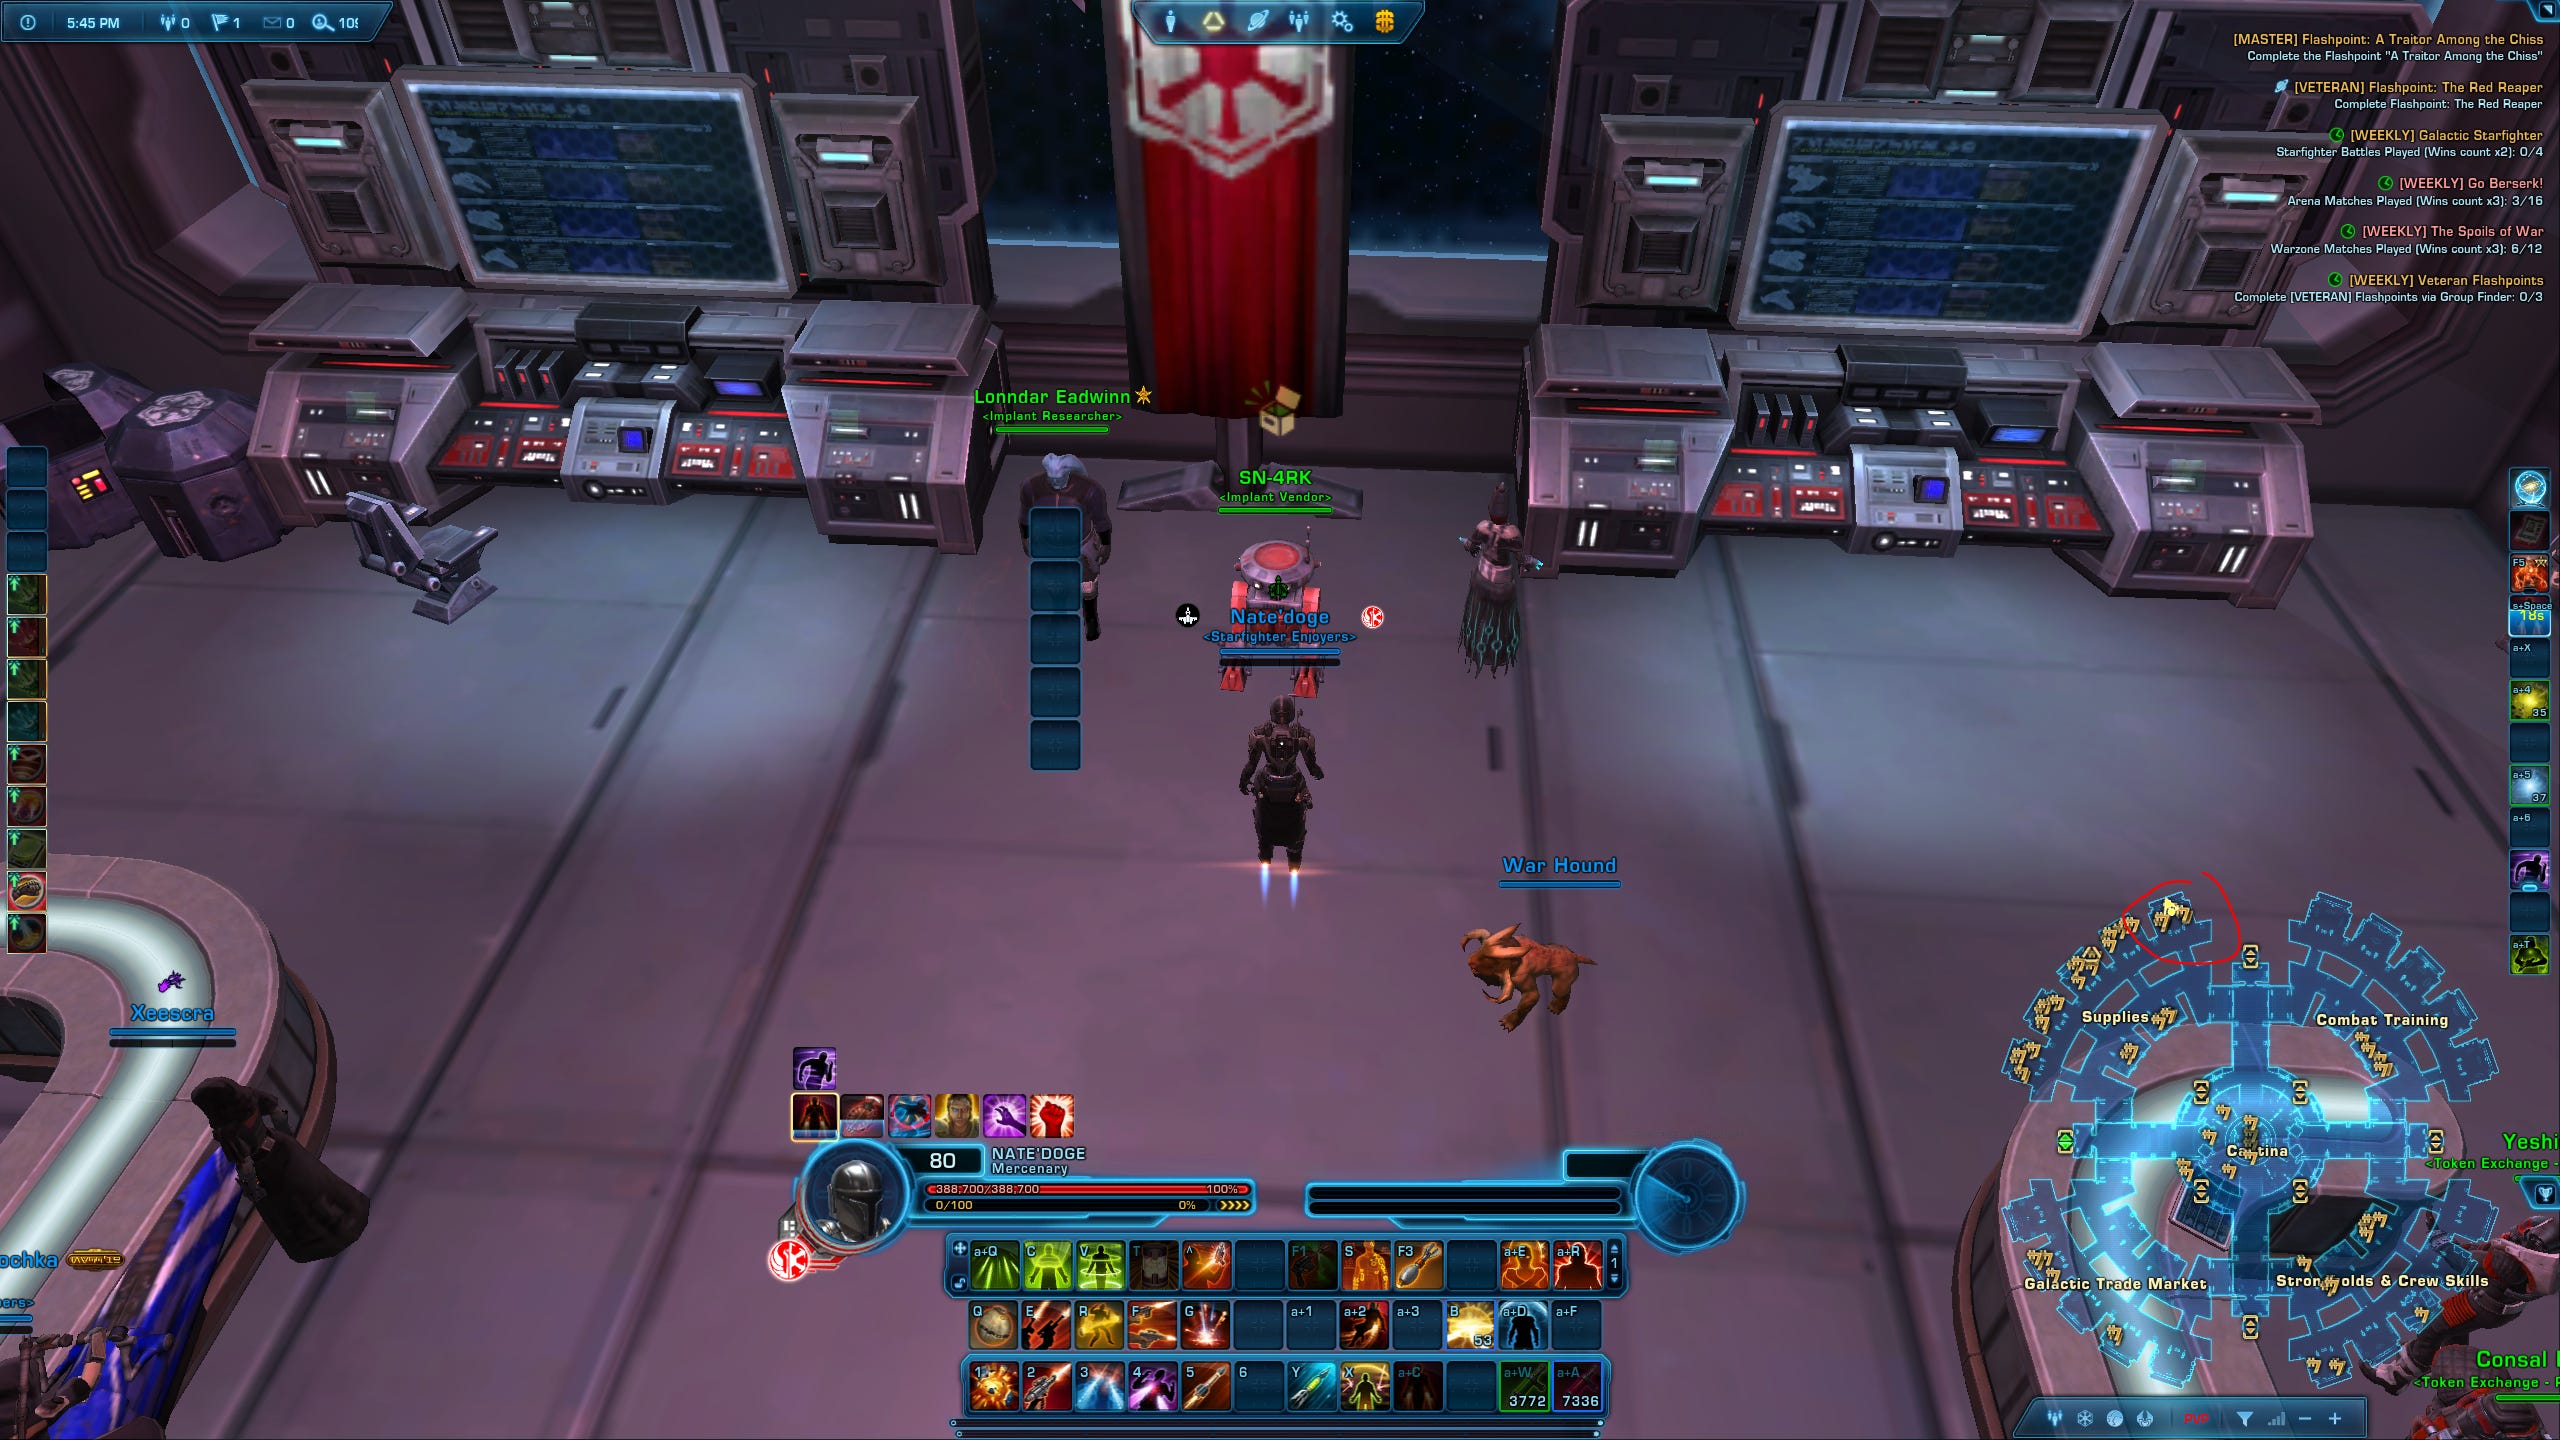
Once you reach level 80, the first thing you should do is go to the supply section of the fleet and talk to the Implant Researcher.
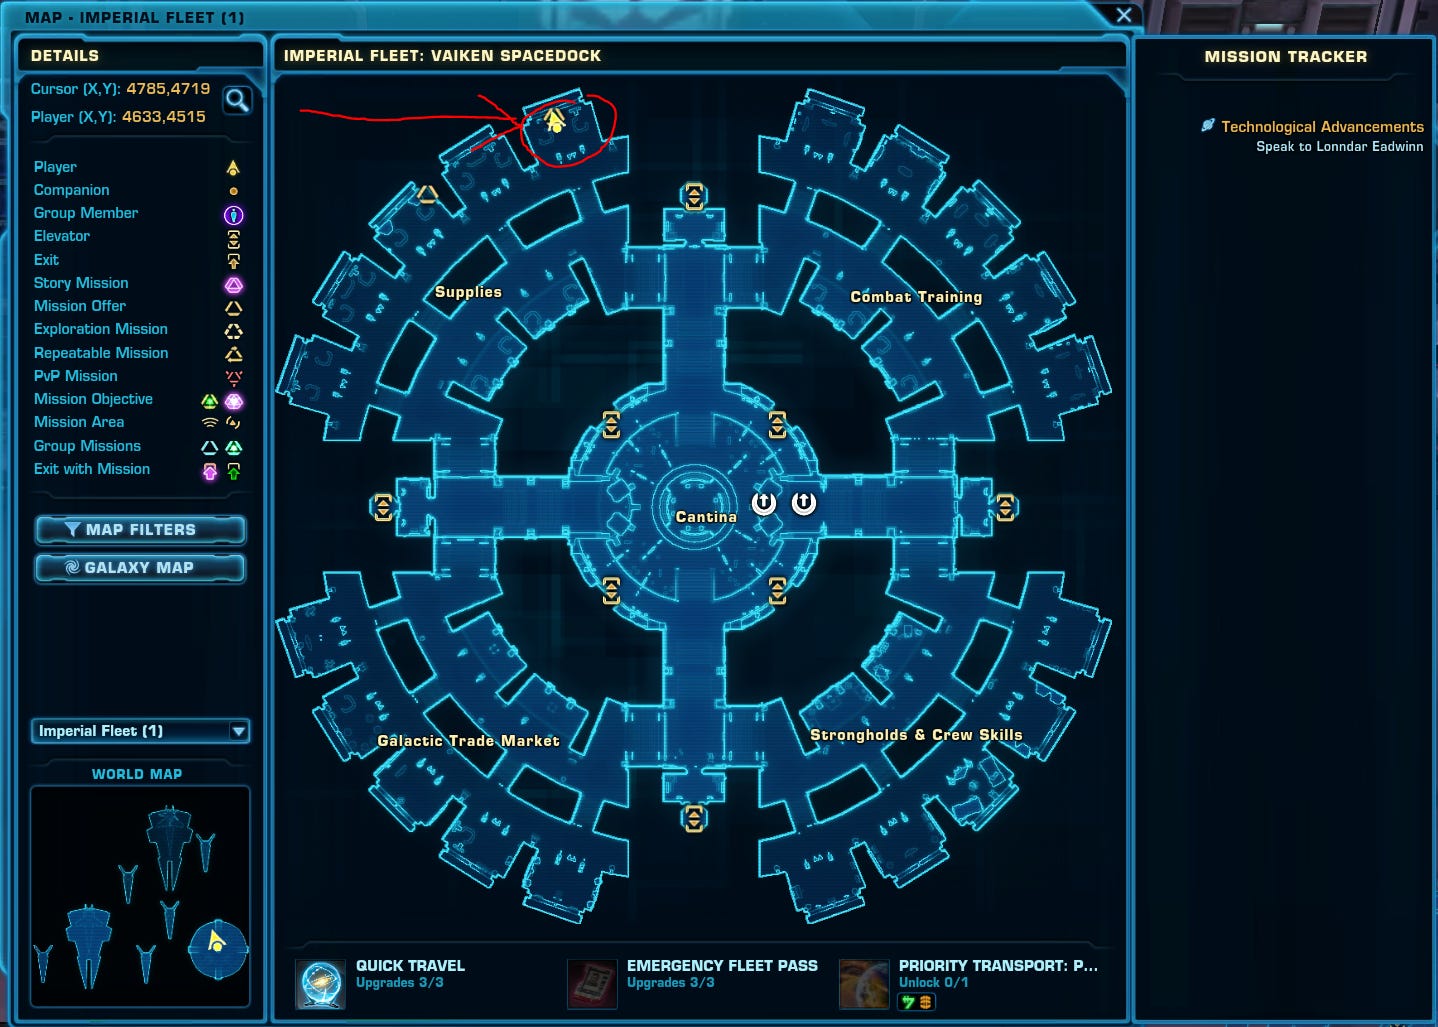
He will make you wait 30 seconds after which he gives you a quest called Technological Advancements, which you need to complete to buy your Legendary Implants.
To complete this quest, you need to collect 100 points through various activities such as Operations, Flashpoints, Warzones, or through finishing your personal Conquest. But for now, just accept it, you don’t need to worry too much about it, as we will complete it automatically while we farm the rest of our gear.
Step 2 - Farm Conquest Commendations
The next step is to farm enough Conquest Commendations to buy a full set of item rating 324 Noble Decurion Conquest Gear and upgrade the earpiece.
If you are a returning player and already have some Conquest Commendations saved up - great. You can skip this step and move on directly to step 3.
If all you want to do is play PVP you will need to farm:
a total of 465 Conquest Commendations before moving on to step 3.
or: a total of 265 Conquest Commendations if already have a full set of green 324 gear from boosting your character to Level 80 using the Master’s Datacron & Equipment Bundle
If you also want to do PVE you will need to farm:
a total of 585 Conquest Commendations before moving on to step 3.
or: a total of 385 Conquest Commendations if already have a full set of green 324 gear from boosting your character to Level 80 using the Master’s Datacron & Equipment Bundle
The fastest way to do that is by running Daily Area and Heroic Mission quests, which you find in the Solo Tab of your Activities menu.
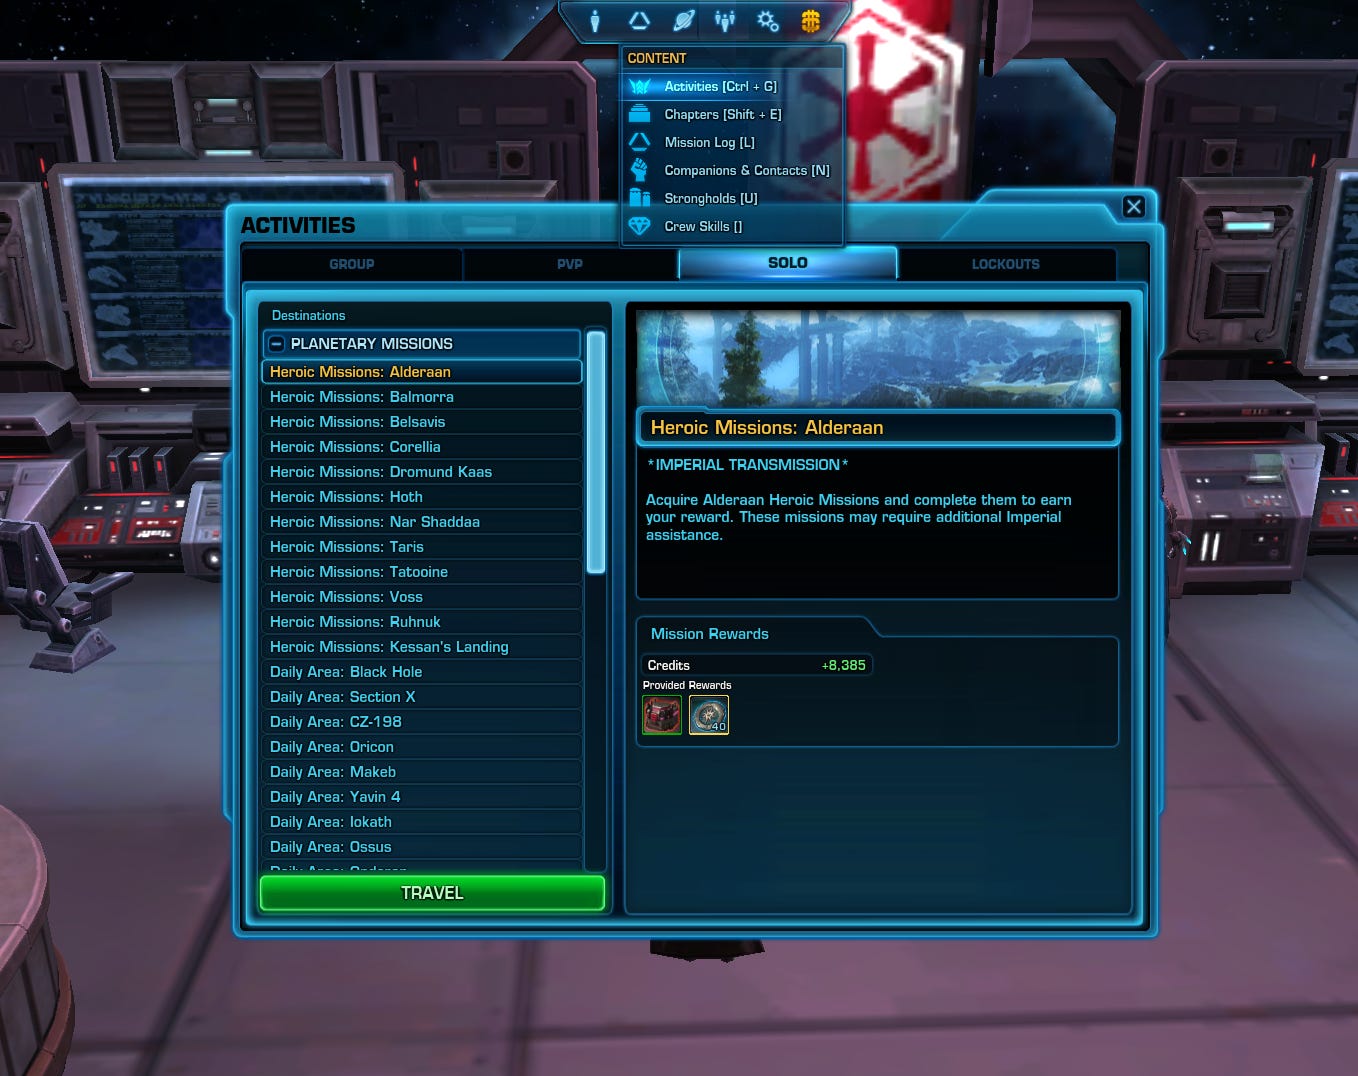
I would recommend running the Daily Area: CZ-198, Daily Area: Black Hole, and the Heroic Missions: Tatooine, as they are some of the easiest and fastest quests to complete. They are all doable solo with whatever gear you are wearing at the time and a level 1 companion. If it gets tricky, remember that you can use Heroic Moment for some extra heals, and if that doesn’t help you can of course try to write in chat and group with another player to complete them. Each of these will reward you 3 Conquest Commendations per quest and 40-50 for the weeklies.
As you complete these quests, you will also progress your Conquest. The Conquest tab of your Mission Log window will show you which activities to complete to earn points and how far you have progressed toward your Conquest goal.
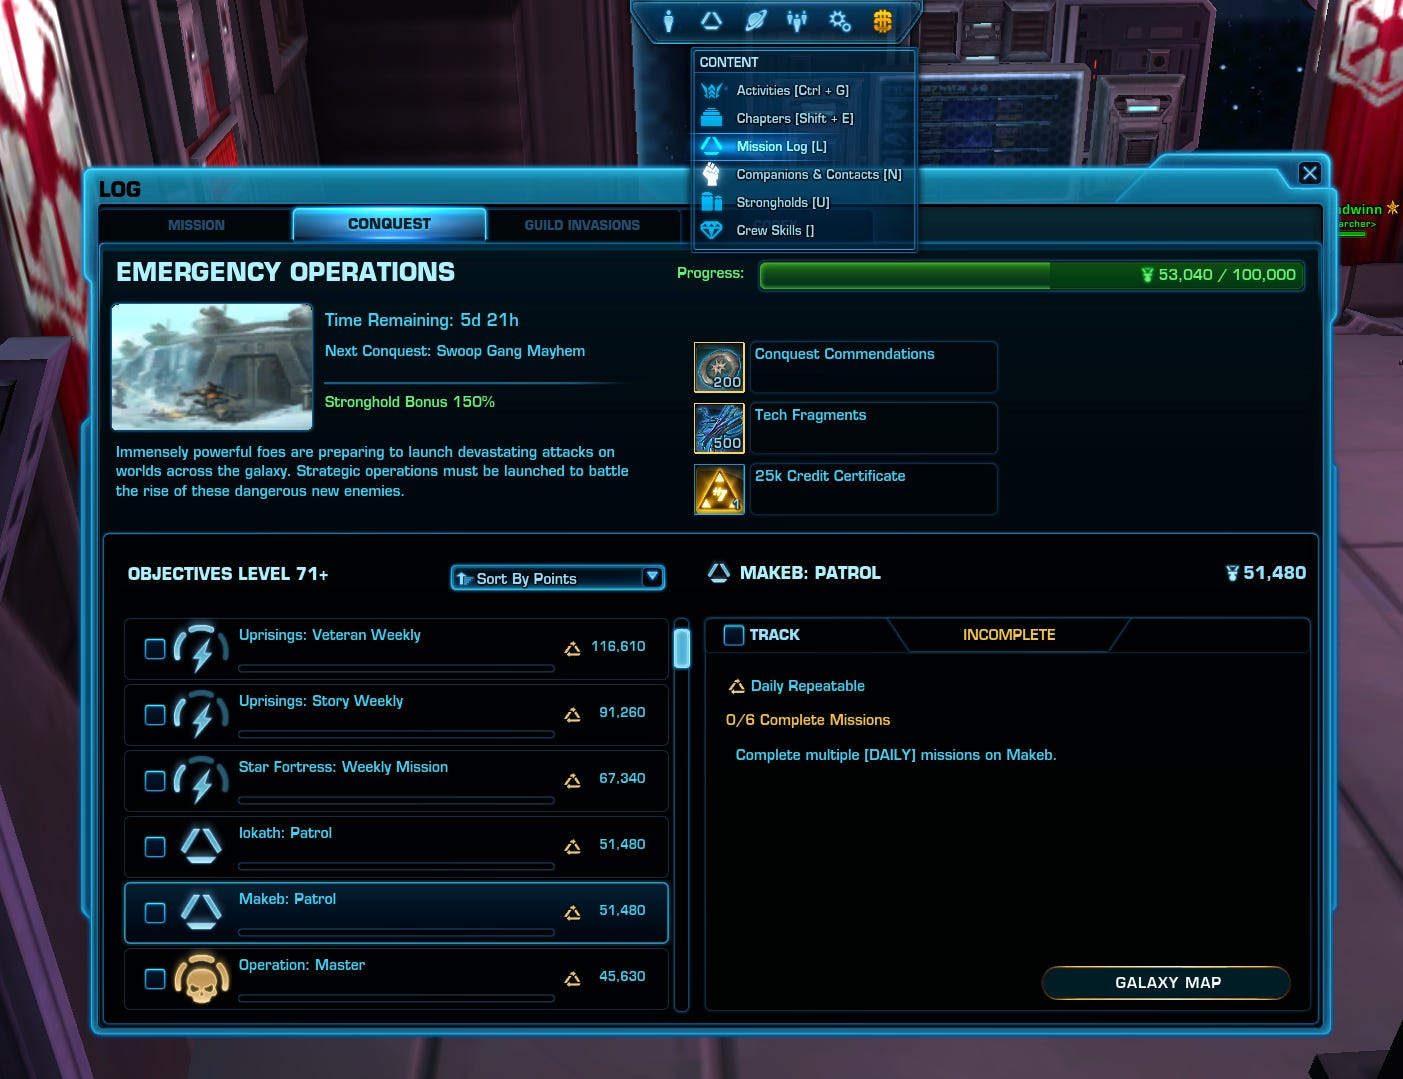
These activities change from week to week and you don’t need to focus too much on them, because just doing the Daily Areas and Heroic Missions will get you close to the goal anyway. But sometimes there is an easy Objective that you can grab for some quick points, such as improving your Stronghold.
Once you reach your Conquest goal of 100.000 points, you will earn your Personal Conquest reward, which nets you another 200 Conquest Commendations, some credits, and 500 Tech Fragments, which you will need later.
Step 3: Upgrade Conquest Earpiece
Once you have enough Conquest Commendations, return to the supply section of the fleet.
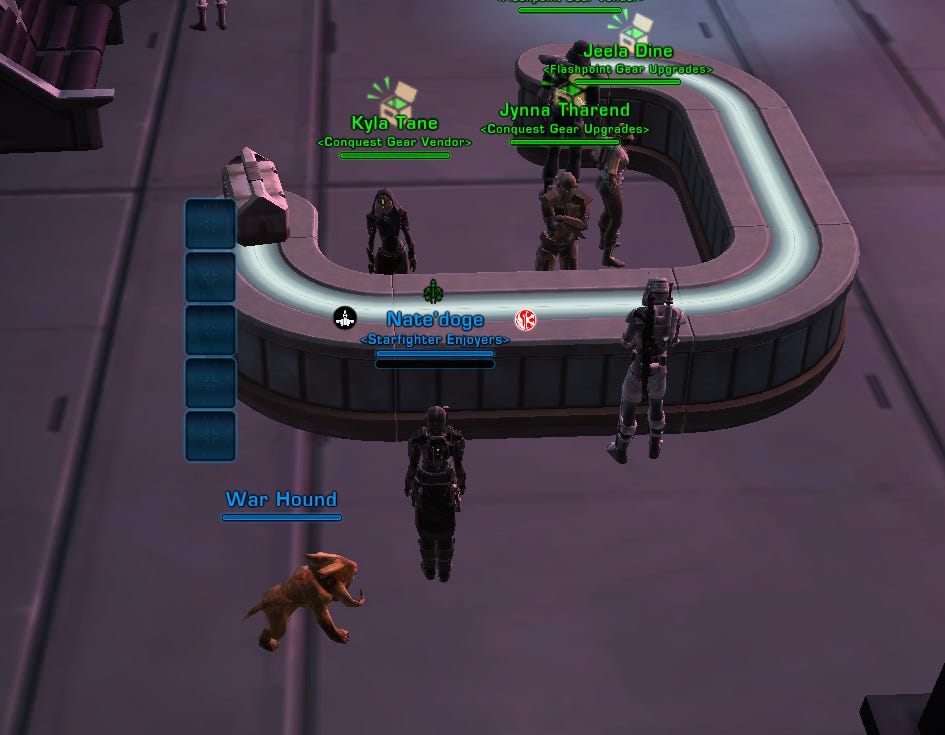
Here, you talk to the Conquest Gear Vendor and buy a full set of item rating 324 Noble Decurion gear.
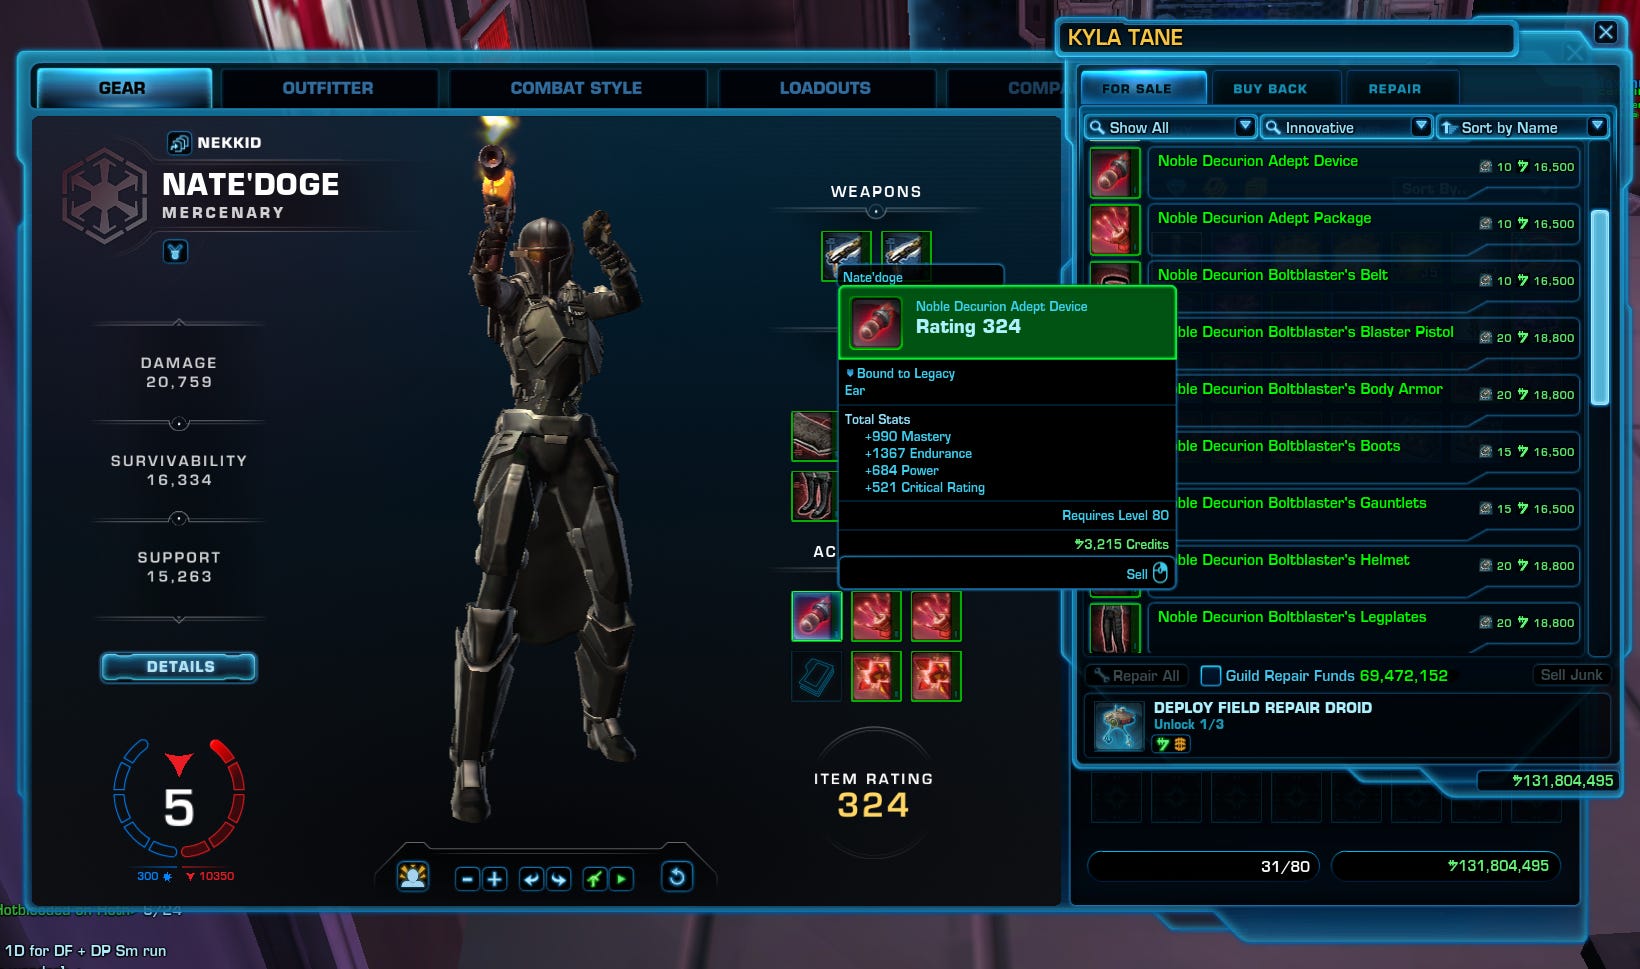
Next, you talk to the Conquest Gear Upgrade Vendor and upgrade your Noble Decurion earpiece. This process works step-by-step meaning you first buy the 326 earpiece, then the 328 earpiece, then the 330, and so on.
For PVP you only need to upgrade up to rating 336. But if you also want to play PVE, upgrade it to the maximum of 340.
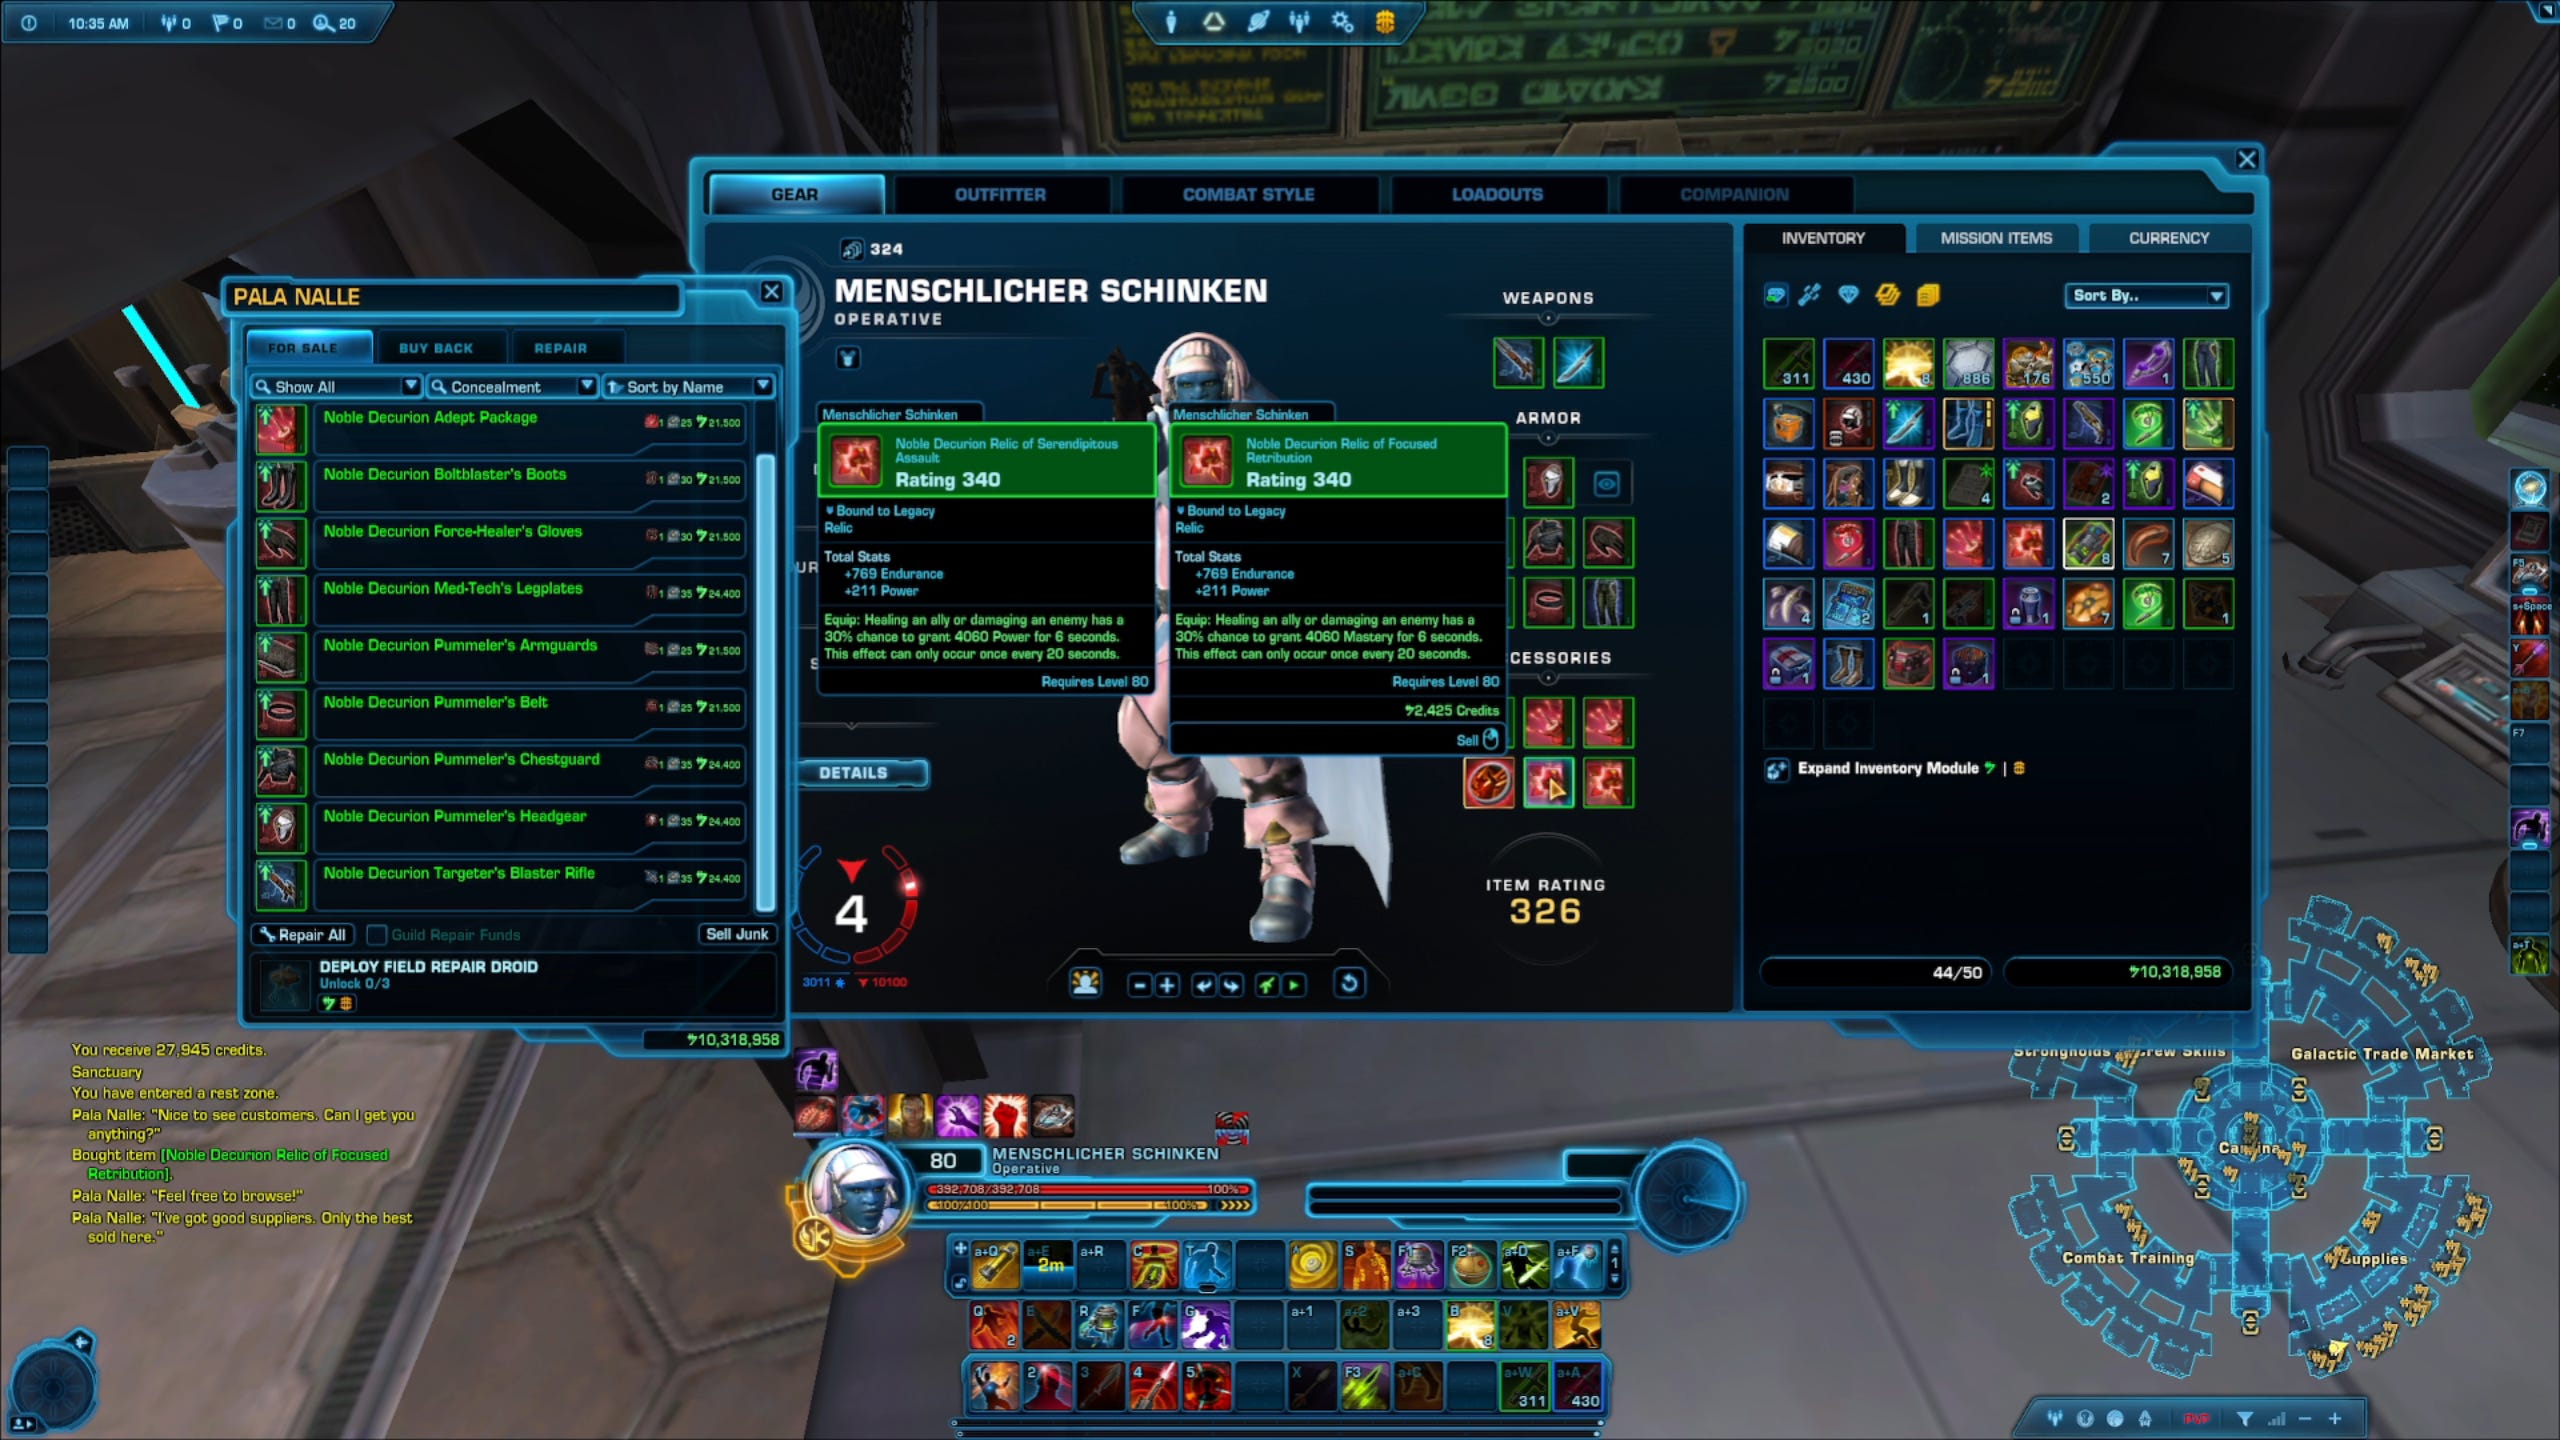
If you are a returning player and you have some extra Conquest Commendations saved up you can speed up the next step by buying two Noble Decurion Relics and upgrading them as well.
If you have even more Commendations saved, you can also get two Noble Decurion implants. You will need to replace them eventually with your legendary implants, but for the next step, we’ll use the green ones.
Step 4: Farm Red Reaper Flashpoint
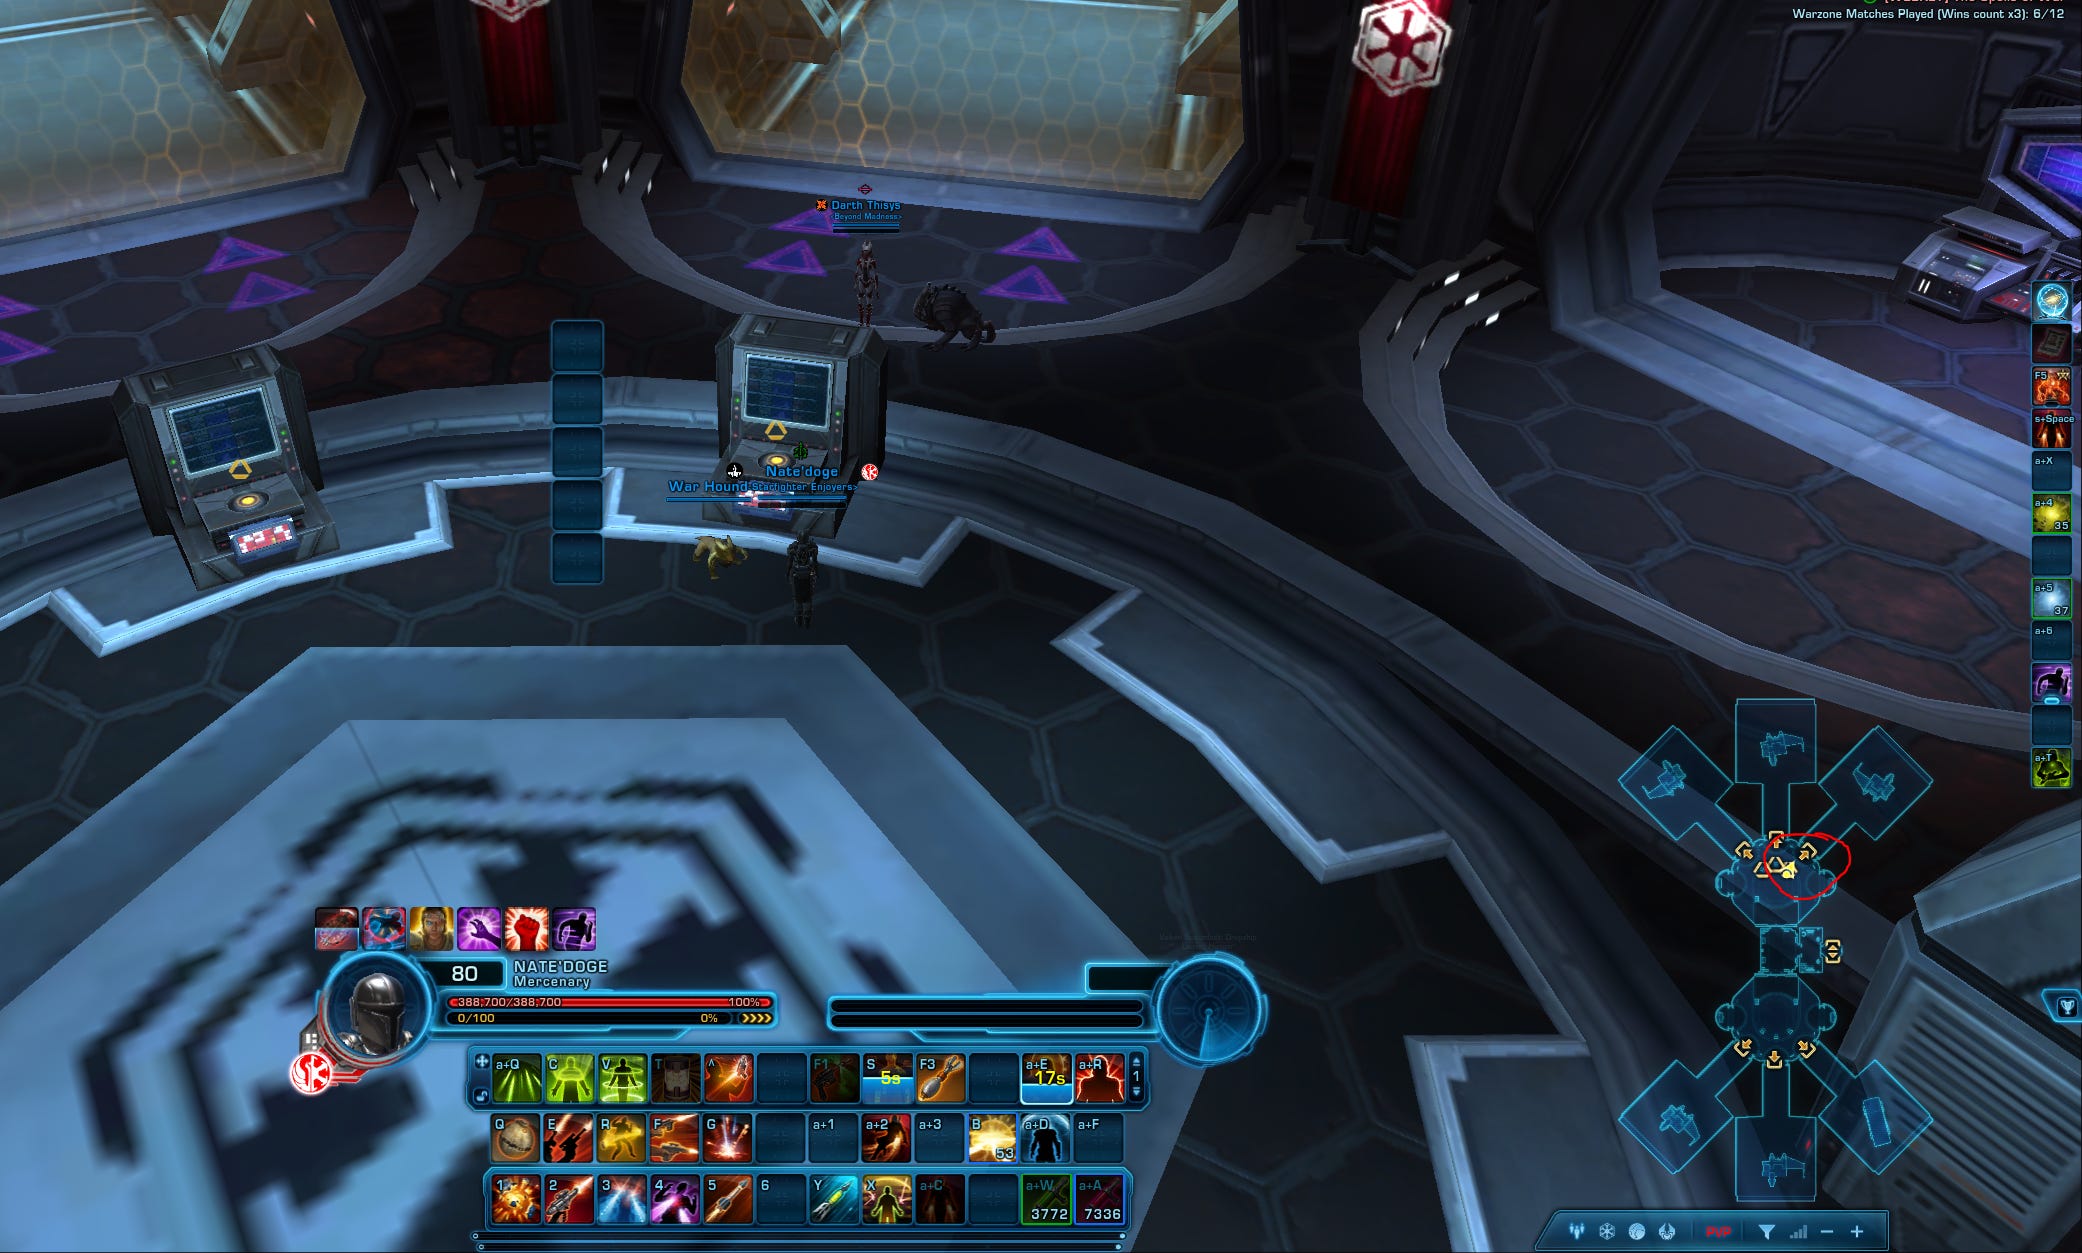
Next, you walk over to the Mission Departures Elevator and go to the Dropship Launch Hangar.
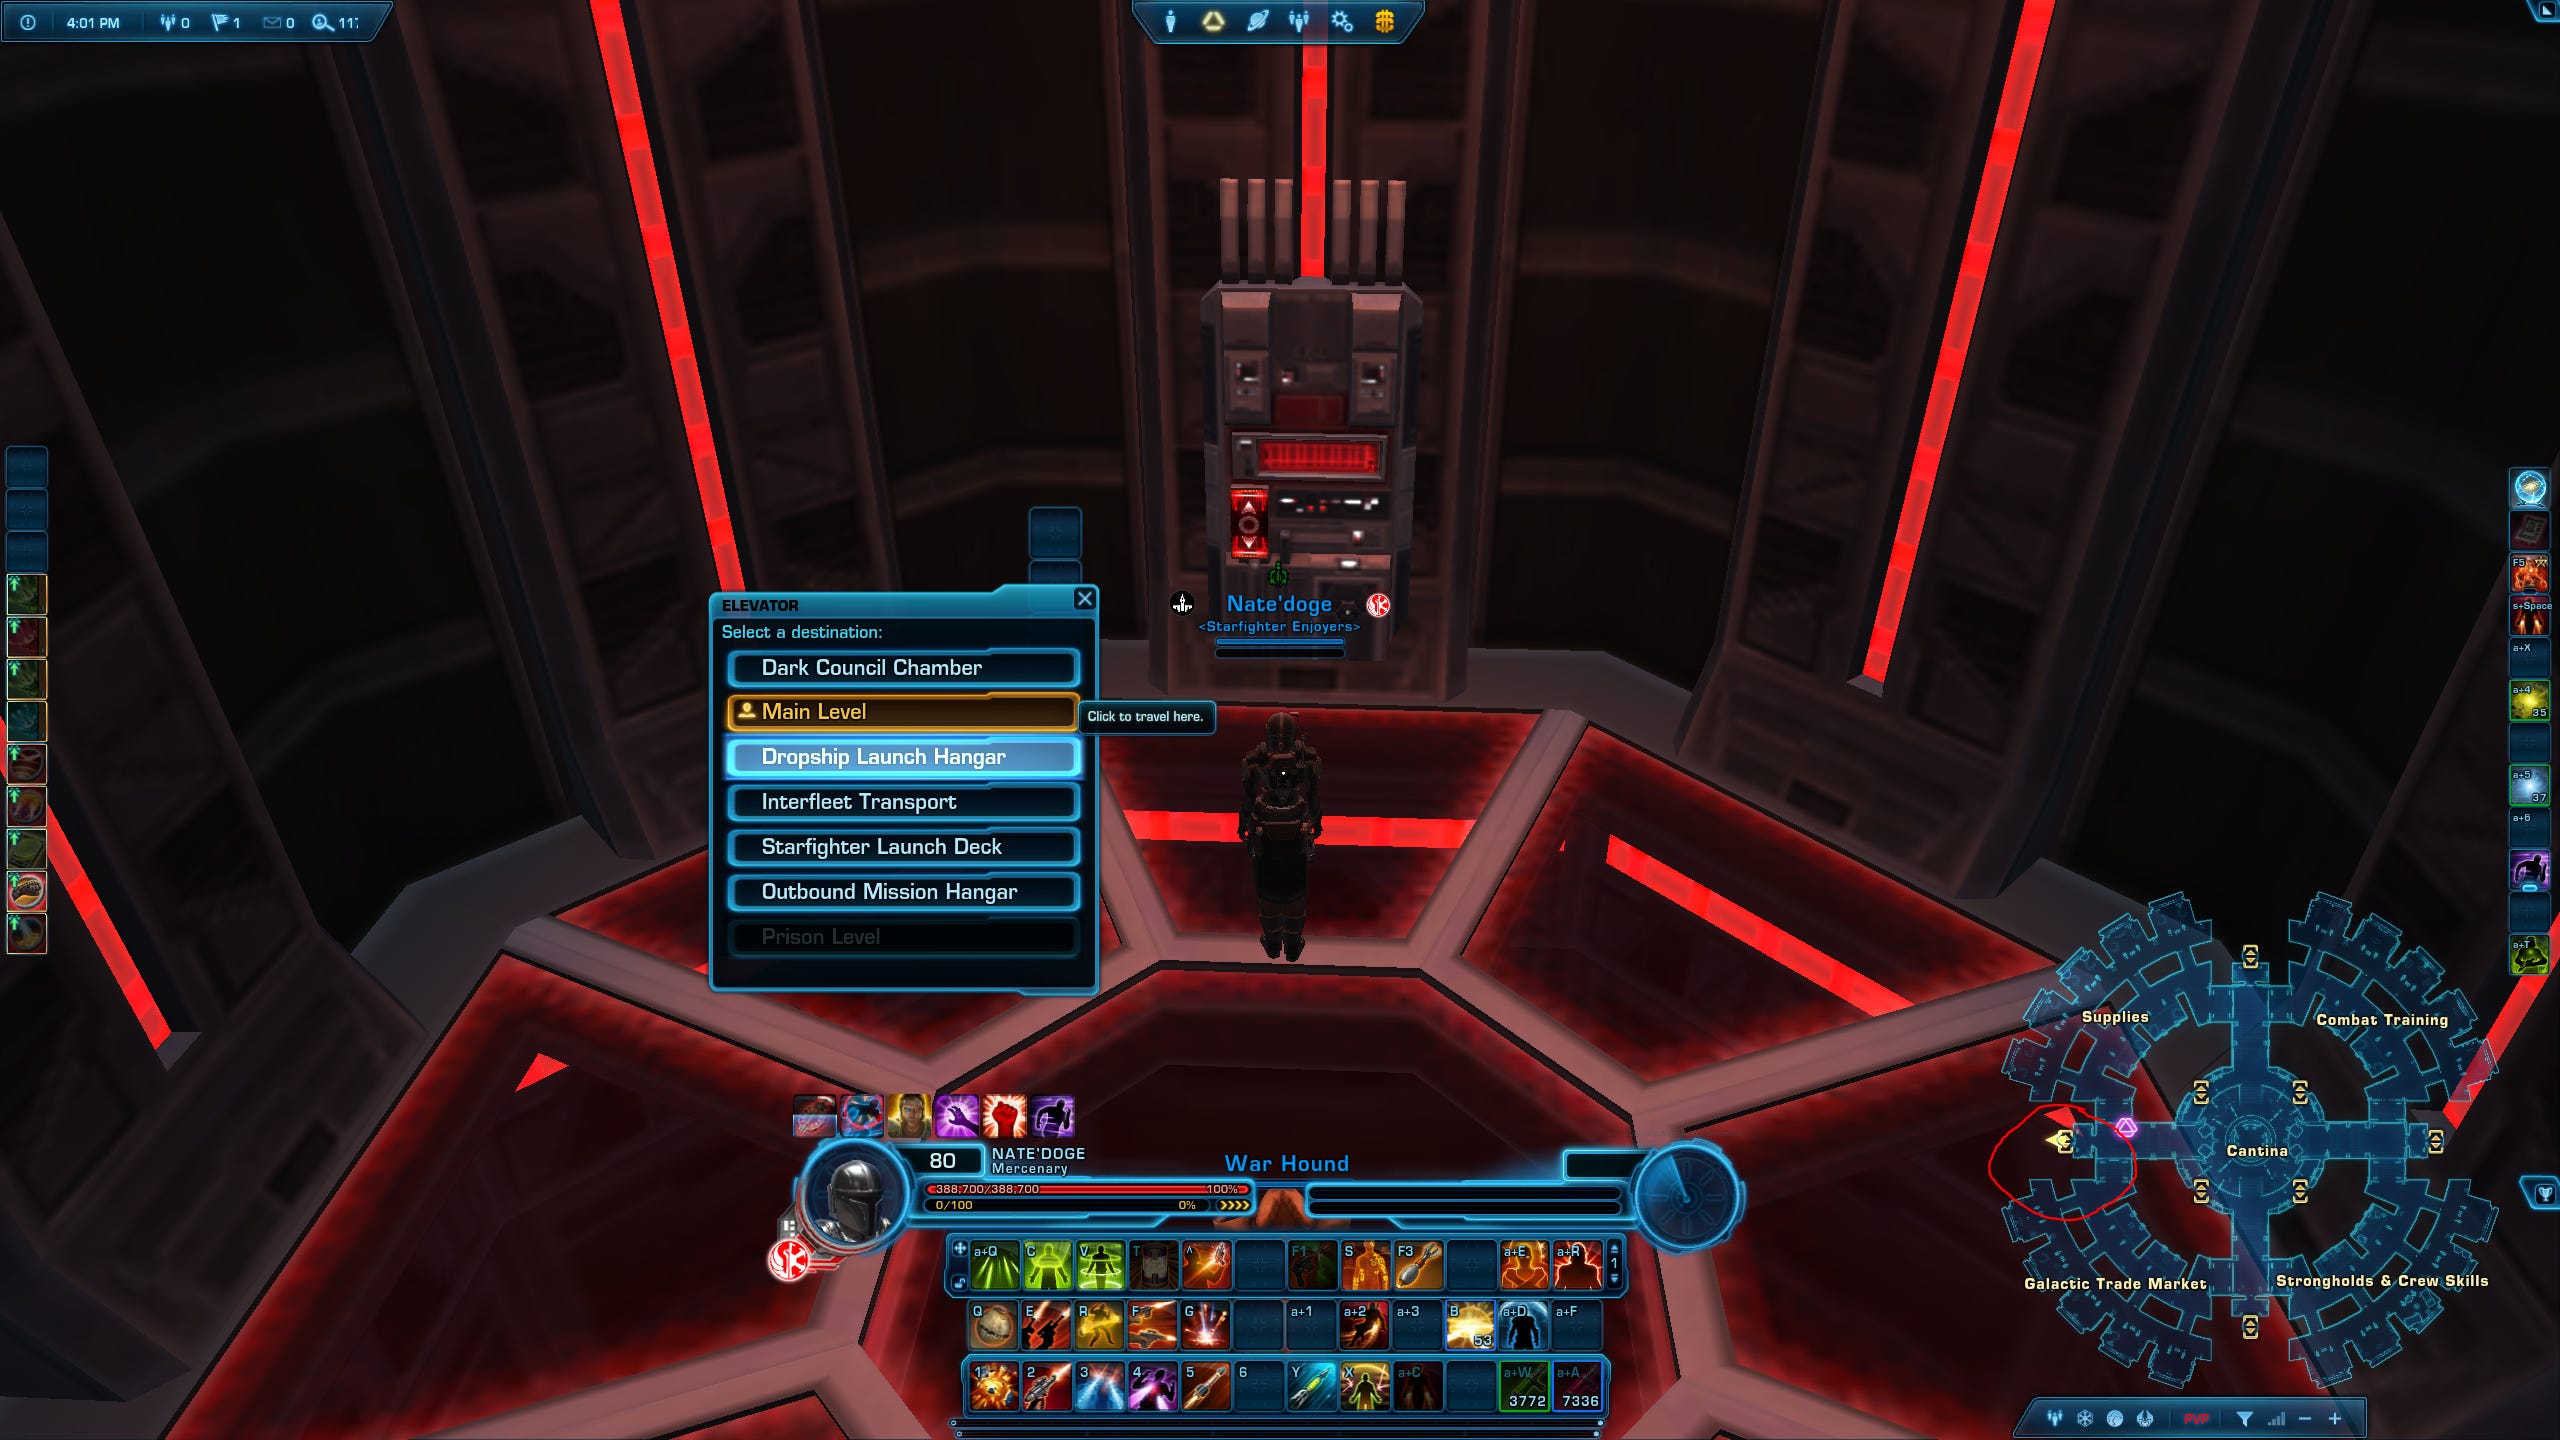
From there, you walk over to this terminal and accept the Flashpoint: Red Reaper mission on Veteran Difficulty.
Next, we will farm the first boss of this Flashpoint, because he has a chance to drop a blue prototype-quality earpiece.
This is solo-able on any class. The only thing we need is our trusty companion, set to healer mode. Being specced into a dps combat style makes it faster, so I recommend that.
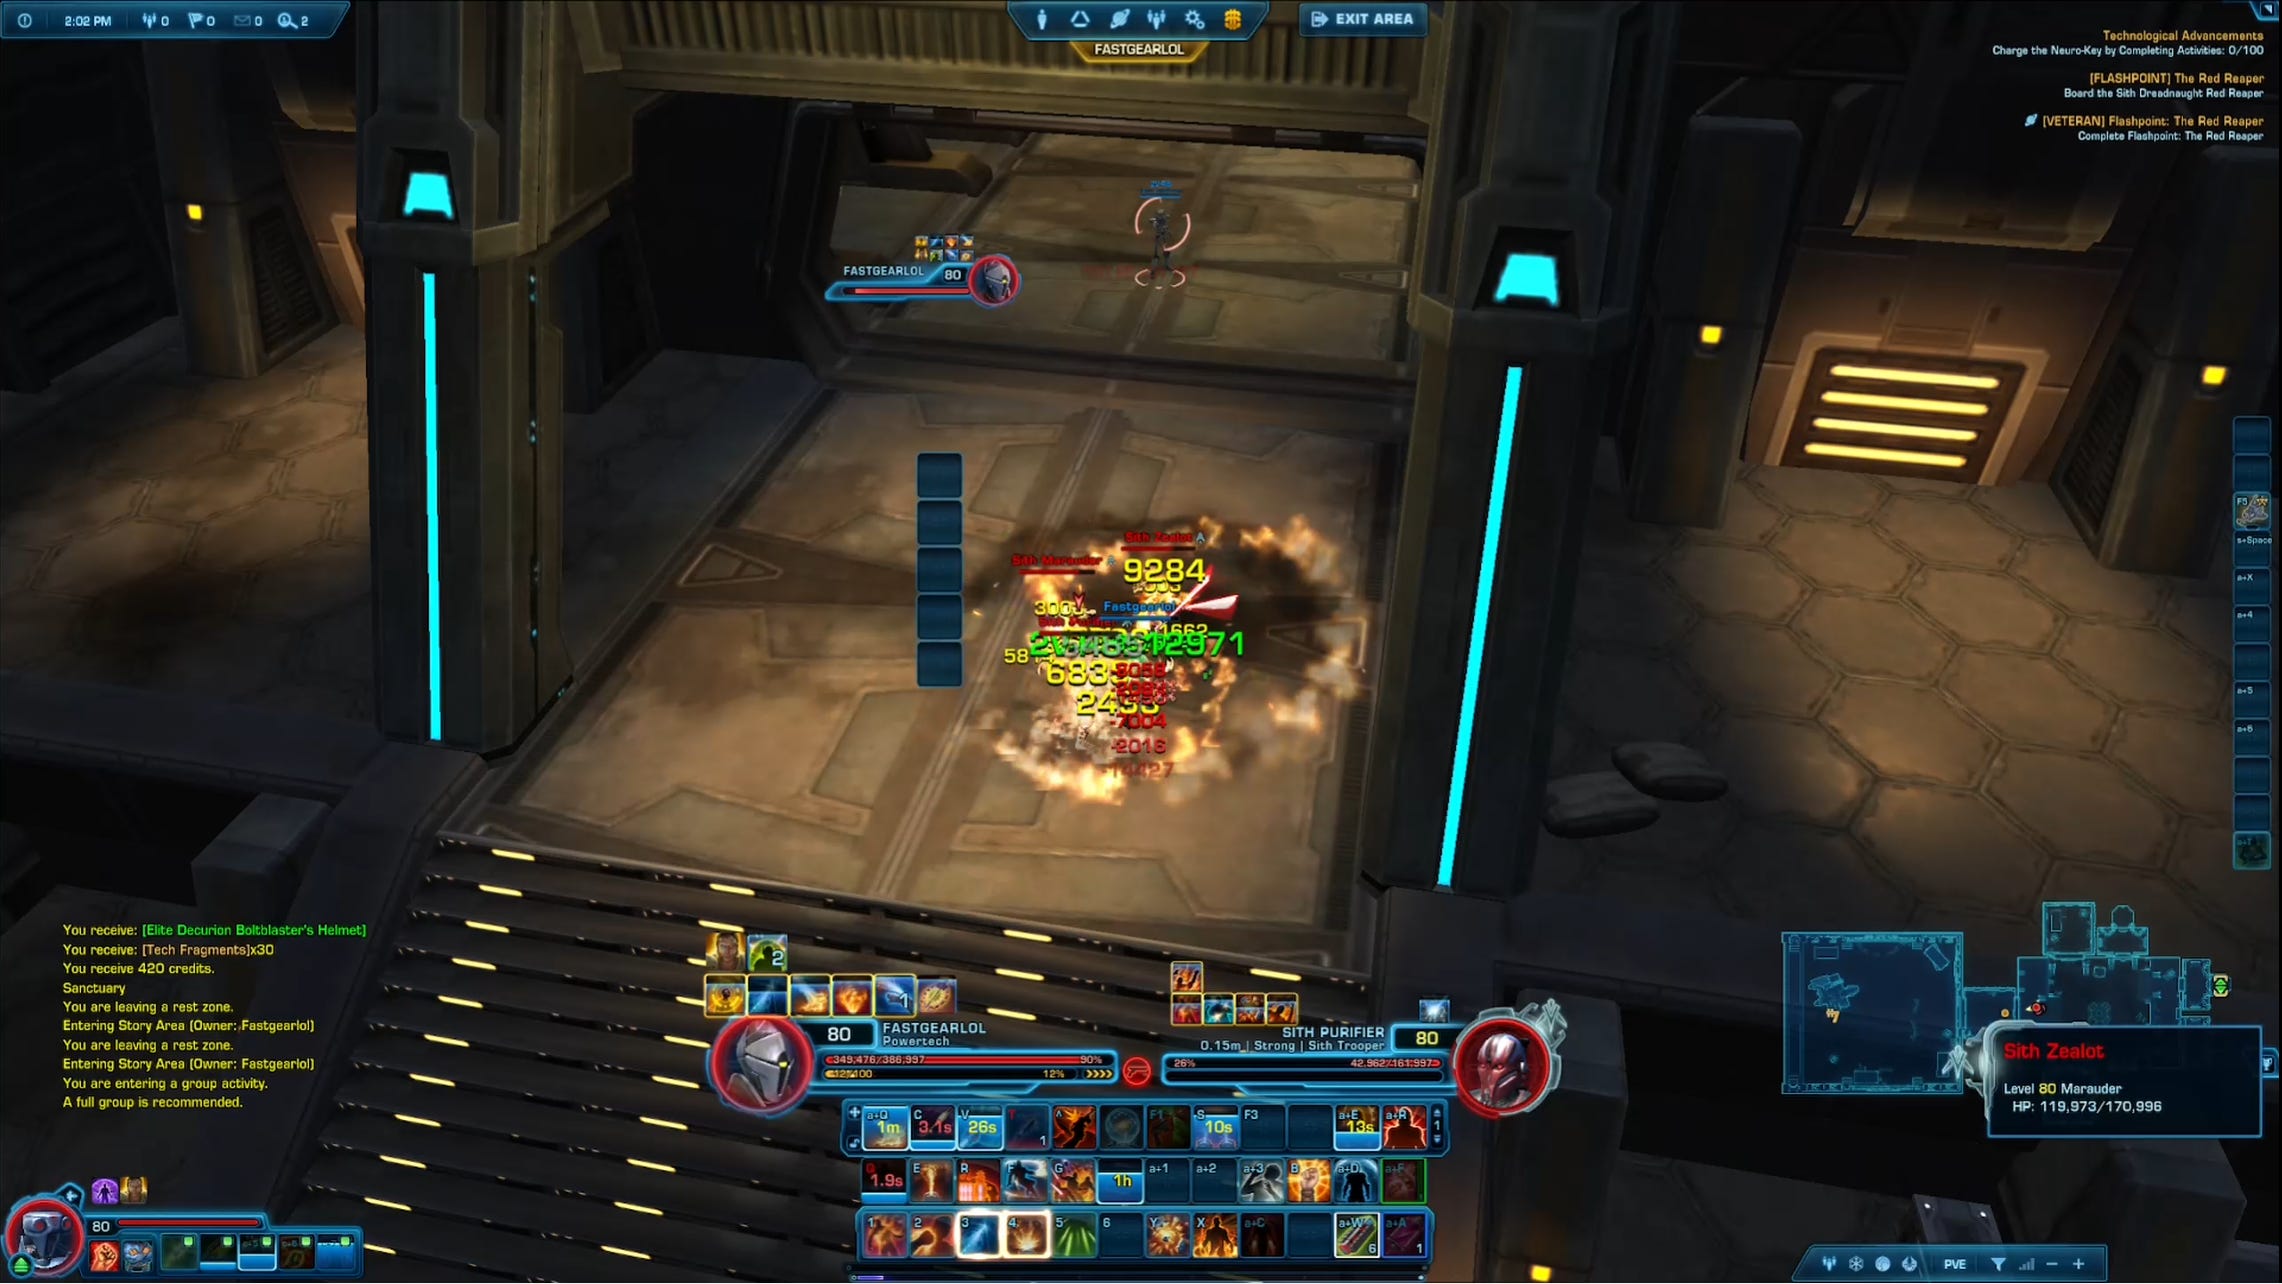
Some tips on the Flashpoint: As soon as you enter the first room, run to the right and walk behind the big container to avoid drawing aggro of all the adds in the first room.
The adds in the corridor between the first and second room will always attack you, even if you are stealthed. I recommend grouping them up and killing them fast with AoE.
Afterward, stay to the left to avoid all the adds in the second room and make your way to the elevator.
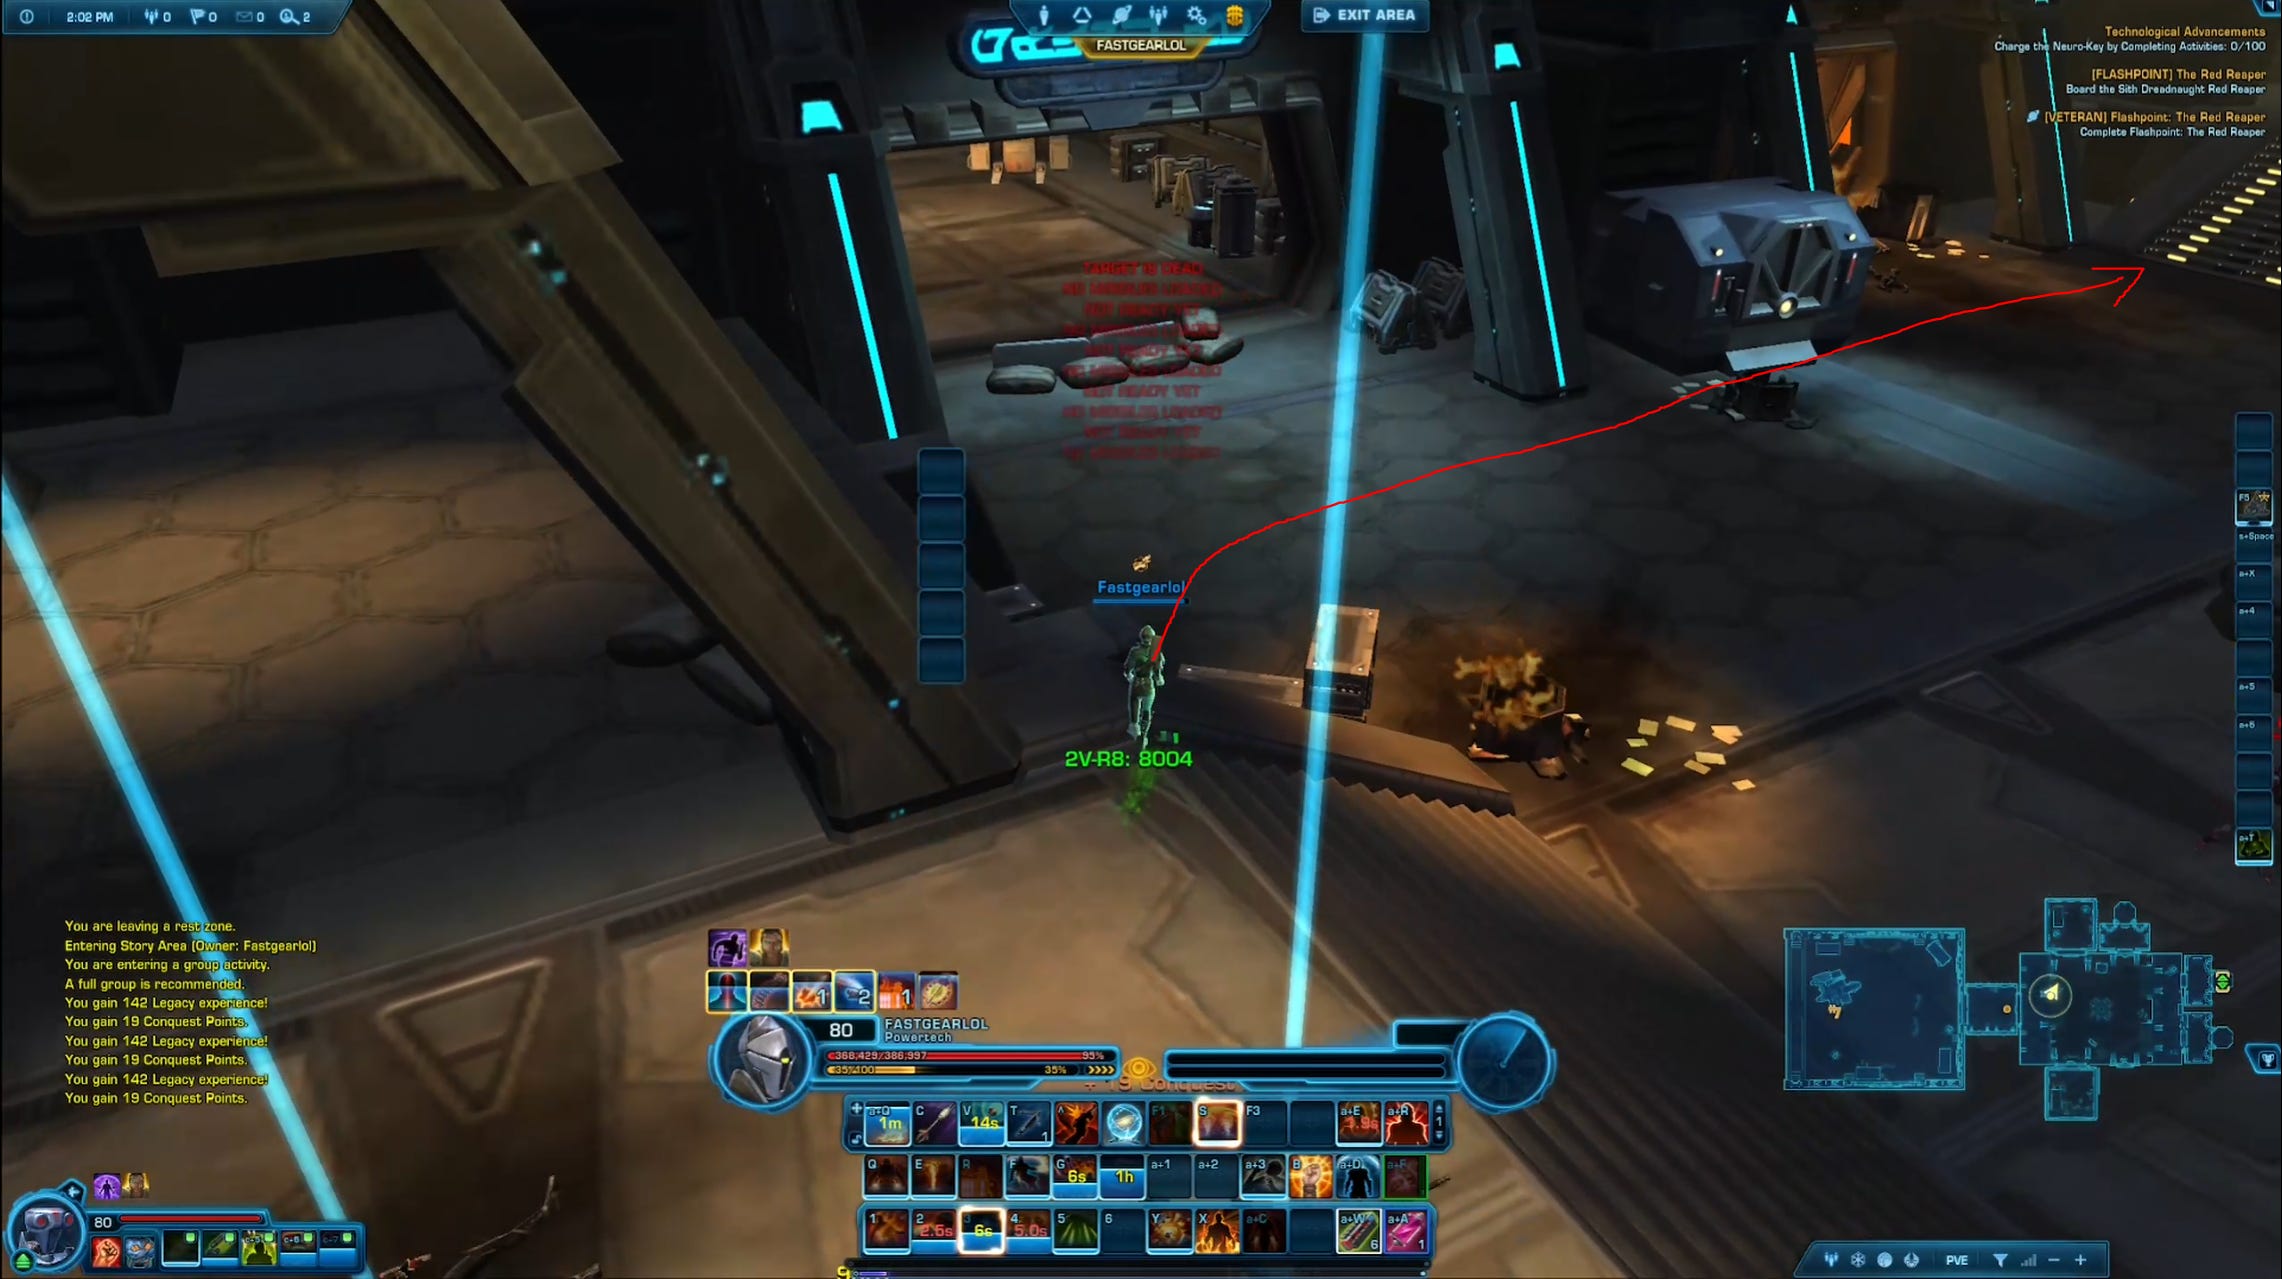
On the other side of the elevator there are two groups of adds that you need to kill. This is the hardest part of the Flashpoint, so make sure to use your cooldowns and Heroic Moment here, if needed.
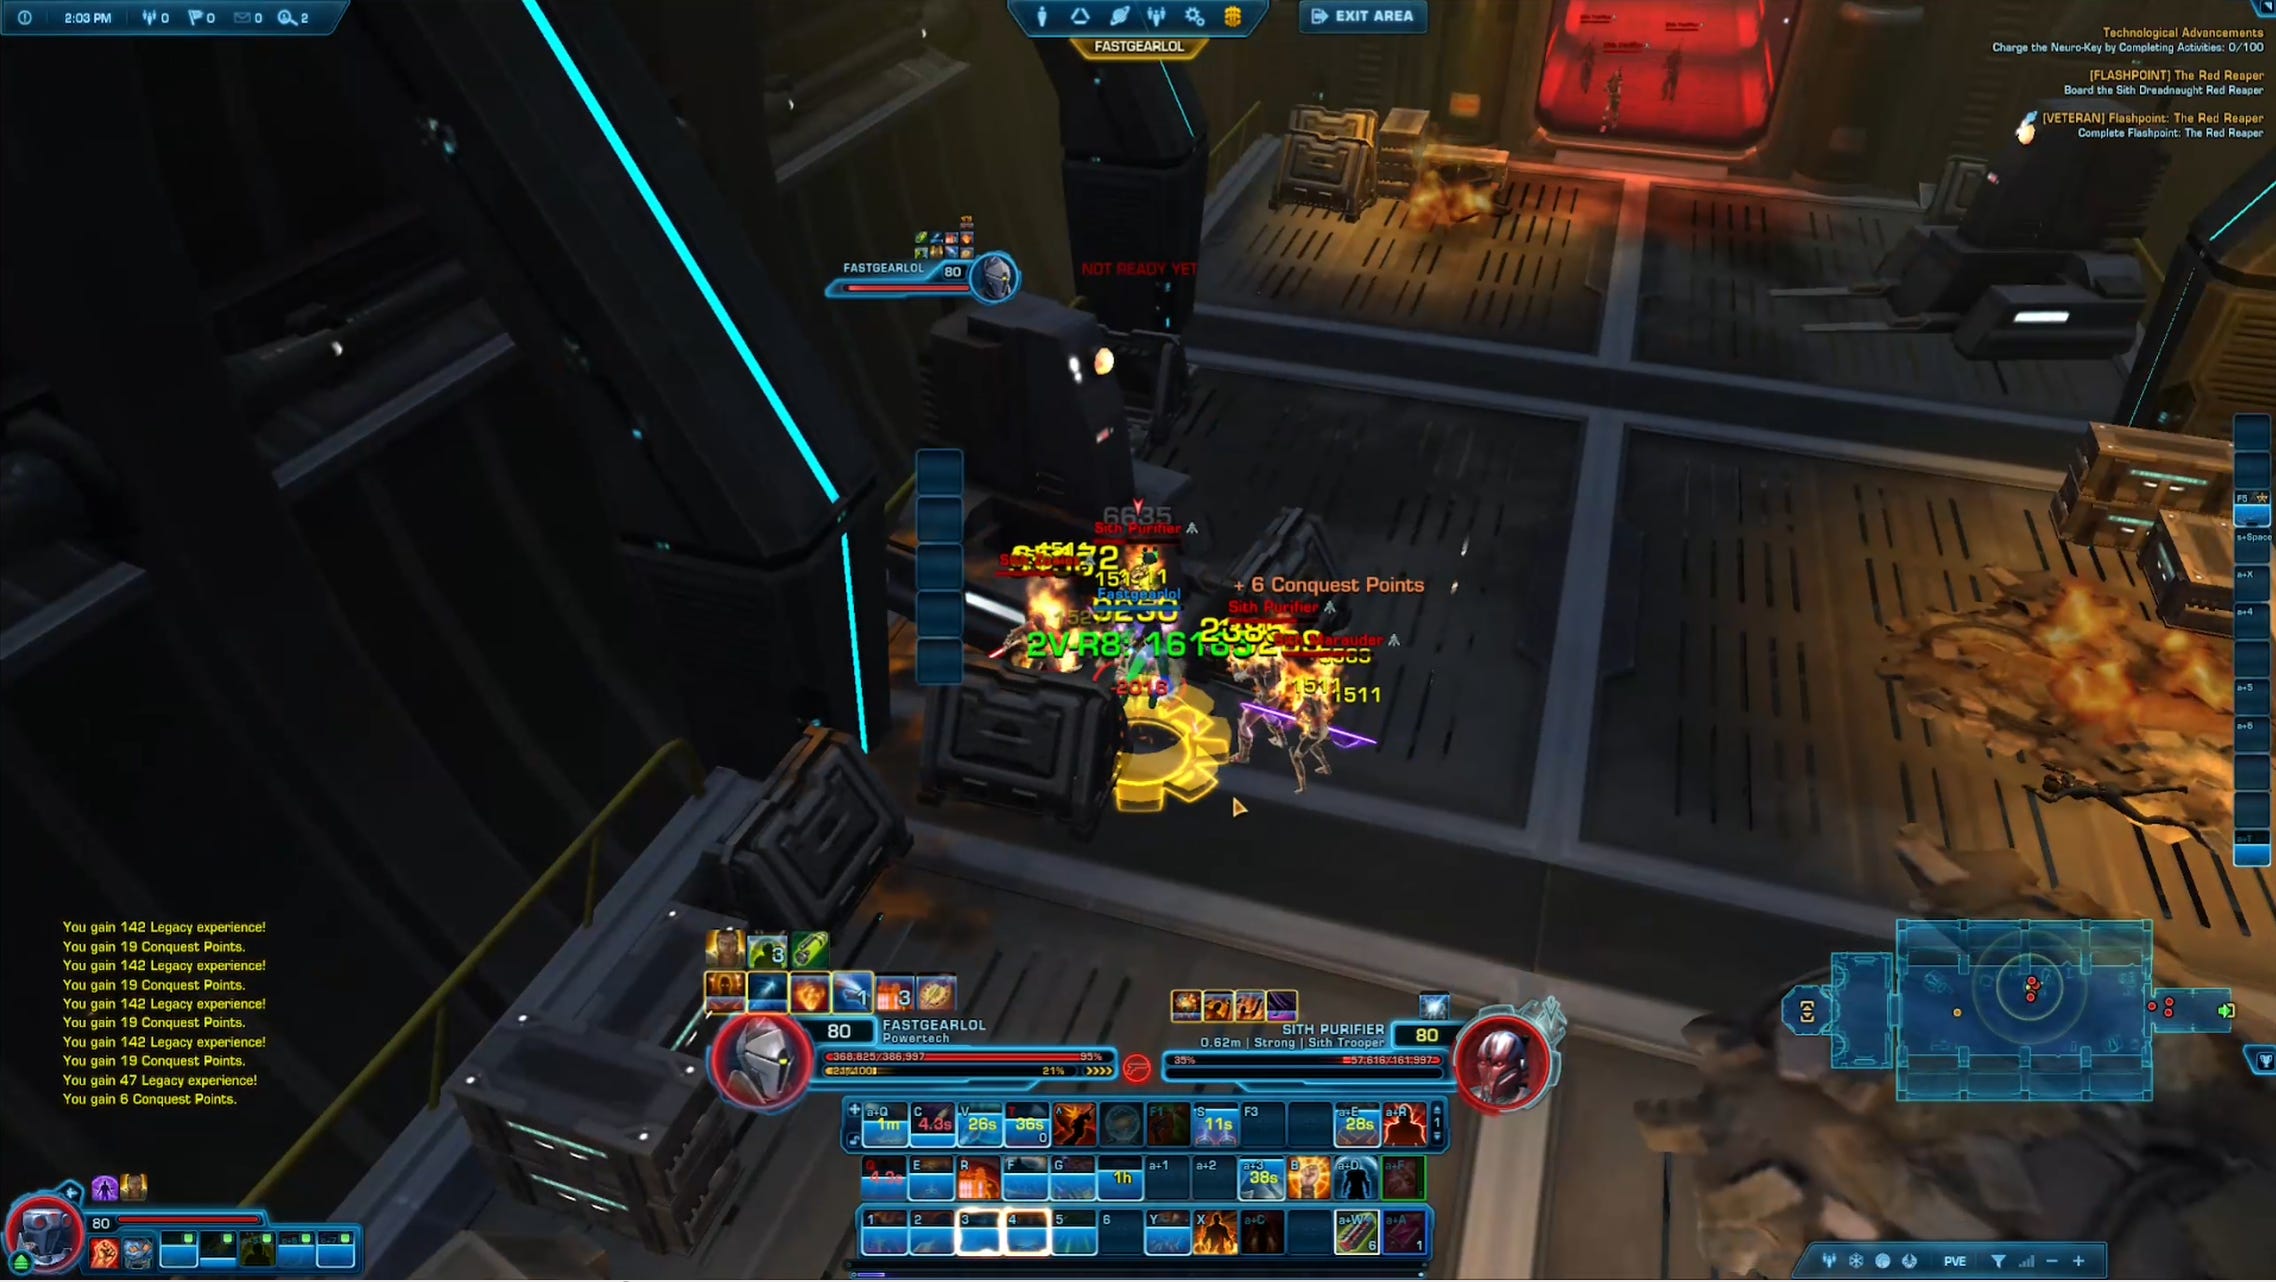
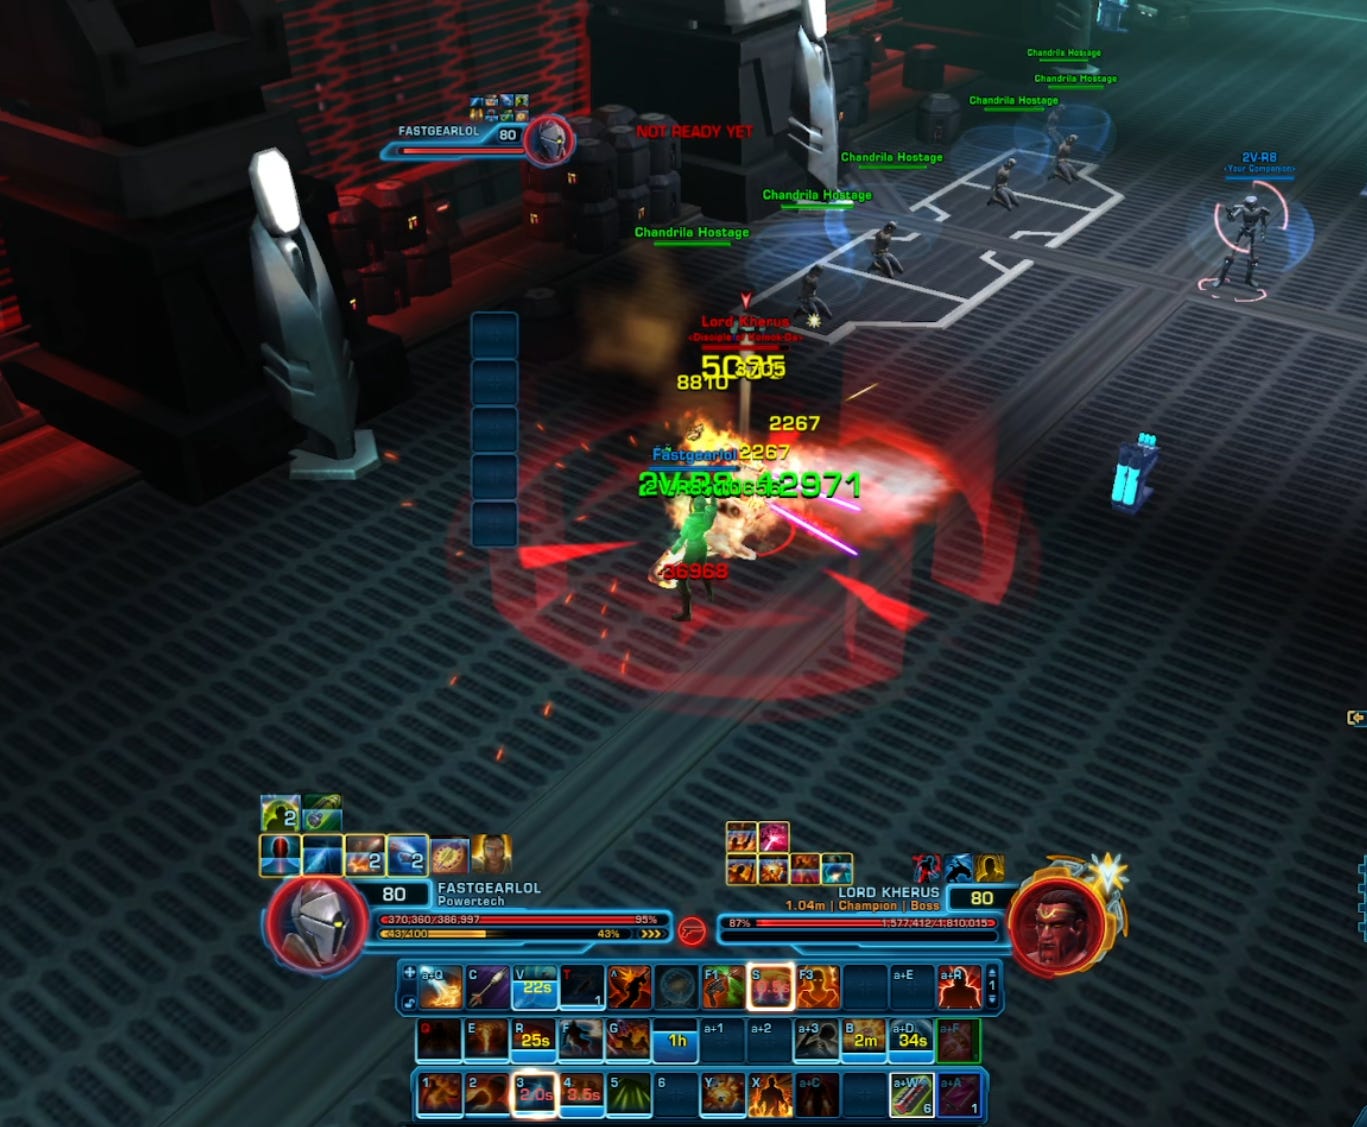
Finally, you will fight the boss, Lord Kherus. He is quite buggy and takes a while to kill. Just interrupt the channel he does when he jumps to the middle of the room and don’t stand in the red stuff.
Here is a complete run-through as PyroTech using 324 gear, without a Tactical or Legendary Implants.
Once you kill the boss, he has a chance to drop a blue-quality Supreme Decurion earpiece.
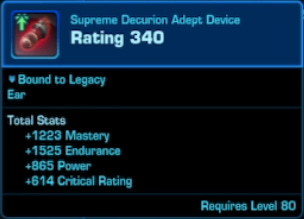
This drop is semi-random and it works as follows:
When dropping an item, the game first randomly picks an item slot. This can be any of the 14 gear slots. We need to get lucky and have it drop an earpiece.
Then it checks what item rating you have in that slot and drops an item of the same rating. This is why we upgraded our earpiece. Because if the game decides to drop an earpiece here, it will always be item rating 336 or 340, depending on what you have.
Next, it assigns the quality of the drop, depending on the type of content you’re in. Flashpoints in Veteran Mode difficulty will normally drop green-quality rewards, but they also have a chance to drop blue-quality Earpieces, Relics, or Implants.
Finally, the game determines the stats on the item depending on your loot discipline (e.g. Power Crit for DPS combat styles, Defense and Shield for Tank combat styles)
If you got unlucky and the boss did not drop the earpiece, click Exit Area, which will port you out of the Flashpoint.
After that, right-click your character portrait and reset the flashpoint:
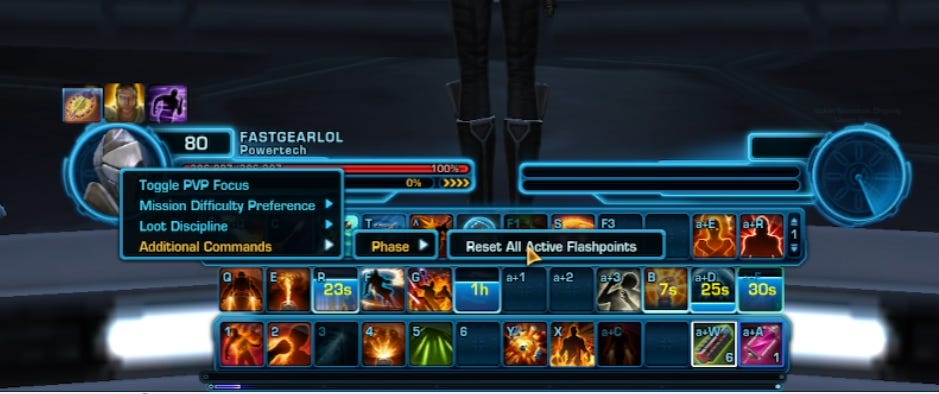
Now, you can enter again and repeat the process until the boss drops the earpiece.
Because you are running this very fast, the game will eventually block you from resetting the Flashpoint for a couple of minutes. At this point, I usually take a break, go pet my dog, or watch an Ivano1337 YouTube video.
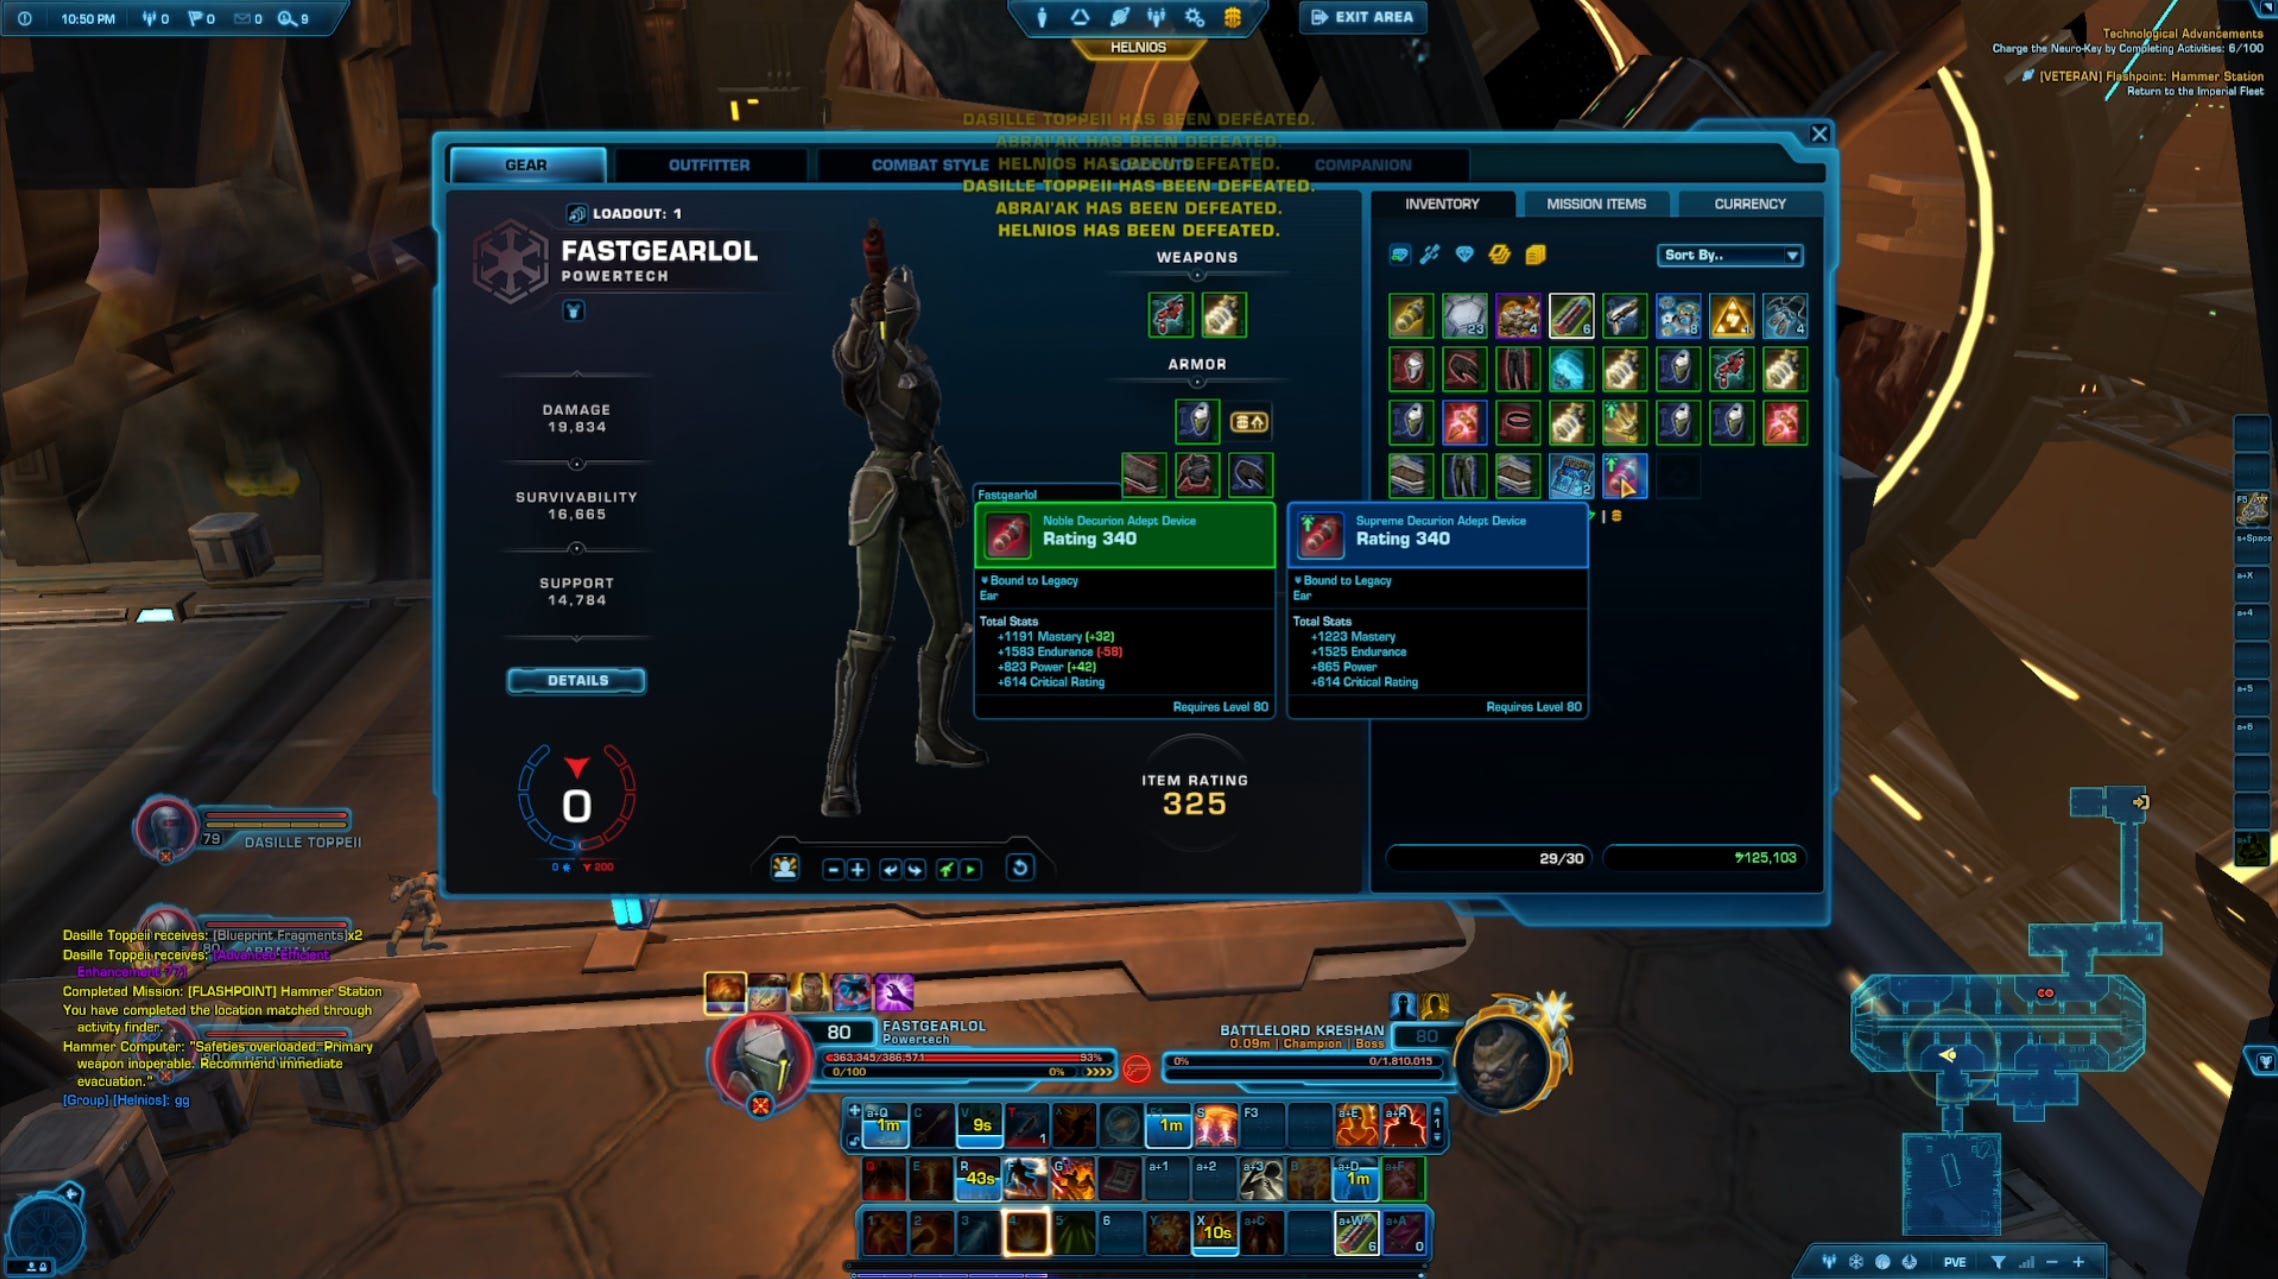
If you get bored of running only Red Reaper, you can also use the group finder and run any other Flashpoint. This is what I did as I got bored of killing the same boss over and over again. And eventually, I dropped the earpiece on the final boss of Hammer Station.
If you are a stealther, you can also solo Red Reaper on Master Mode Difficulty. Because as a stealther, you can skip the big group of adds just before the boss, which can be too hard to kill on Master Mode until you have better gear or a high-level companion.
When I did it on Master Mode, I dropped the blue earpiece after only 7 runs compared to the 20 runs it took me on Veteran Mode. I am not sure if that was only luck or if the boss has a higher chance of dropping the earpiece on Master Mode. But every time I dropped an earpiece, it was 340 and blue quality. So on average, I would expect that you need around 14 runs to drop it. And while I can’t promise that subscribing to my YouTube channel will improve your chance, it also certainly won’t hurt them.
Step 5: Unlock Mods from Hyde and Zeek
Once you have found your earpiece, go back to the fleet and find Hyde and Zeek, two Rodians who are hanging out in the Supply Section.
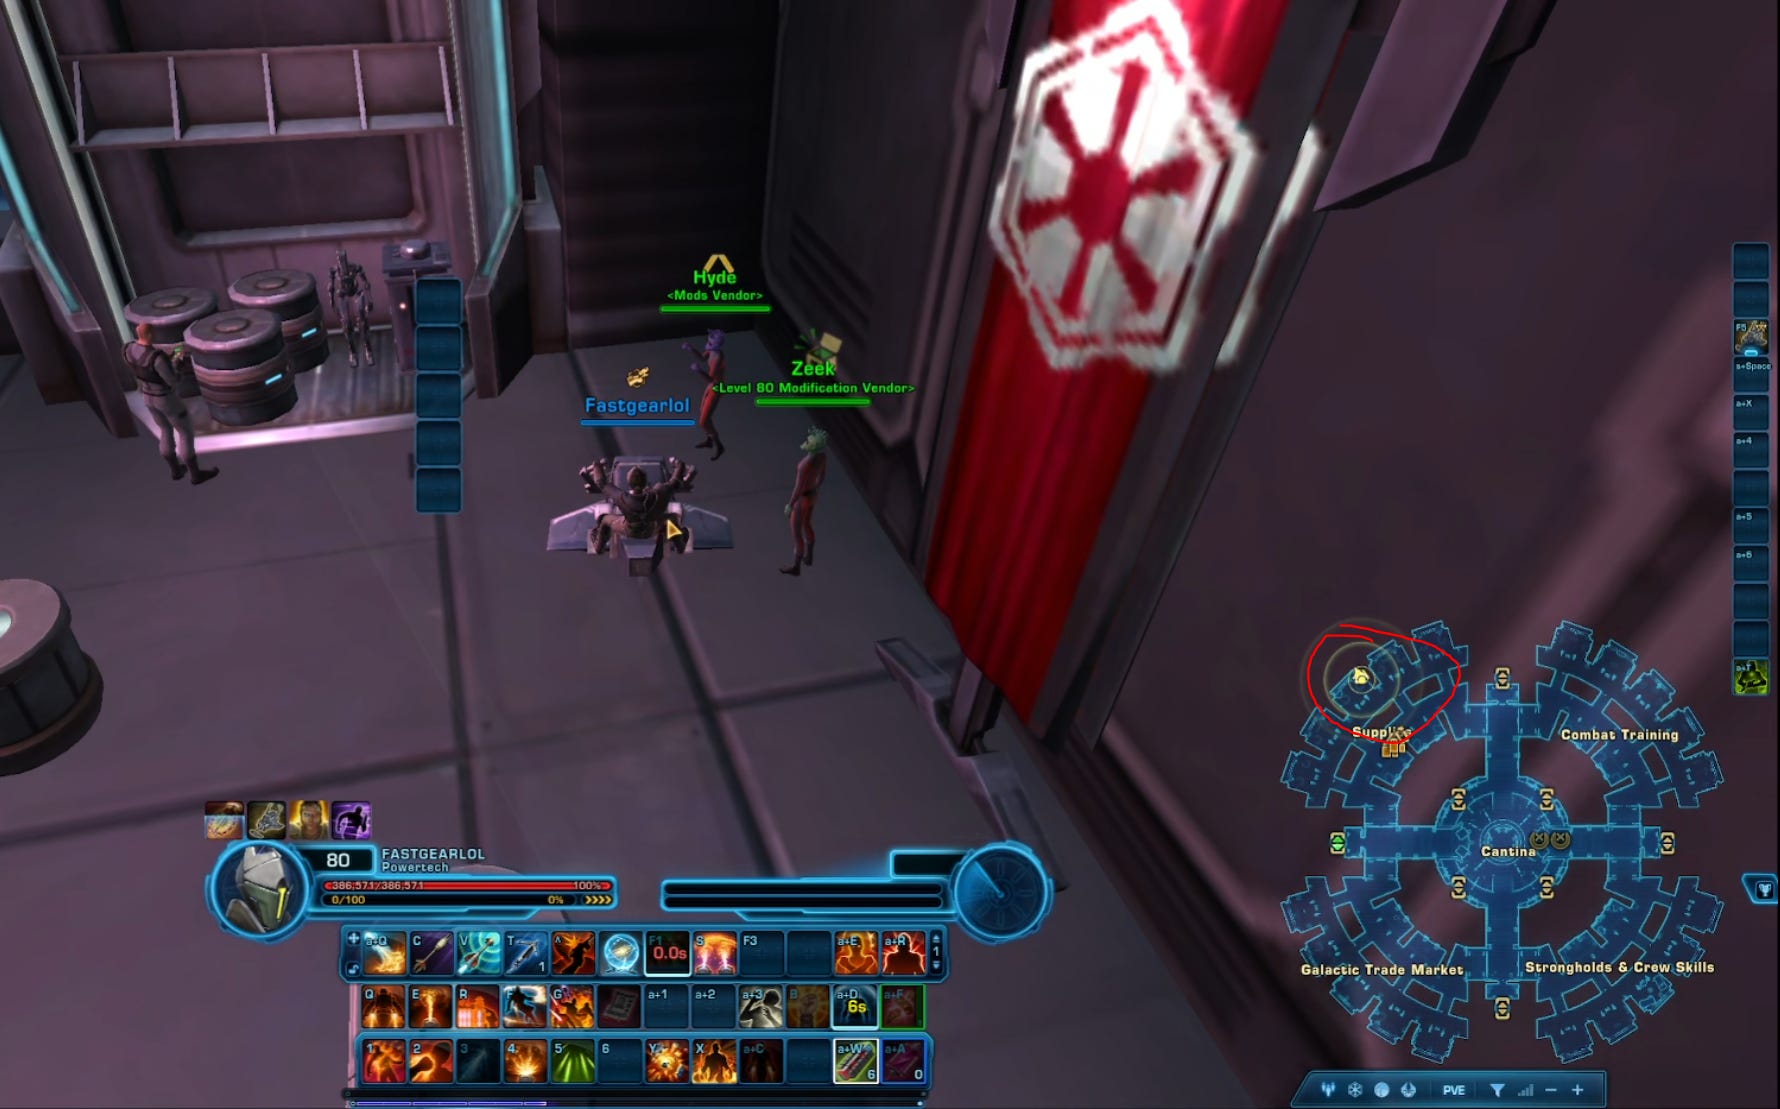
Hyde will give you a choice of quests. Make sure you accept the correct one, otherwise you will need to go back to Step 3:
336 Prototype modifications if you followed the PVP version of this guide and dropped a rating 336 blue Implant
340 Prototype modifications if you followed the PVE version of this guide and dropped a rating 340 blue Implant
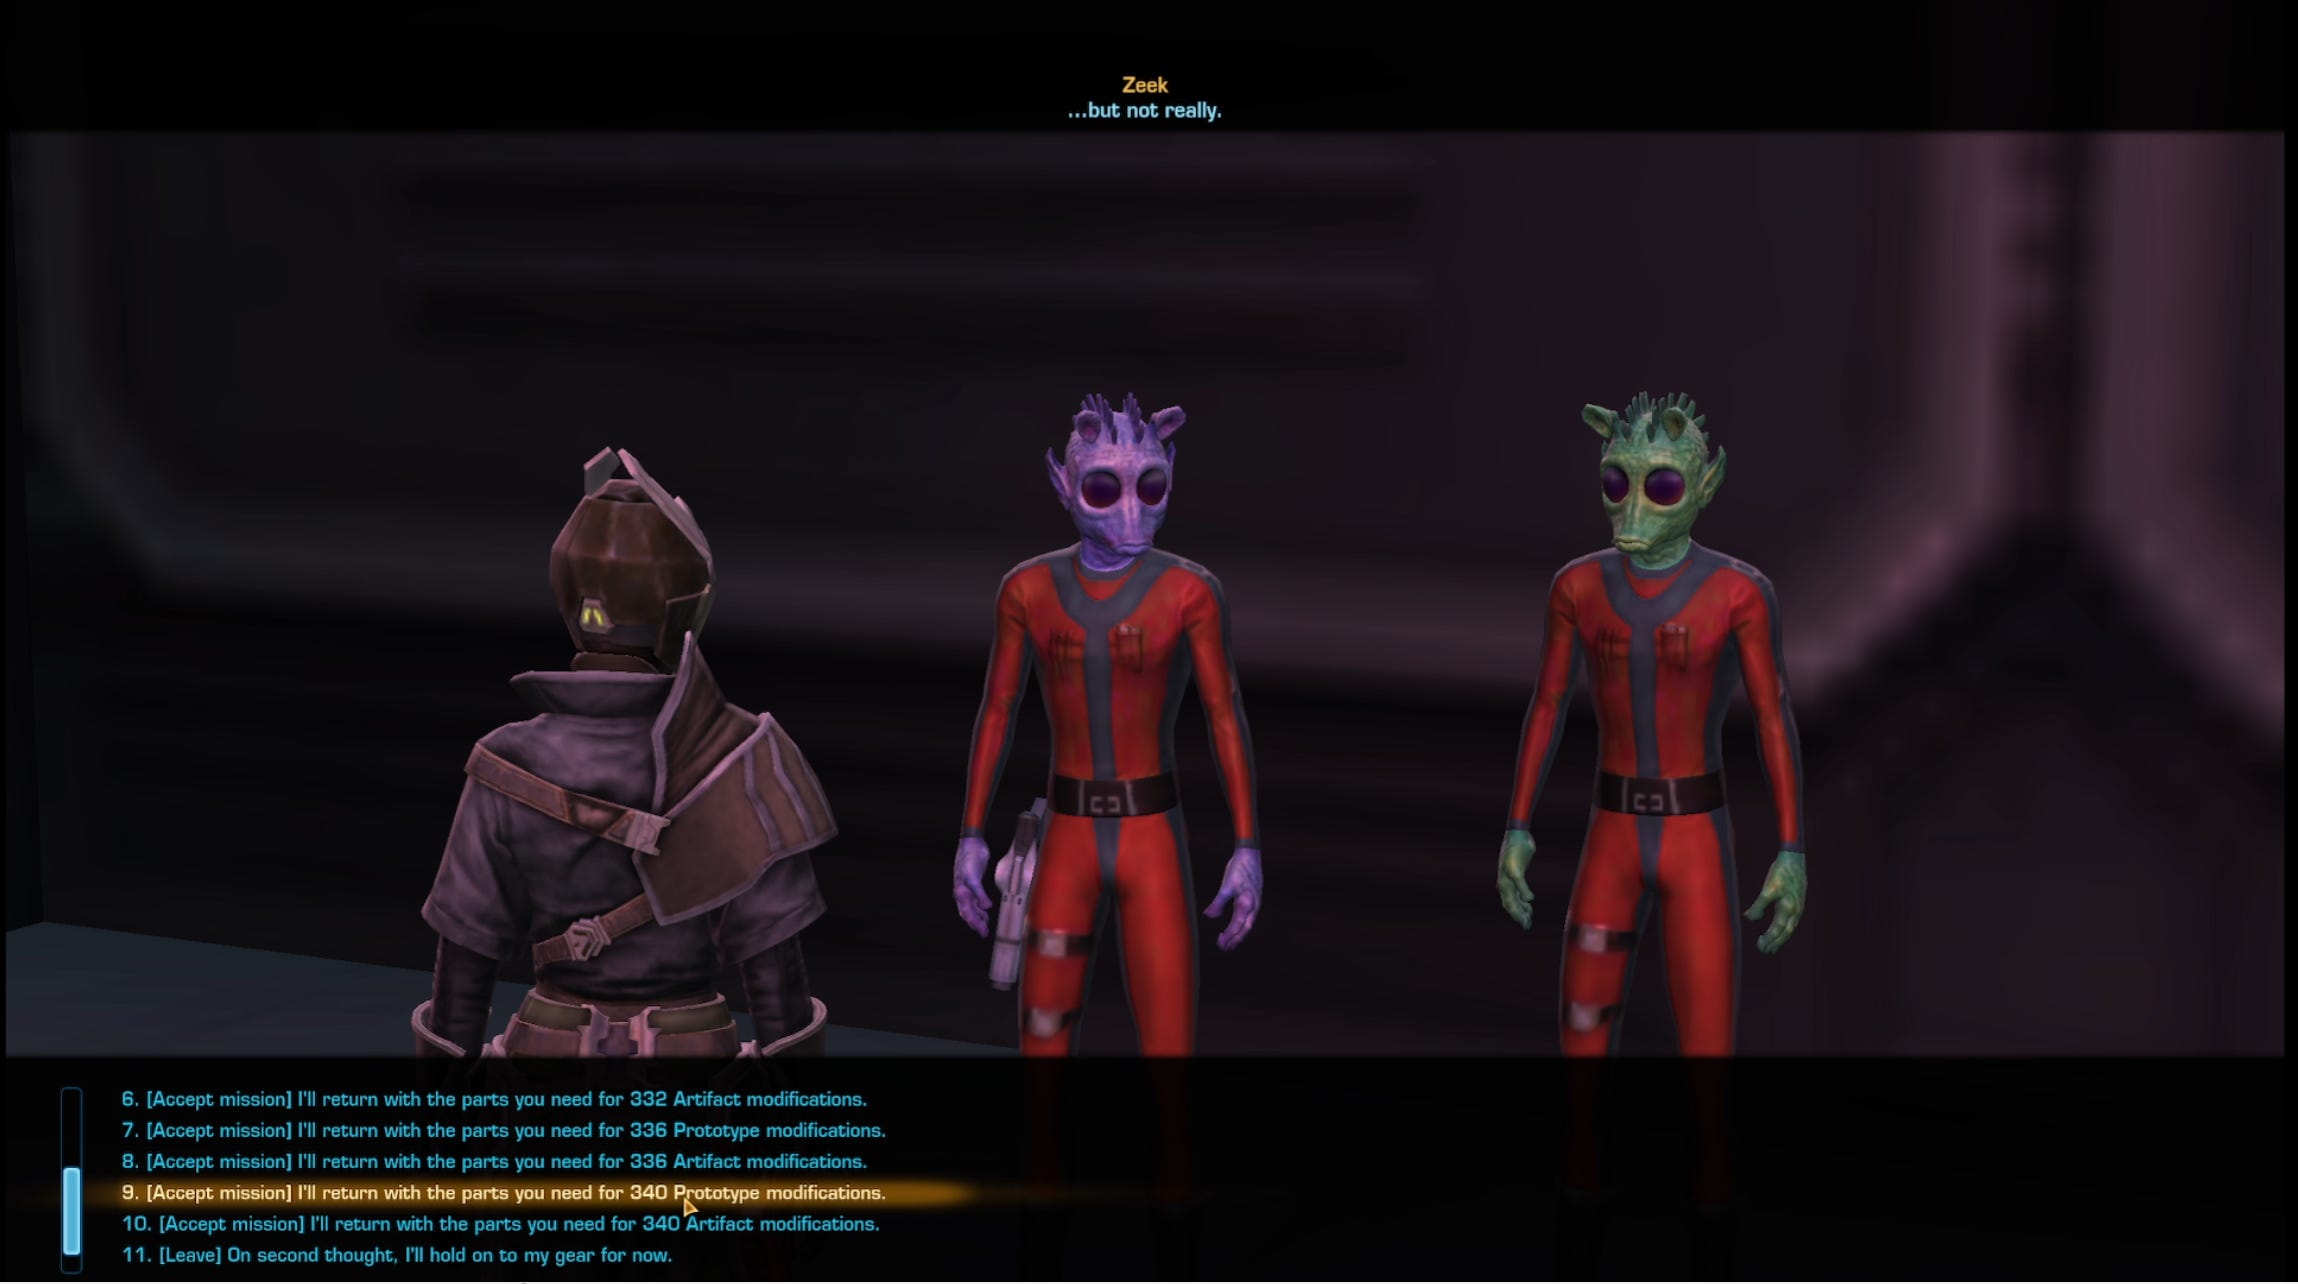
After accepting, deconstruct the earpiece, which will destroy it, and complete the quest. Make sure to triple-check that you have indeed accepted the correct quest before doing this.
After talking to Hyde one more time, Zeek will sell you blue quality modifications. Make sure to toggle the Combat Style Filter to “All”, otherwise you won’t see all the modifications.
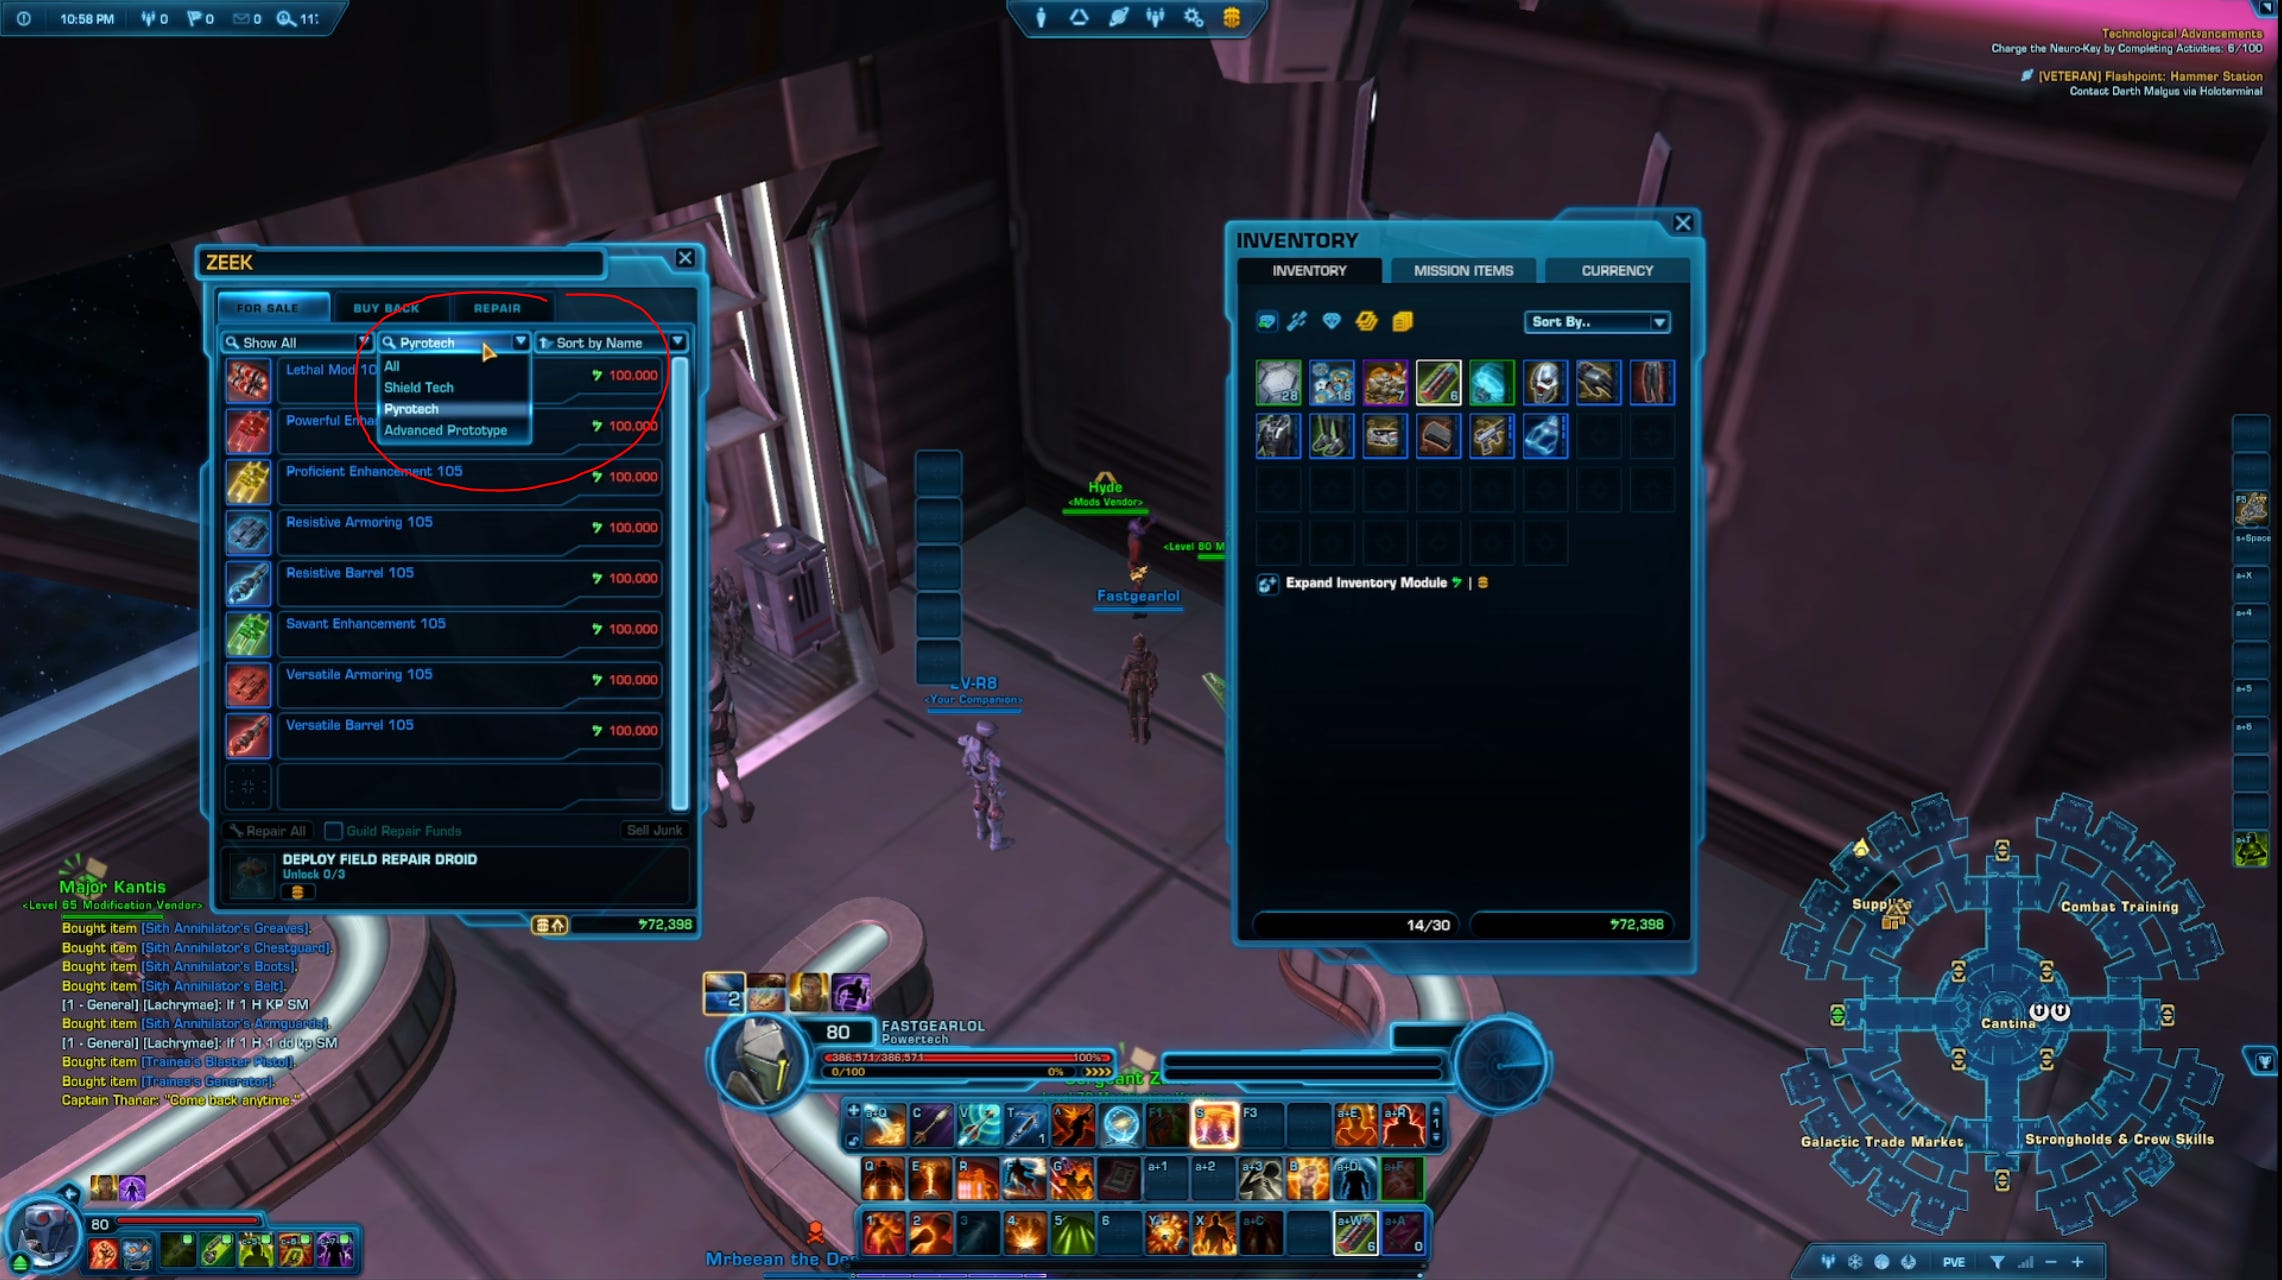
If you are not sure what modifications to buy, I included the exact number of mods you need in my recent class guides. Check them out here and feel free to ask a question in the comments if something is unclear.
Each mod costs 100,000 Credits, so you will need about 2,500,000 Credits to fully deck out your character. In case you don’t have that, skip to step 8 and farm some Tech Fragments, then come back here.
Step 6: Buy moddable Legacy Gear
Once you have your mods, go to the Adaptive Gear vendor, and buy yourself a set of moddable Legacy Gear, which you can share between all characters in your legacy.
The Spoils of War Vendor also sells unidentified Legacy Mainhand and Offhands (depending on your Loot discipline).
Now you simply drop your mods into the Legacy gear and you almost have a full set of gear with a solid item rating that gives you more than enough power to get into the more difficult endgame content.
Step 7: Subscribe
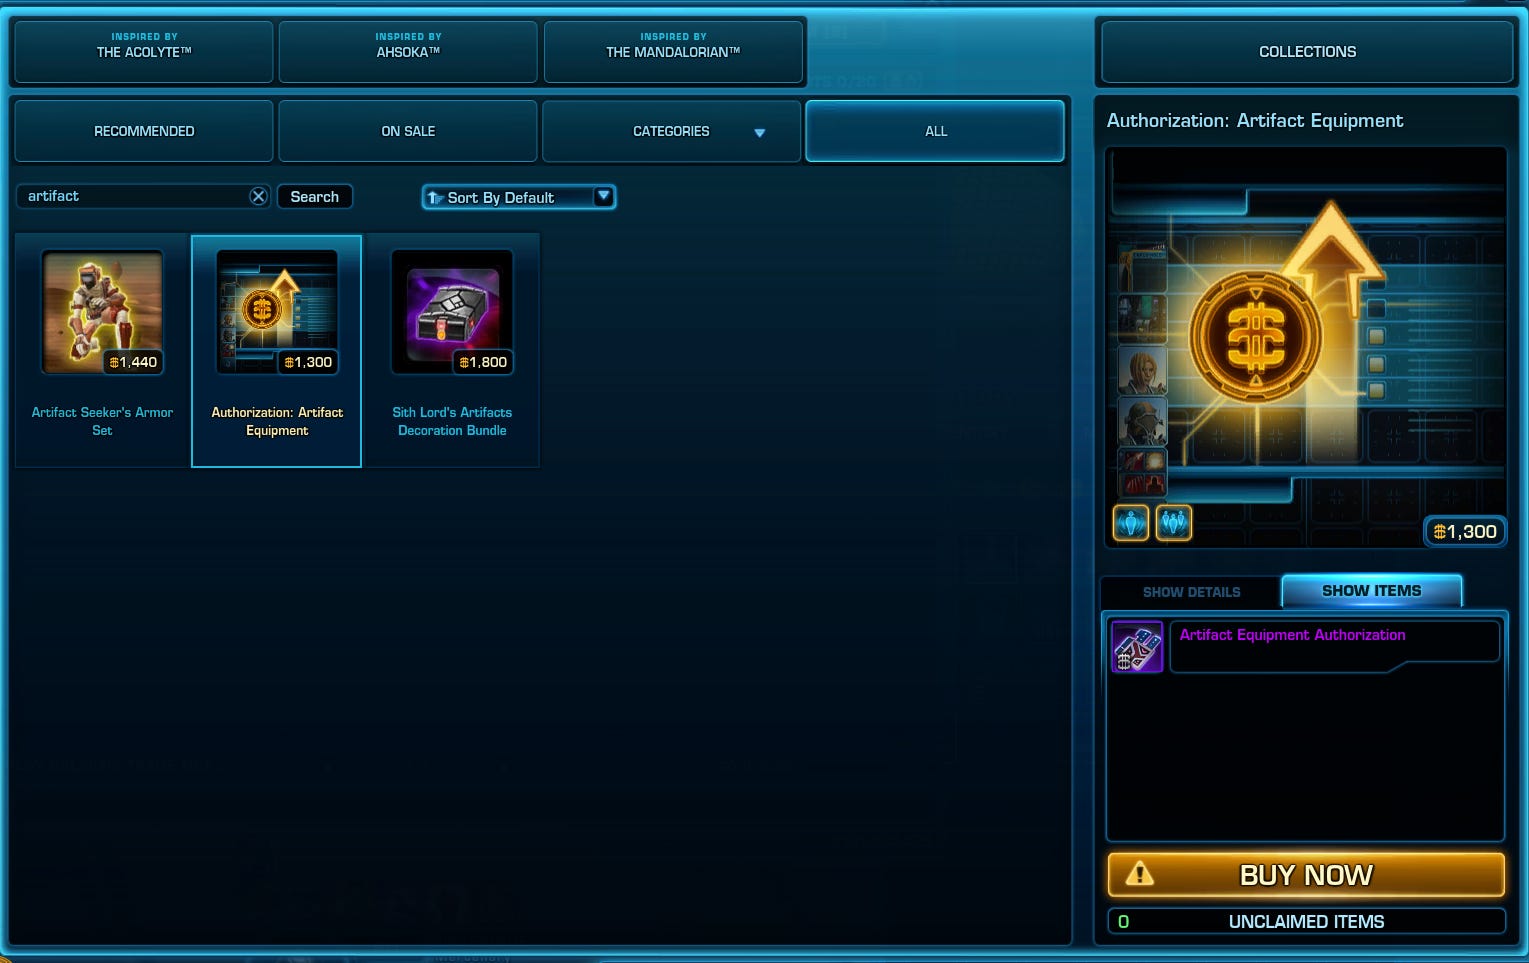
The best gear in the game is purple aka Artifact quality. And if you want to equip the best gear in the game, you either need to be a subscriber or buy the Artifact Equipment Authorization from the Cartel market, which costs 1,300 Cartel Coins per character.
I would personally recommend subscribing for at least one month if you are enjoying the game this far. Subscribing will give you a couple of benefits, but most importantly it gives you access to Operations, which we need for the next gearing steps and it lifts the credit cap, which also makes many things easier.
If all you want to do is PVP, subscribe for one month and once you are fully geared, you can cancel your subscription again because PVP is now free to play. But keep in mind that you still need the Artifact Equipment Authorization as otherwise, you will not be able to fully use your Legacy gear.
Step 8: Farm Tech Fragments
If you already have 3.000 Tech Fragments and 1,000,000 credits, now is the time to buy a tactical item from the vendor here:
Remember that Legendary Implant quest you accepted? Is it already done? If yes, great! Go back to the Implant Researcher and talk to his little friend, the Implant Vendor droid.
This droid sells you a Legendary Implant for 6.500 Tech Fragments a piece. Not cheap, but they are Legendary after all! The good news: once you upgrade your first two implants to the maximum item rating of 340, the vendor gives you a discount, so all implants you buy afterward will cost only 2.500 Tech Fragments a piece.
If you didn’t complete the Technological Advancements quest or don’t have enough Tech Fragments, join a Tech Fragments farm run. If you want to know exactly how that works, check out my guide on it here:
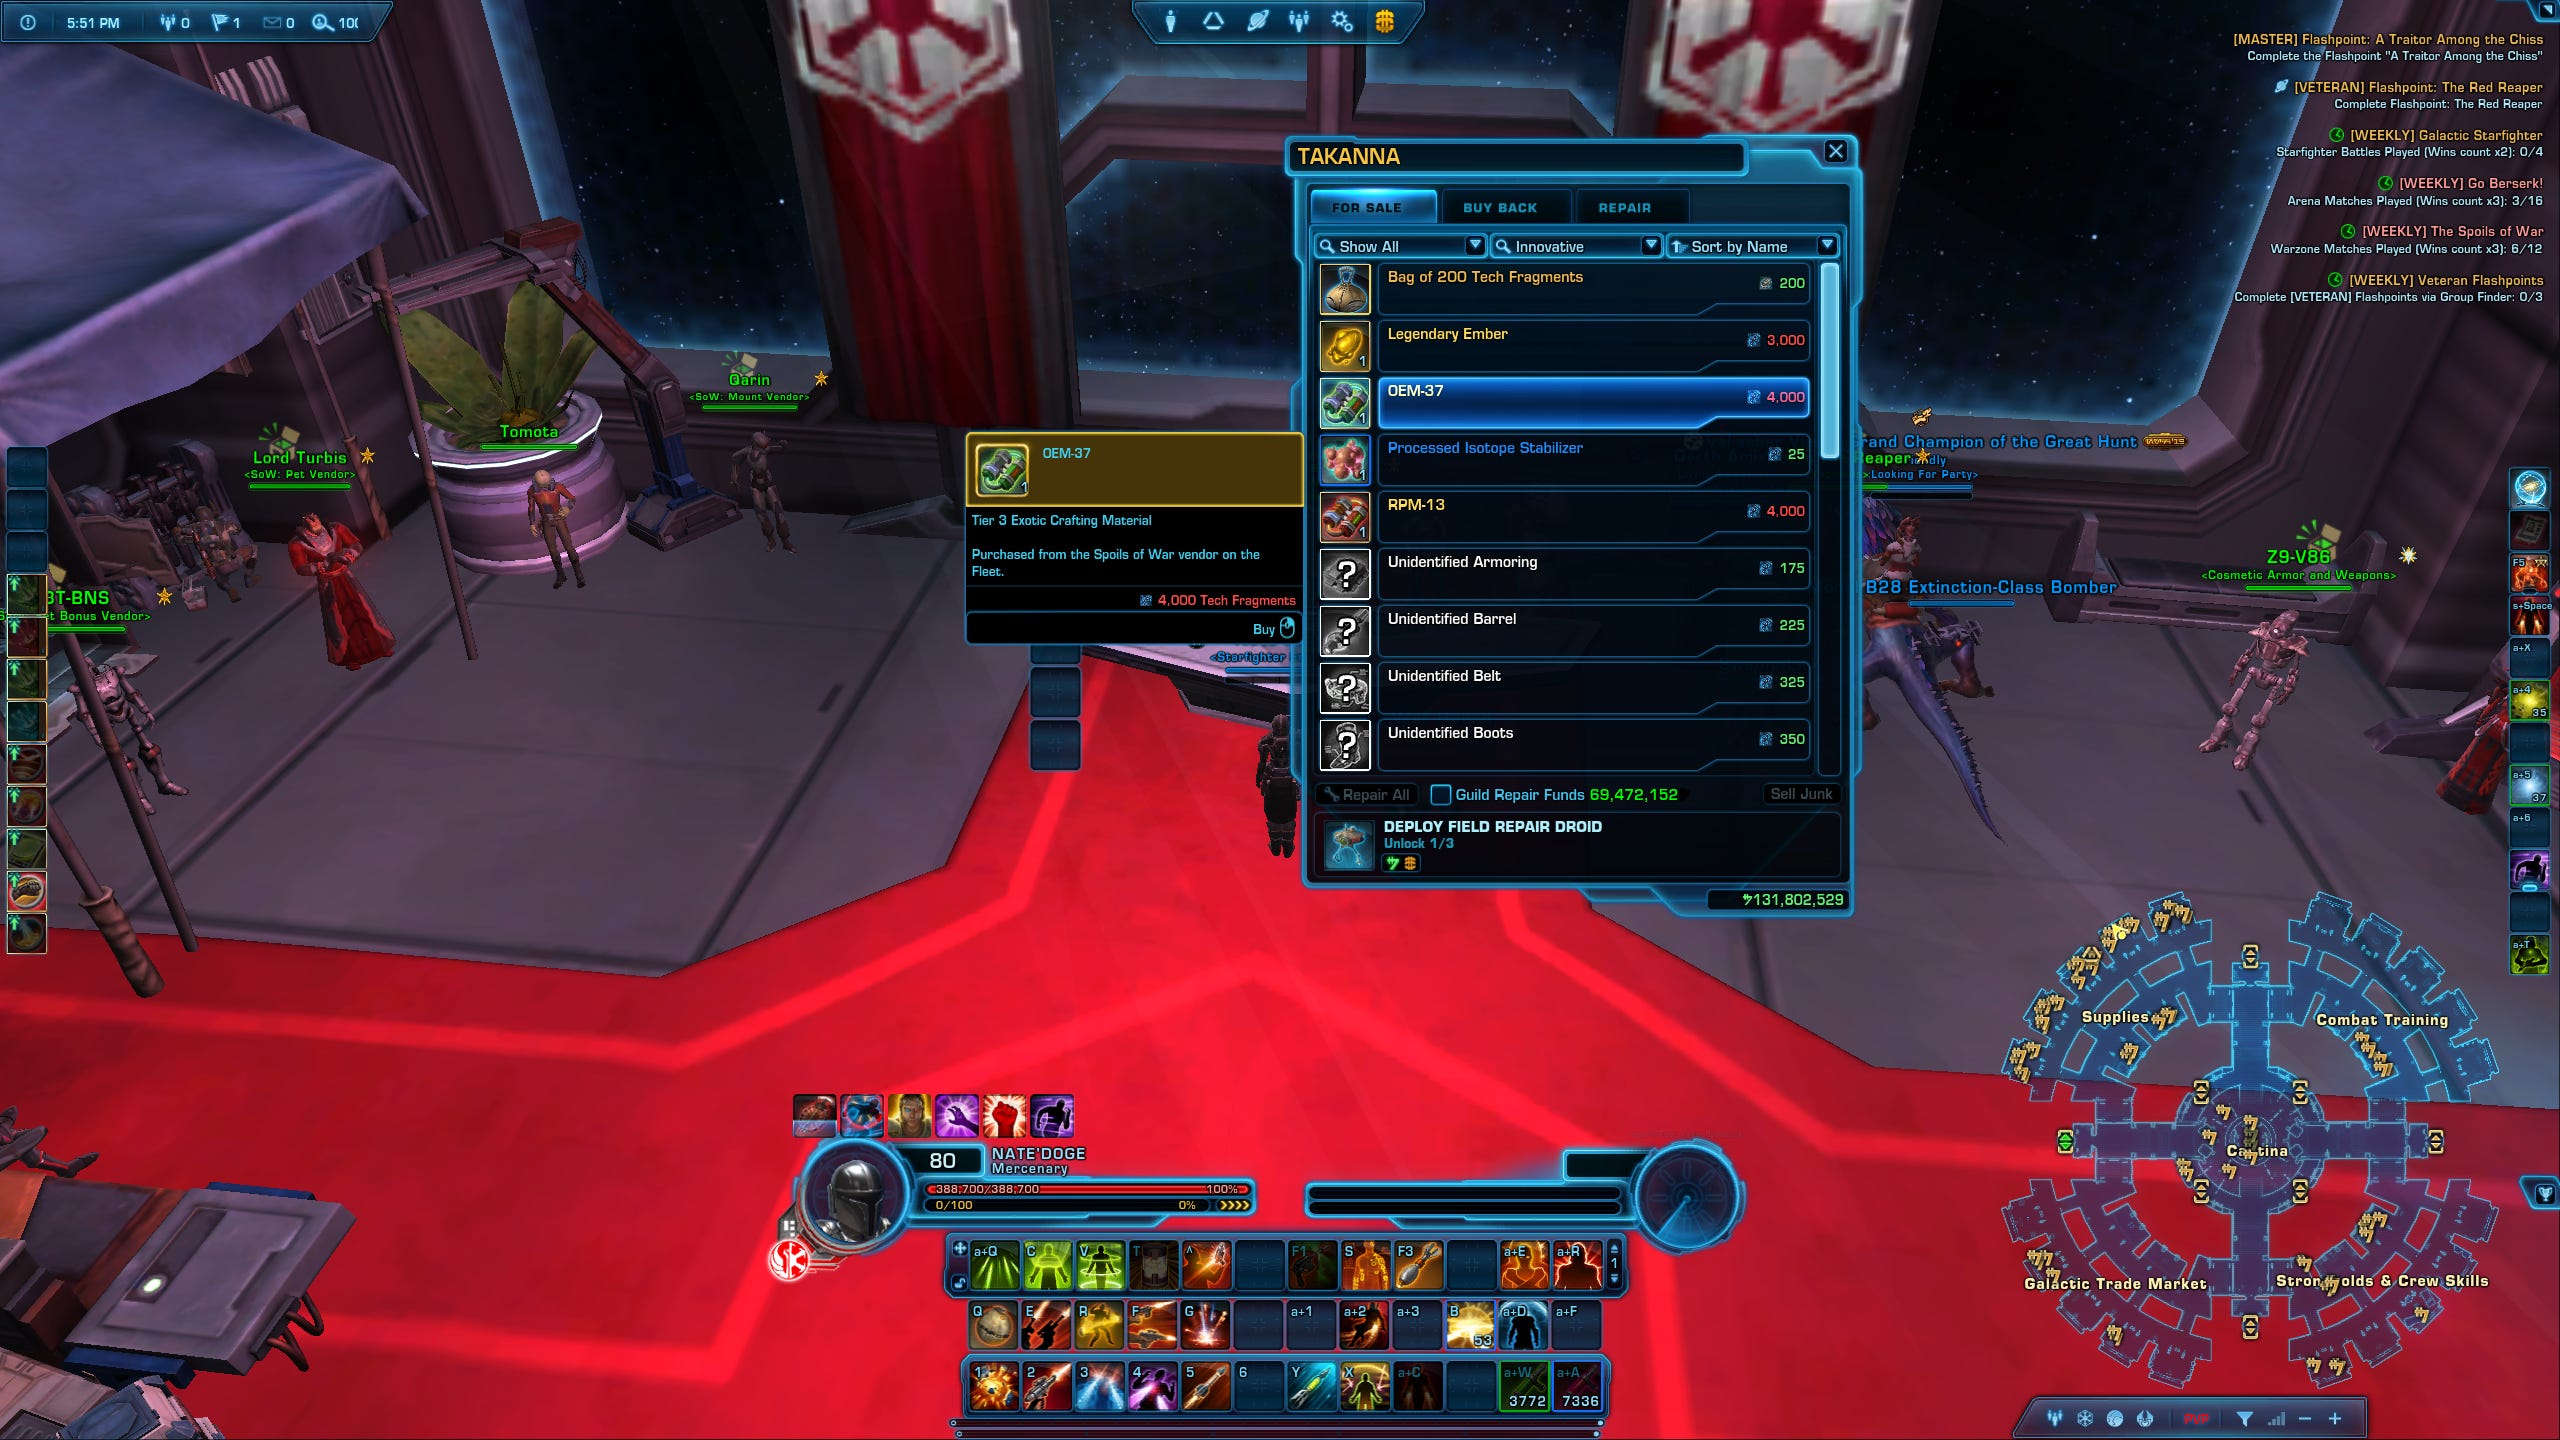
If you need more credits, you can use your excess Tech Fragments to buy OEM-37 or RPM-13 crafting components. These are needed to craft the currently best-in-slot Augments in the game, so at the time of writing this guide, you can sell them on the GTN for 11.000.000 credits a piece. Other great ways of making credits include buying and selling cartel market items, crafting, or being an e-girl.
Step 9: Augment your Gear
The next big boost to your combat stats will come from augmenting your gear. You can augment any piece of gear, except your Tactical. That means you will need a total of 14 Augments and 14 Augmentation Kit MK-11.
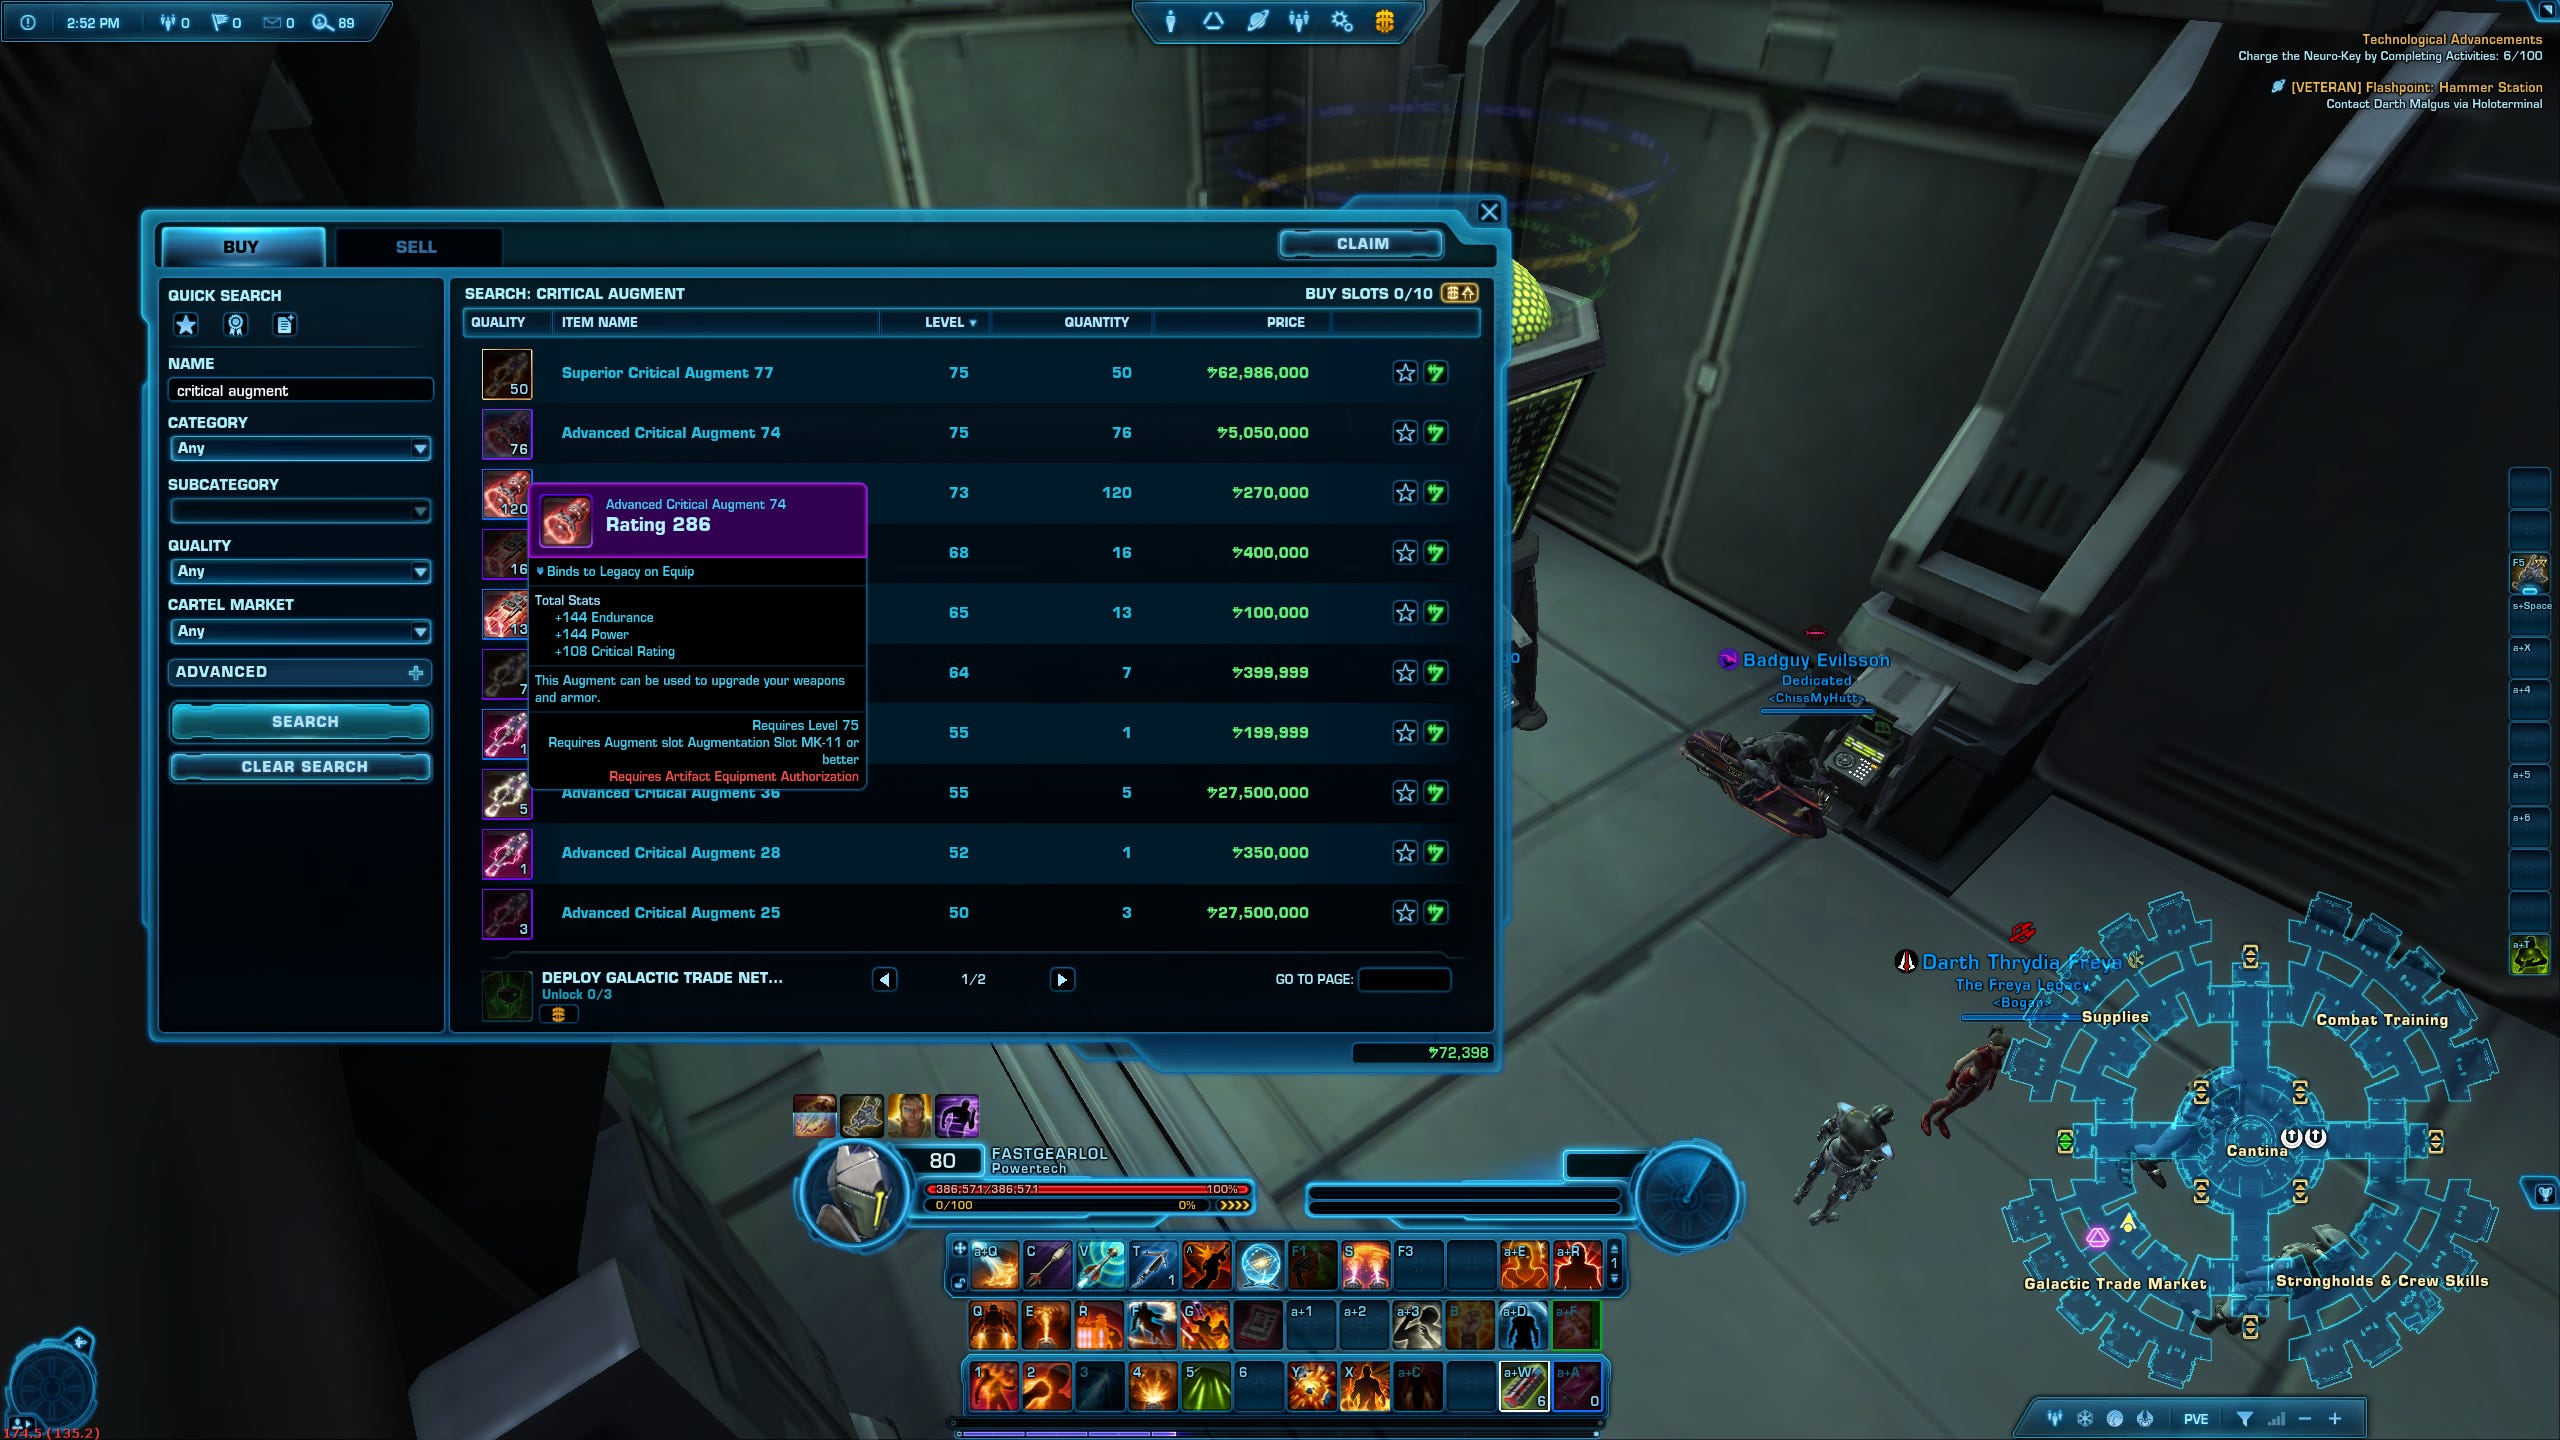
I recommend farming enough credits so that you can buy the purple-quality augments 74 from the GTN. The blue Augments 73 are currently bugged and don’t give you the intended stats in PVP, so I don’t recommend them for that reason. However, if you want to play mostly PVE and you can’t afford the purple Augments, blues can be a placeholder as you farm up more credits. Ultimately, you want to have the Superior gold Augments 77, which currently are best-in-slot.
If you don’t want to buy them, you can of course also craft Augments. For more info on this, I recommend you check out SWTORISTA’s guide here.
Once you have your augments simply CTRL + Right Click on an item to modify it, apply the Augmentation Kit, and then drop the augment into the newly added slot.
Important note: Always remove your augments before upgrading your Legendary Implants. That’s because when you purchase a higher item rating implant, the vendor will take your old implant for it. So if you forget to remove the augment before trading it in, it will be lost. In case you were wondering, you cannot remove the Augmentation Kits, so you will need to buy a couple extras.
Step 10: Earpiece and Relics
Once you have that, your character should be powerful enough to take on most endgame content. Next, we are going to start working on our earpiece and relics. At this point, you can choose one of two ways:
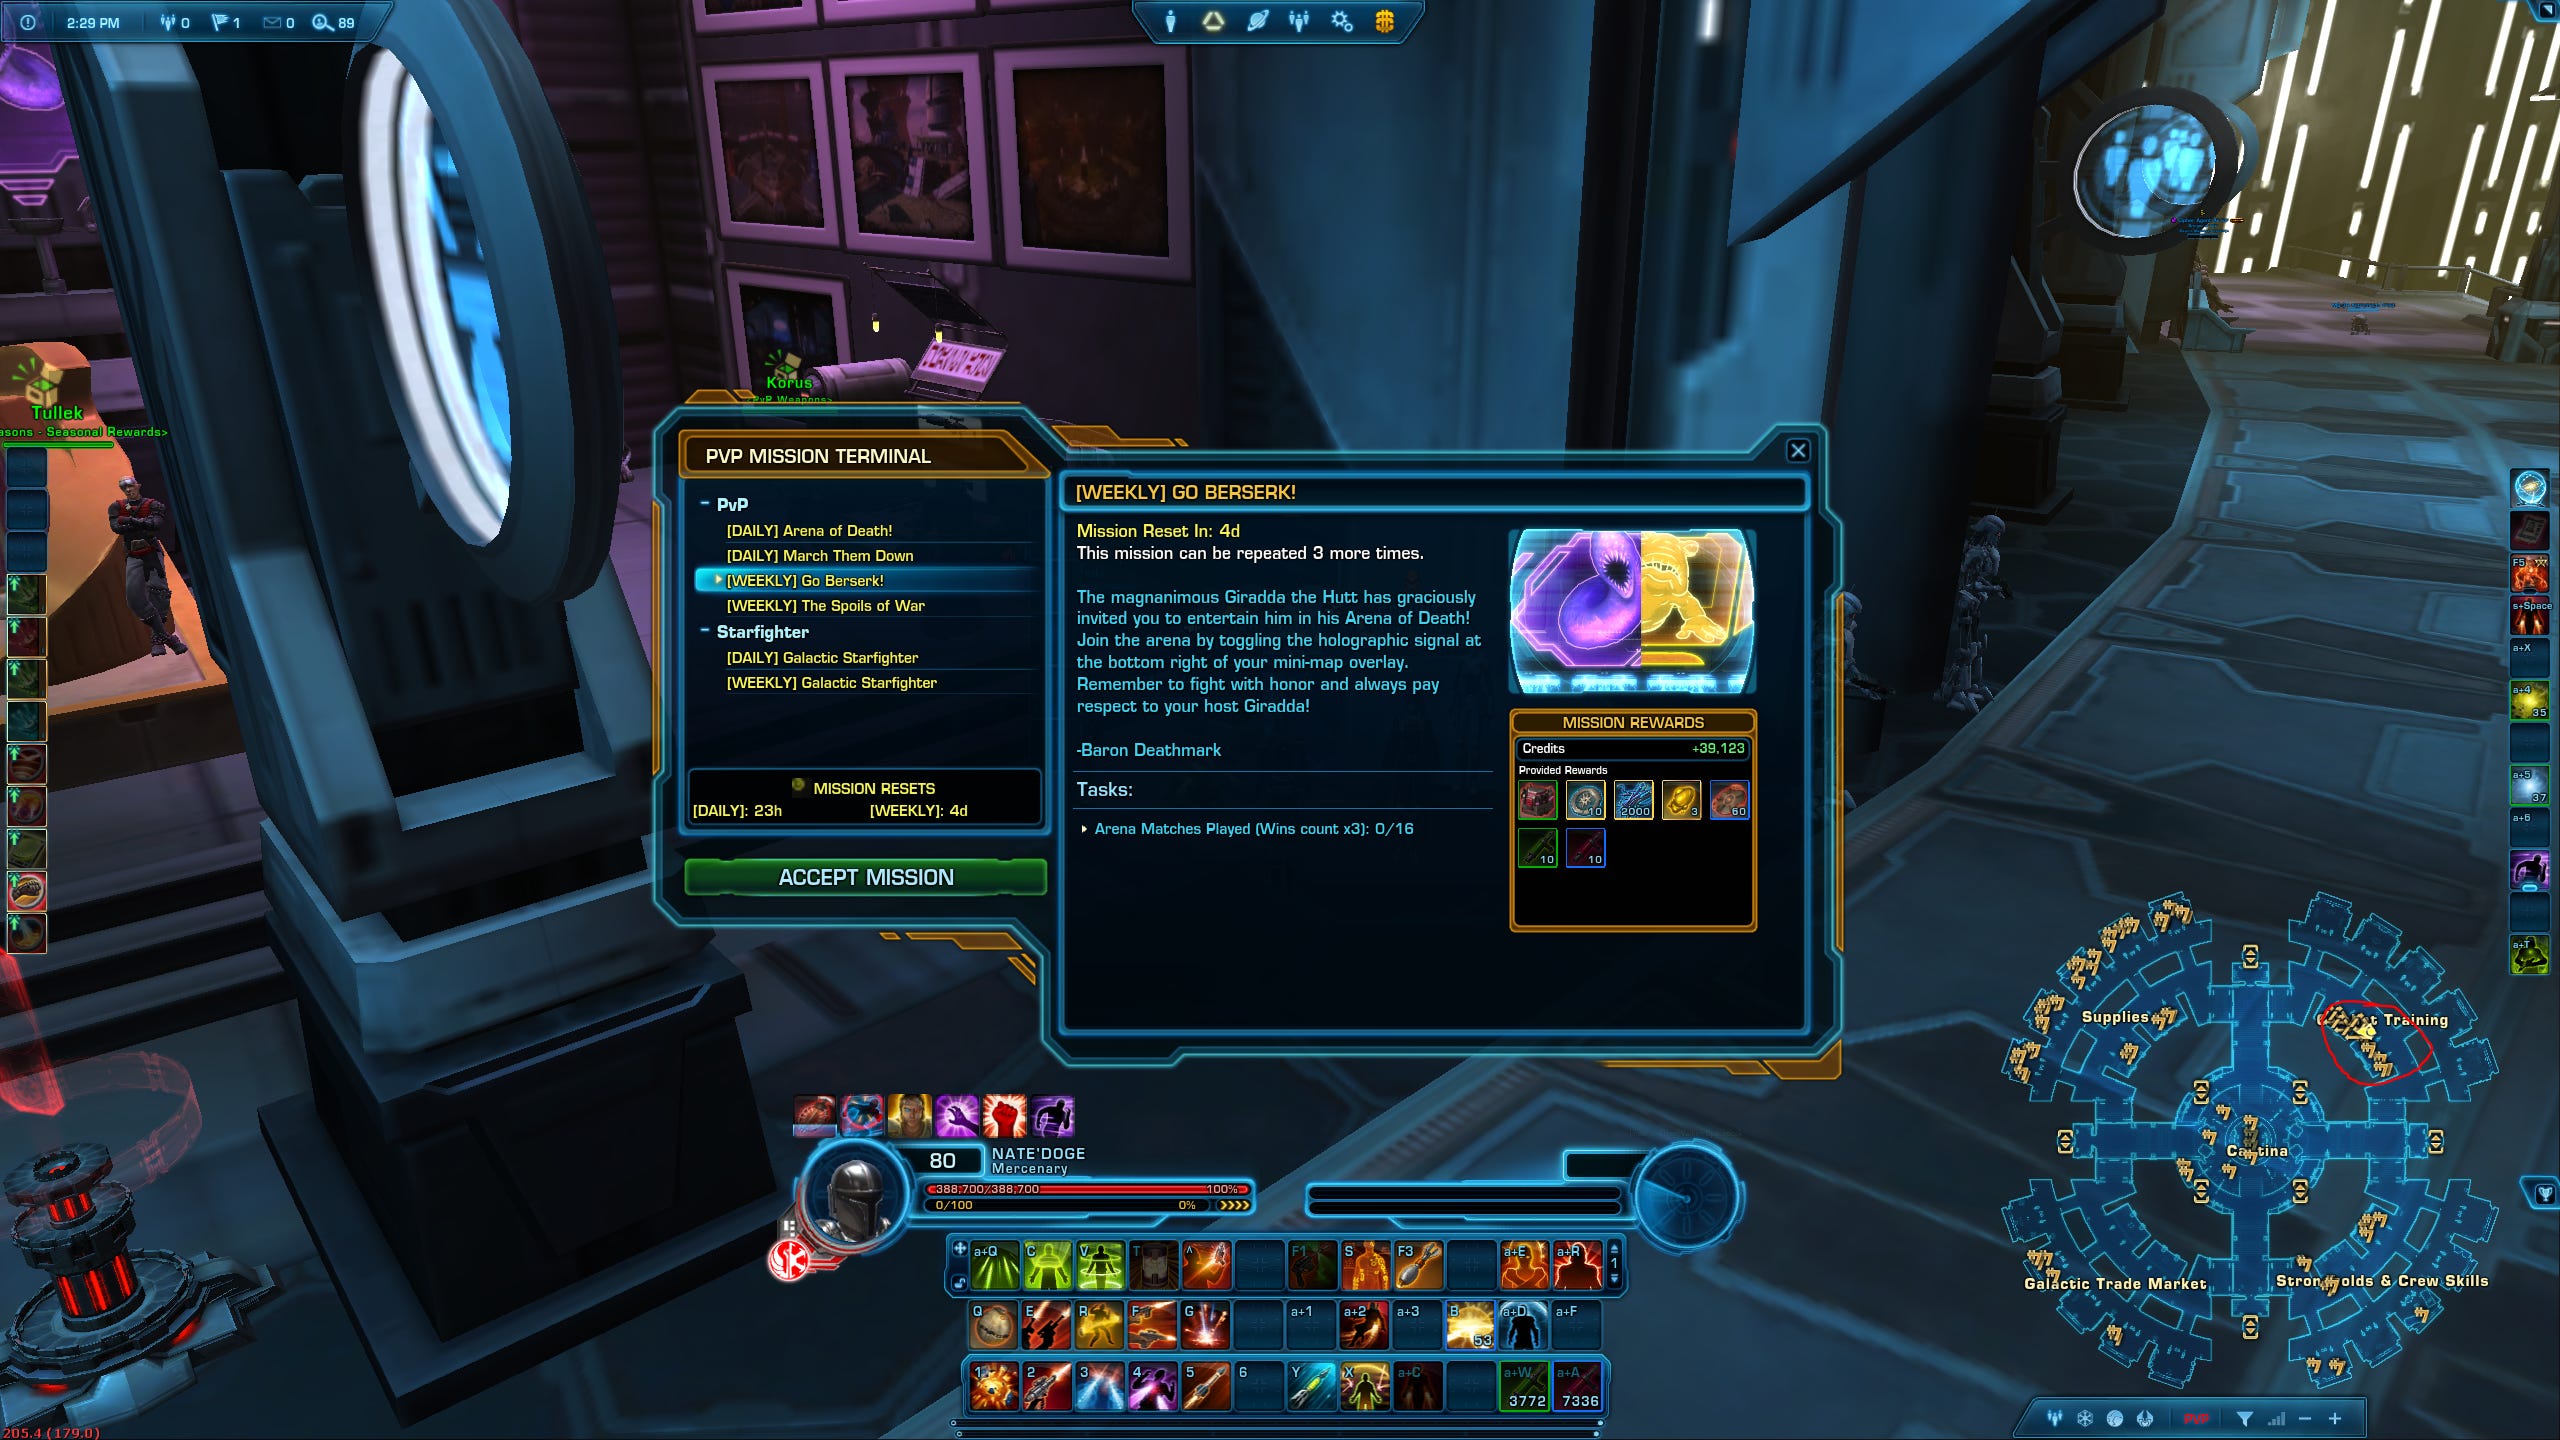
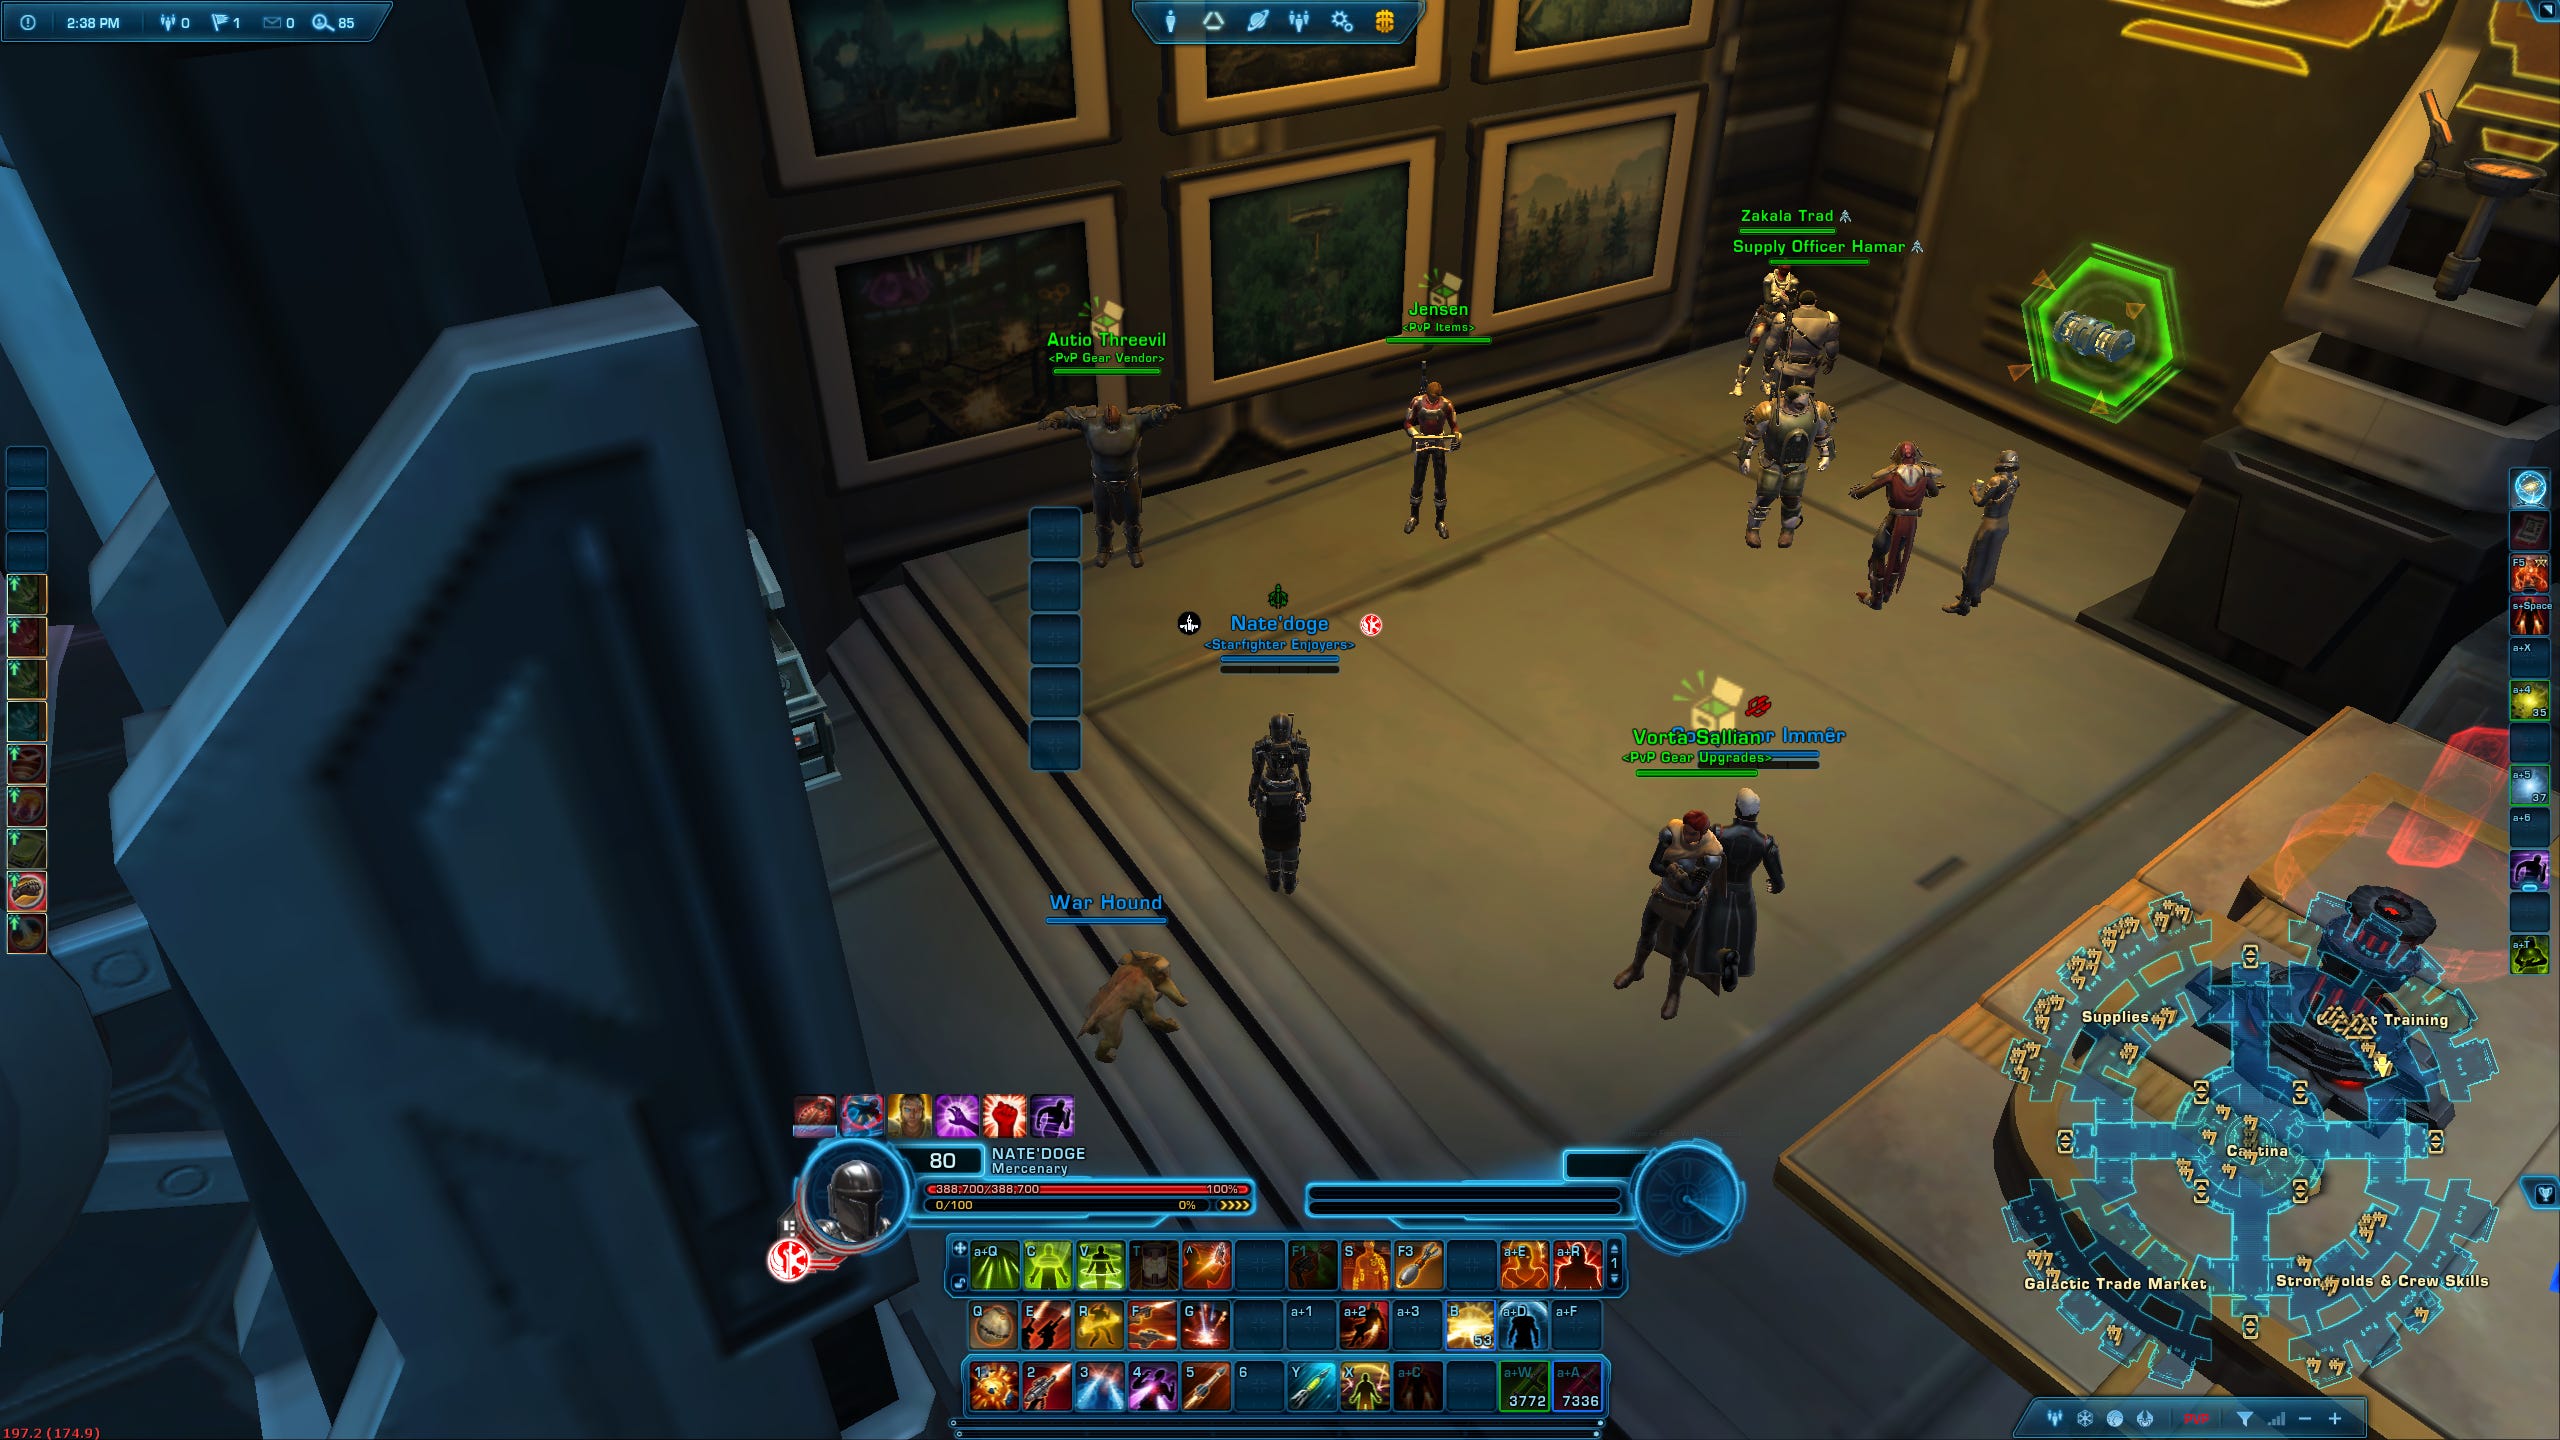
If you are a PVP enjoyer, start playing PVP and Complete the PVP Weekly Quests, which you can get from the PVP Missions Terminal in the Combat Training Section of the fleet.
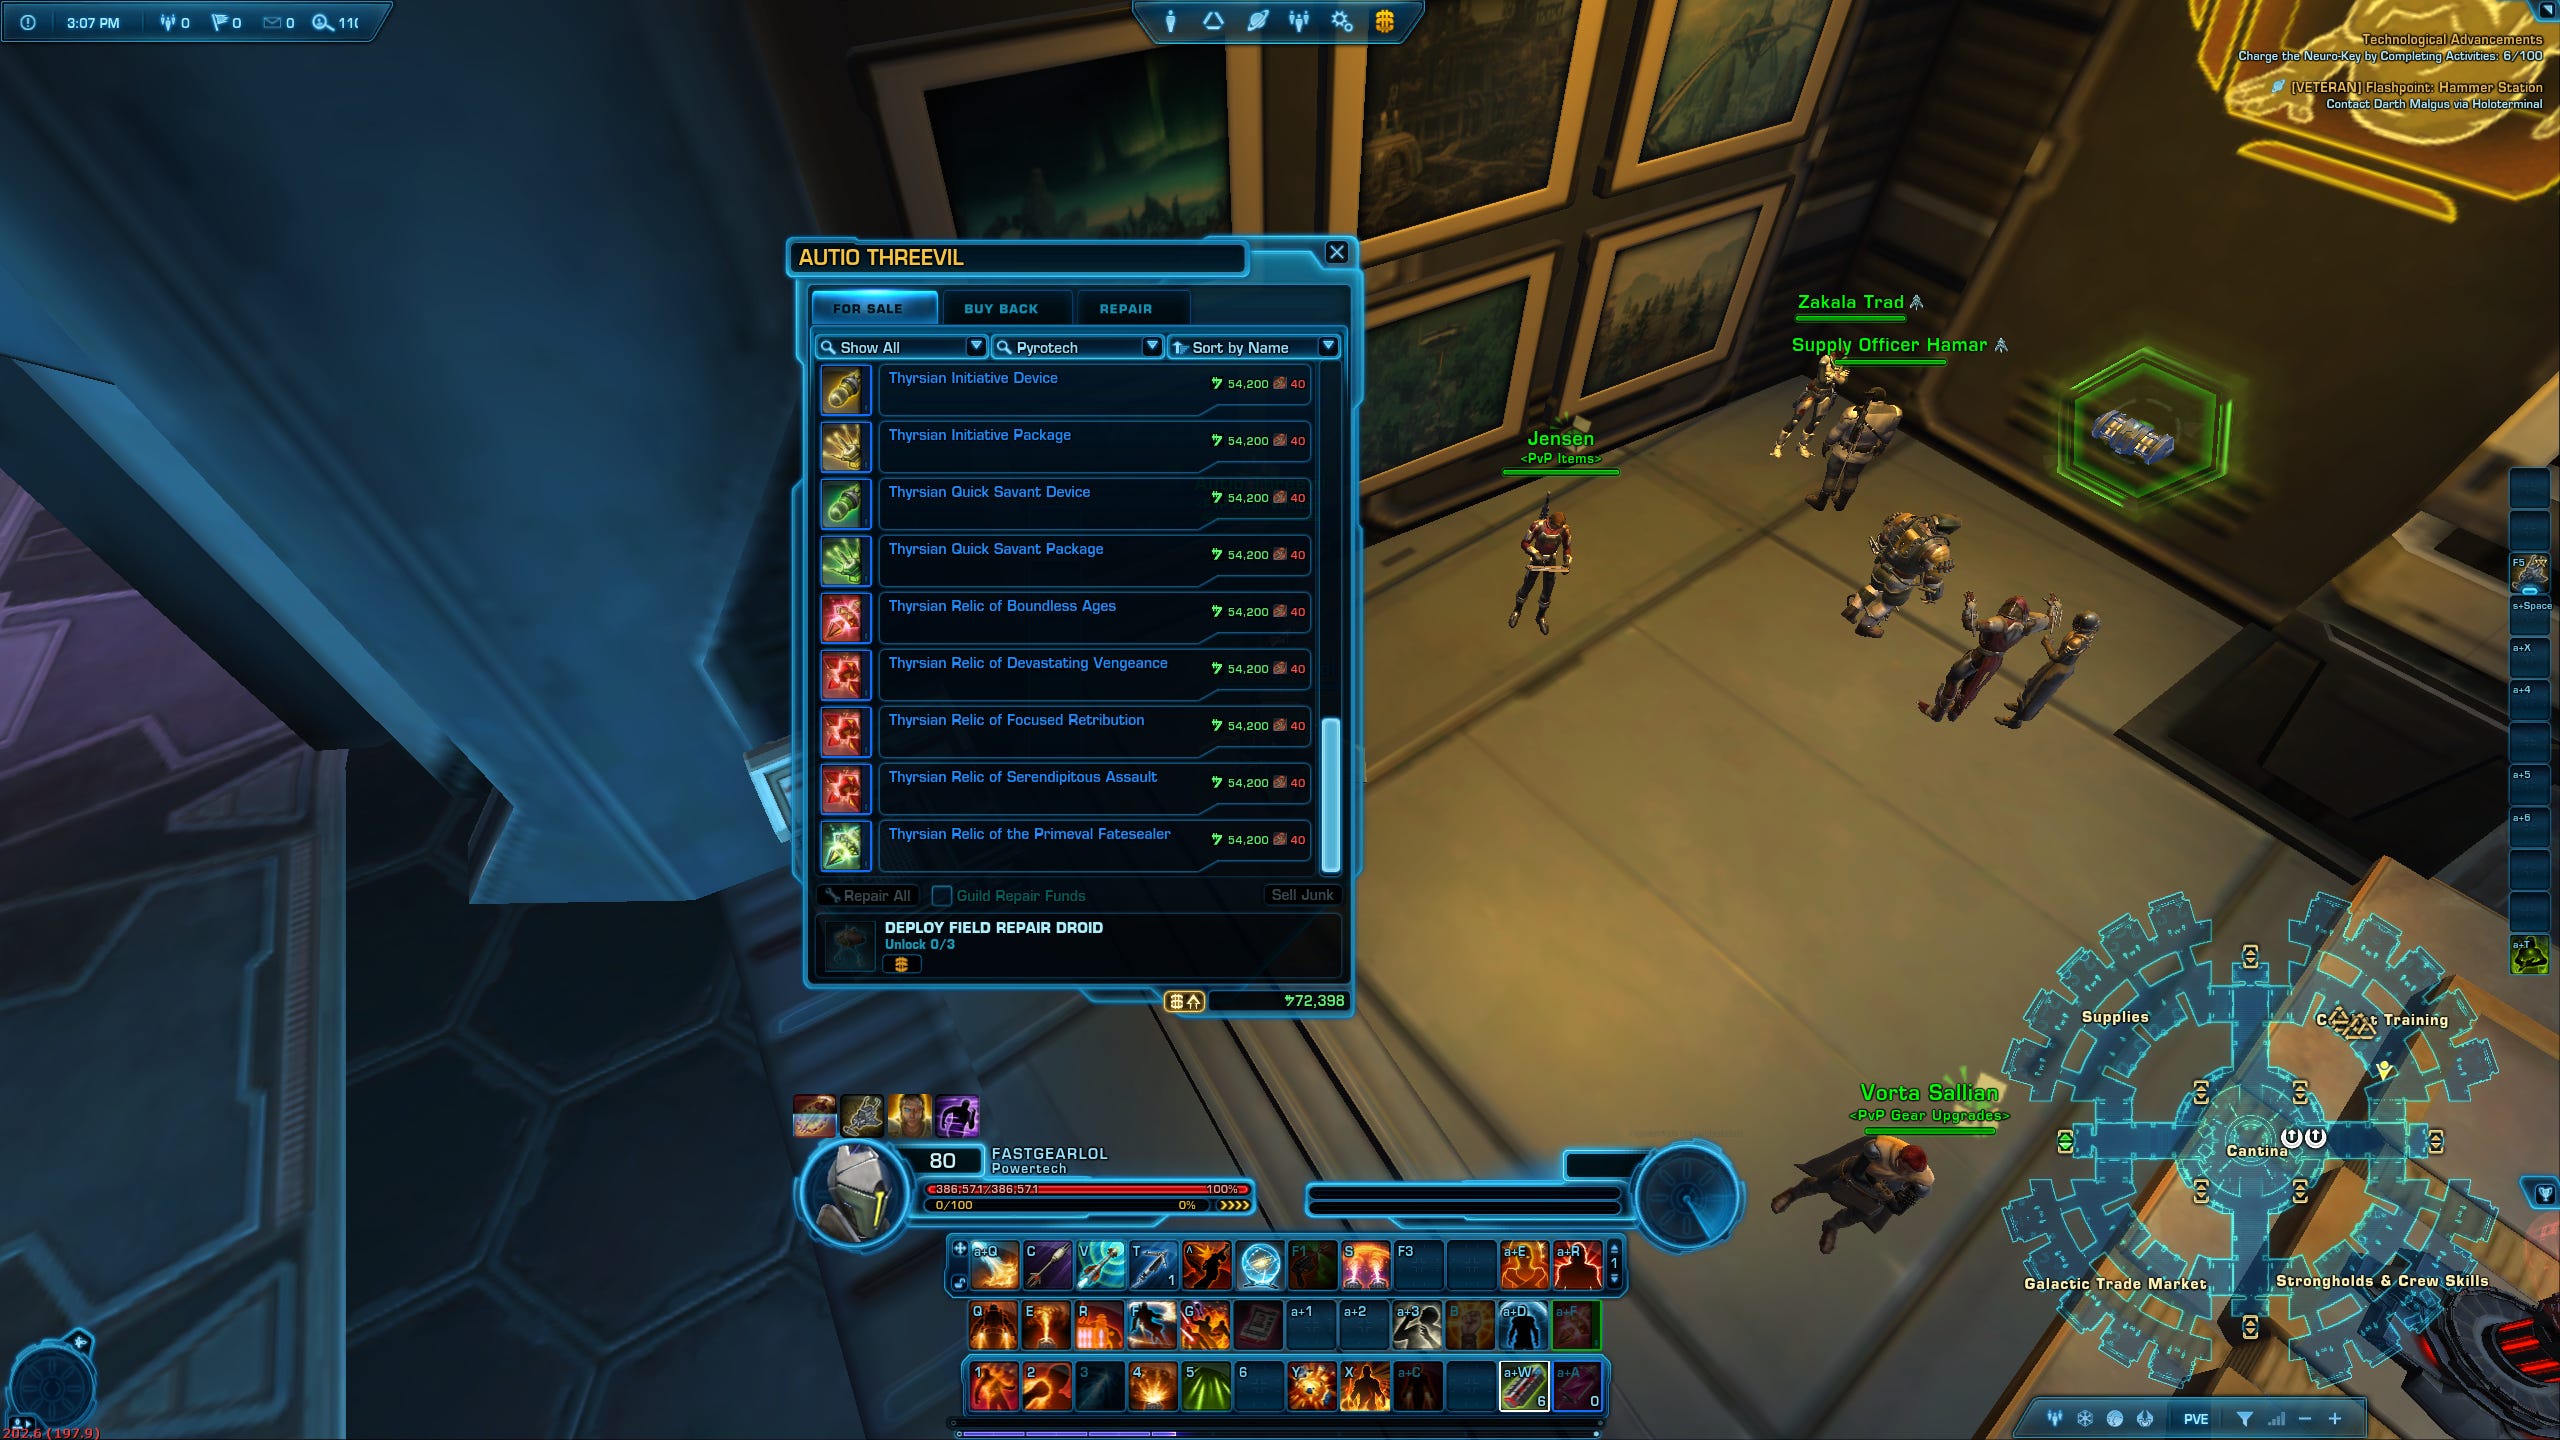
This rewards you Tech Fragments, as well as WZ-1 Accelerants, which you can use to buy item rating 322 Thyrsian gear from the PVP Gear Vendor. Don’t worry about the blue quality, they will turn purple as soon as you upgrade them at the PVP Gear Upgrades vendor.
You can complete up to six PVP Weeklies on a character each week and each of them will also reward you with a Thyrsian Upgrade Cache. These caches will always upgrade your lowest item rating gear piece. So simply keep repeating the PVP Weekly until you have upgraded your earpiece and relics up to the maximum item rating of 336. Should you get unlucky with the relic drops, you can of course use the PVP Gear Upgrade vendor to upgrade your desired Thyrsian Relics manually to rating 336.
Once you have upgraded all your gear to rating 336, you need to complete one more PVP Weekly and open the upgrade cache. This will drop you a random Thyrsian 336 purple quality gear piece, which we will take to Hyde and Zeek in the next step.
If you prefer playing PVE, start running the Eternity Vault Operation on Veteran Mode until you drop a purple quality Rakata 324 earpiece or relic. To speed that up, you can use the low-level earpiece trick, which I explain in my PVE gearing guide here.
Alternatively, you can get Rakata gear from running Nefra, the first boss of the Dread Fortress Operation, on Master Mode Difficulty. This one can be a bit more challenging, especially if you are a new player. But if you’re lucky, Nefra can drop you an item rating 340 Rakata piece right away.
Once you have your one Rakata piece, you need to upgrade it to item level 340. For that, you will need to farm a lot of OP-1 Catalysts. And the fastest way to do that is either running Operations with a coordinated group to complete the Operation weekly quests or, if you are playing solo, keep running Veteran Mode Operations such as Eternity Vault, using the low-level earpiece trick. This should make it so you will only drop Rakata earpieces, which are worth more OP-1 Catalysts when you deconstruct them. Keep repeating this process until you can upgrade your Rakata piece to item rating 340 at the Operation Gear Upgrade vendor in the supply section of the fleet.
Step 11: Unlock Purple Quality Enhancements
Now that we have a purple quality gear piece of rating 336 (PVP) / 340 (PVE), we will return to Hyde and Zeek. Talk to Hyde and make sure to accept the correct quest:
336 Artifact modifications if you followed the PVP version of this guide
340 Artifact modifications if you followed the PVE version
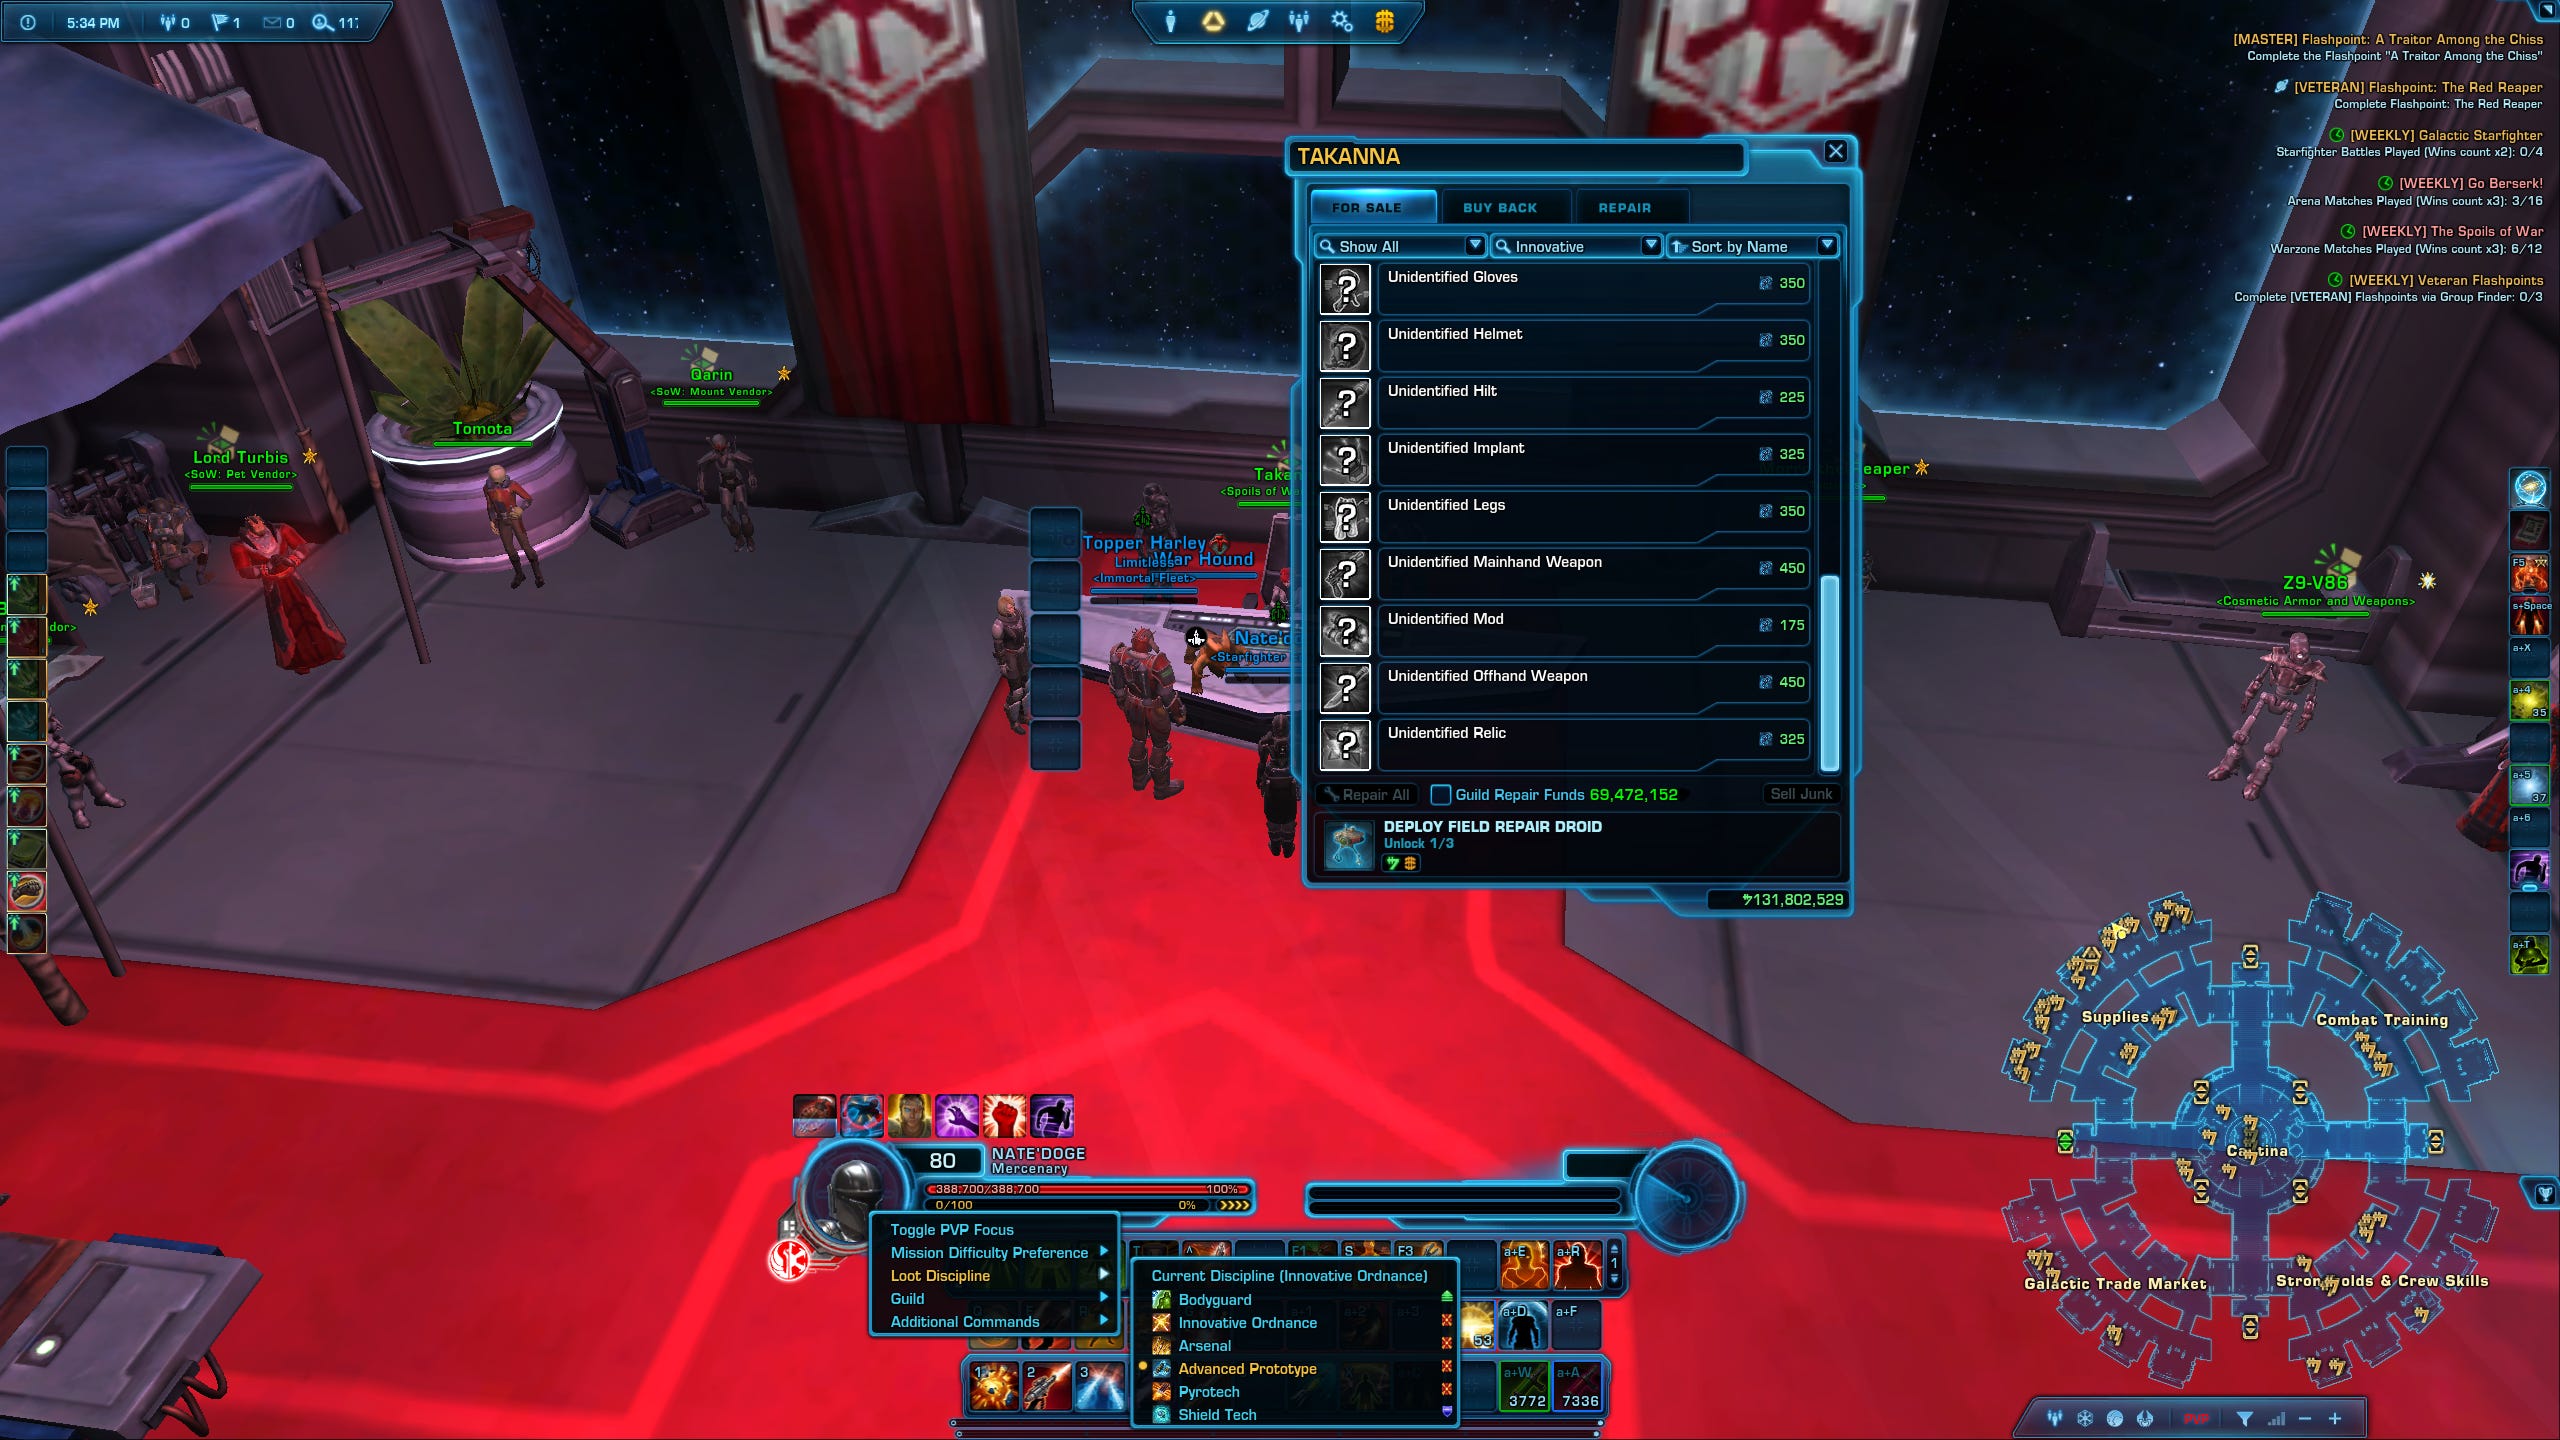
Once you have accepted the quest, deconstruct the required item as explained in Step 5 and talk to Hyde again. Now, Zeek will sell you purple quality enhancements, which give you a bit less endurance, but more offensive stats compared to the blue ones, which is what we want.
Again, make sure to toggle the combat style filter to “All”, otherwise you might not see all enhancements. Also note that there are no purple quality Armorings, Hilts, Barrels, or mods. So, once you bought your 7 purple enhancements for 200.000 Credits each, drop them into your moddable legacy gear in place of the blue ones.
Congratulations! If you are a PVPer, you are now finally done gearing.
A final note since I got that question in the past: If you have the 336 modded gear with the blue armorings, blue mods, and purple enhancements it will give you the exact same stats as the non-moddable Thyrsian 336 gear, which you get from the PVP vendor or weekly upgrade caches.
Step 12: Farm Rakata Gear
If you are a PVEer and you want the best possible gear in the game, you will need to return to the Operations. Using the same methods explained before, expect to farm some more Nefra or other Operations and prepare for a bit of a grind until you can amass enough OP-1 Catalysts to upgrade your full Rakata set to item rating 344. I already have another guide on how to farm this gear as fast as possible, so if that’s your cup of tea, check it out here:
That’s all I have for today. If you have a question, let me know in the comments below. I hope this guide helped you. If it did, please leave a like on the video, subscribe to my YouTube channel, or consider becoming a channel member and get access to all my member-only videos.